 Customer Hub
Manual enrollment
In order to manage devices in Relution, they must be enrolled.
To do this, the administrator creates an enrollment (registration), which must then be performed on the device.
The creation of an enrollment in Relution is the same for all platforms.
The subsequent enrollment process on the devices is platform specific Android Classic / Legacy.
Relution will discontinue support for Samsung devices running Android 15+ if they are managed via Android Classic. We recommend switching to Android Enterprise.
Samsung devices running Android 15 can still be managed via Android Classic. However, basic functions such as installing or updating native apps will no longer be available. With Android 16, Samsung will also remove KIOSK mode.
Pre-requisites for enrollments
- To create enrollments, users must be assigned to the organization’s
AdministratororDevice Manageruser group. - To perform enrollment on the devices, end users must be assigned to at least the organization’s
Usergroup. - Enrollments are created in the organization in which the device is to be managed. Devices cannot be enrolled in the global organization.
- Background knowledge of which enrollment is used for which Android platform
Android Classic / Legacyas opposed toAndroid Enterprise.
Create manual enrollments
- In
Devices→Inventory, the Enroll button is clicked (alternatively Add inDevices→Enrollments). - Android is selected as Platform, together with the Ownership (e.g. COD - Company Owned Device). Android remains selected under Type. The other types are intended for enrolling interactive displays, see Whiteboards →.
- Clicking Save creates the enrollment.
Optional
Device name and Device description: The device and the enrollment will be named. The description is displayed with the device in the inventory. Both fields can contain user placeholders such as
${user.givenName}, which are replaced based on the assigned user during enrollment, see Advanced placeholders →.User: Relution users can be assigned to devices e.g. for a 1:1-equipment. Only one user can be assigned to a device at a time.
Static device groups: After successful enrollment, the device is added to the selected device groups →. The policies assigned to these groups are then applied to the device. The field is only visible with the permission to edit device groups.
Multi-use enrollment: If activated, multiple devices can be enrolled with one enrollment.
Valid until: Date after which the enrollment can no longer be used. The end of the seventh day after creation is preset, and the date can be changed as required. If the field is left empty, the enrollment does not expire.
Custom device properties: Customizable fields for additional information.
Notification: Selection whether the user should be notified about the enrollment by email or SMS. The section is only shown if email or SMS notification is enabled in
Settings→Notifications. Email requires an assigned user with an email address. SMS requires a Phone number; if the assigned user has a phone number on file, it is filled in automatically.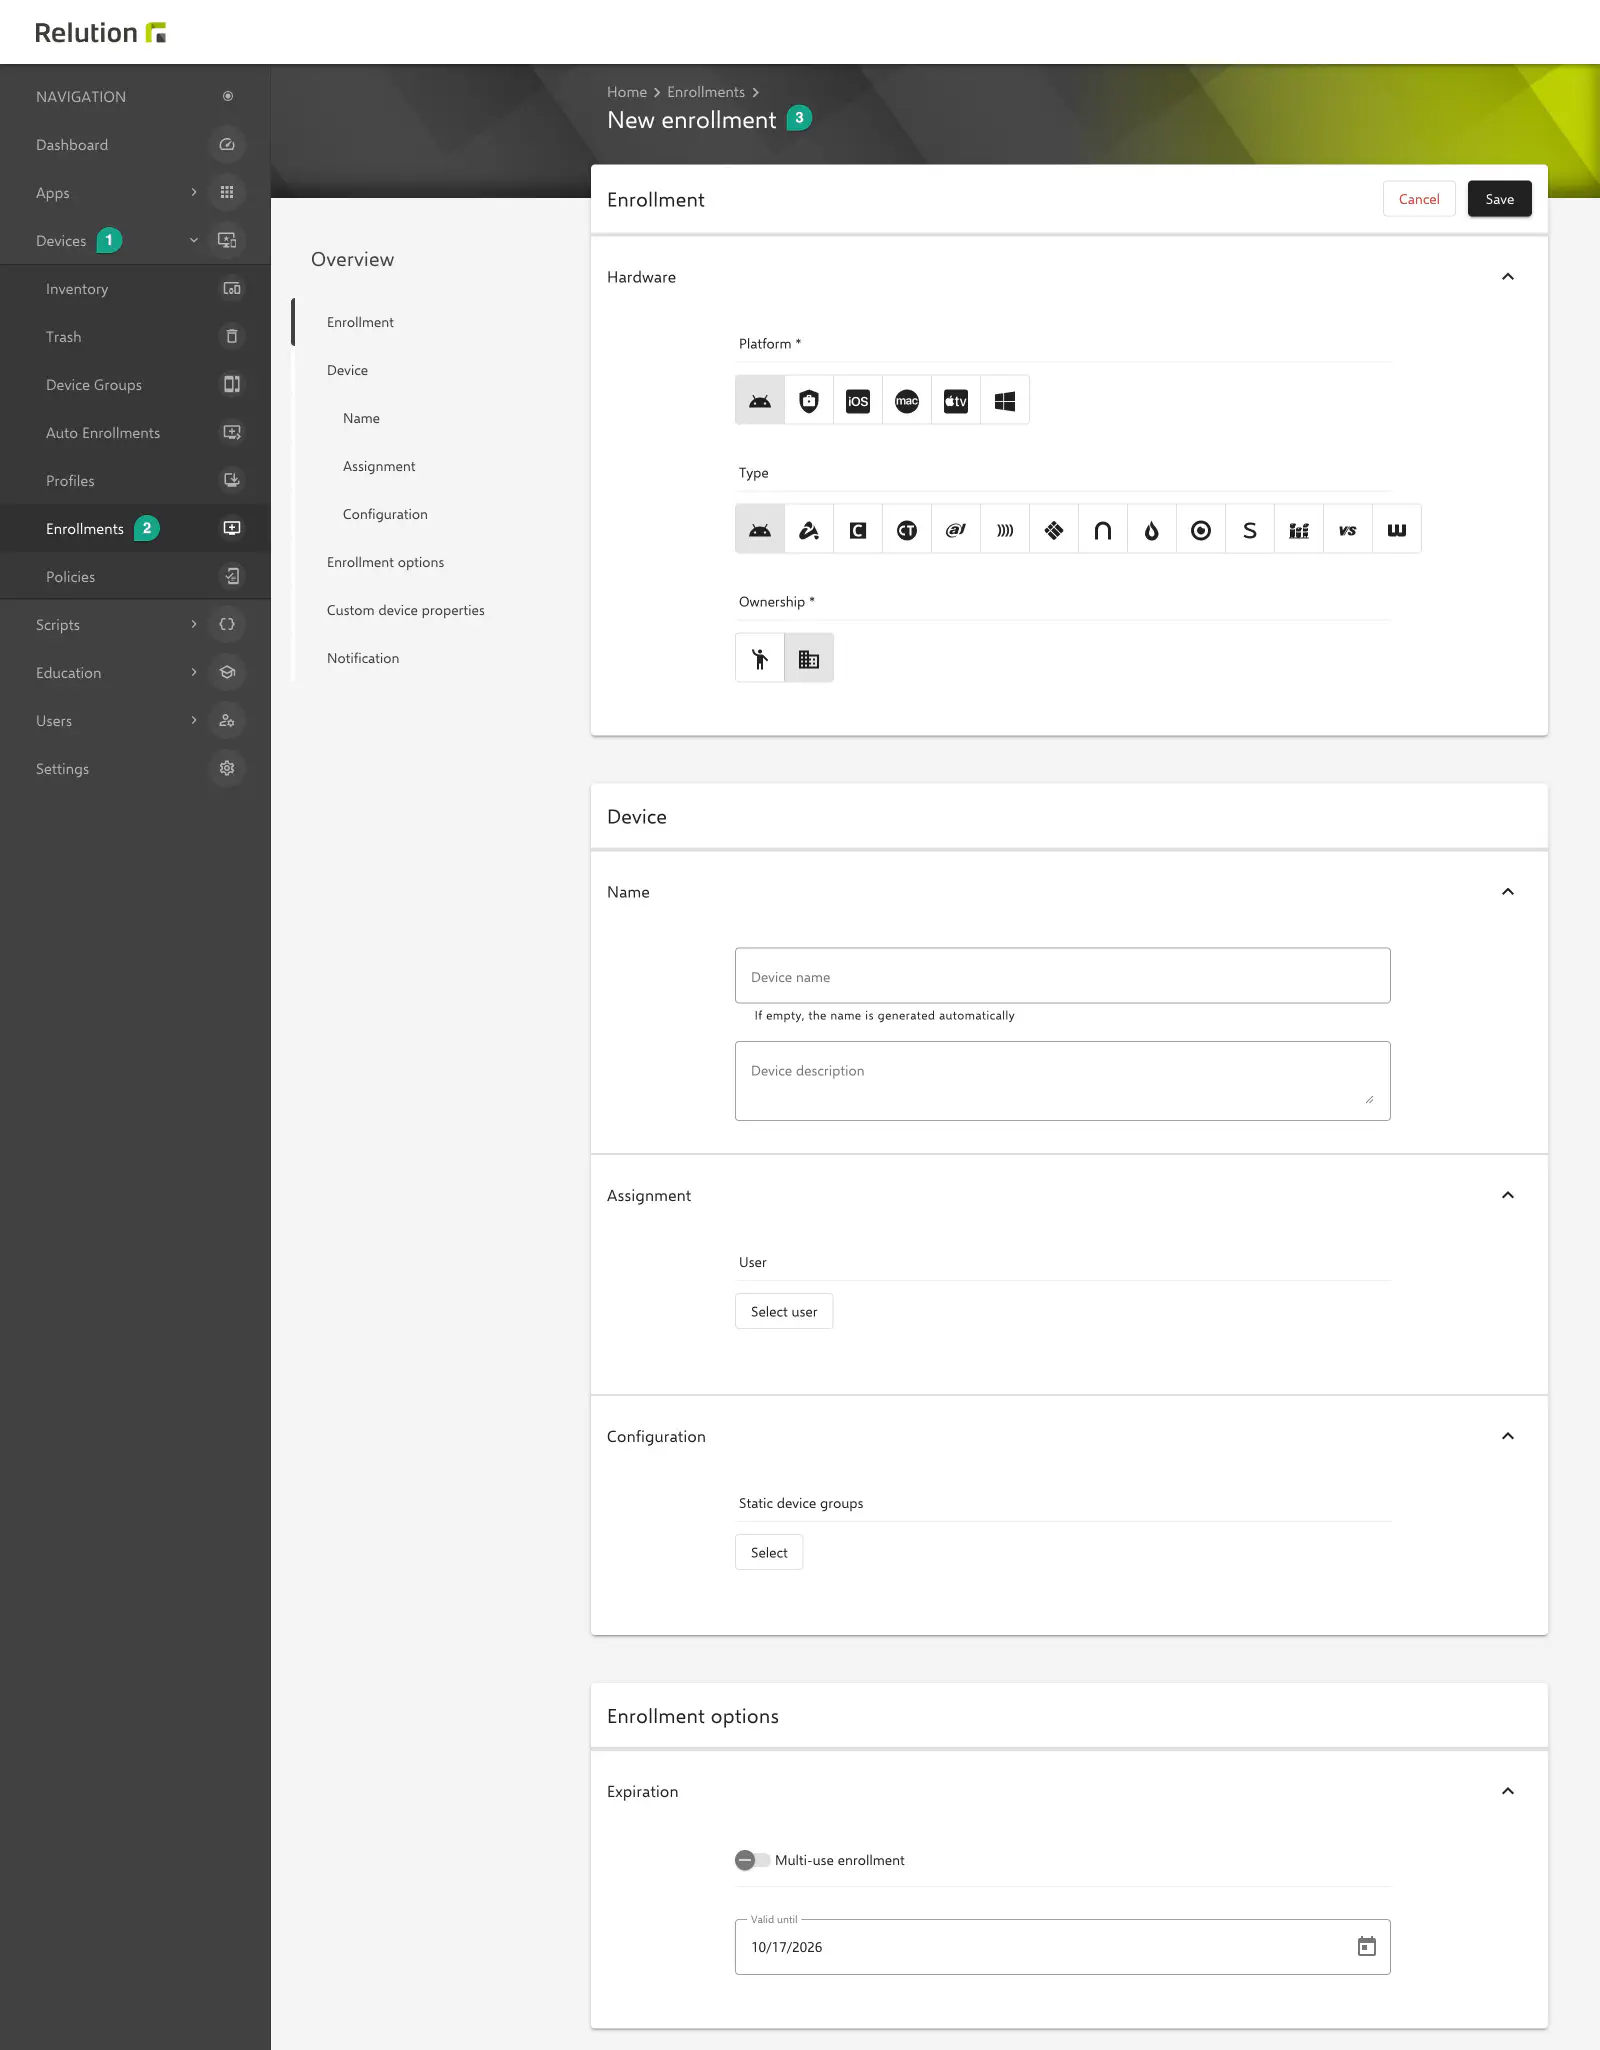
Additional notes
- If no device name has been specified, the device name is generated from the manufacturer and model after the device has been enrolled successfully.
- After saving, the details of the enrollment show the Enrollment code and the Link to the enrollment. Both can be copied to the clipboard, for example to pass on the enrollment without a notification.
- By default, the Enrollment code is 16 characters long (since Relution 26.5.2, previously 6). The length can be set between 12 and 32 characters with the following global configuration property (requires restarting the instance); values outside this range are set to the respective limit:
  relution:
    enrollment:
      passcodeLength: 24
Perform manual enrollment
The following steps must be performed by the Android device user. Based on the notification option selected, the device user will be notified via email or SMS. If the device user is also a member of the Device Manager user group, the QR code for the enrollment can also be scanned directly in the organization. It is opened by clicking the icon in the QR Code column under Devices → Enrollments in the Relution portal (the QR code is also shown in the enrollment details). This is usually the preferred method for enrolling an Android device.
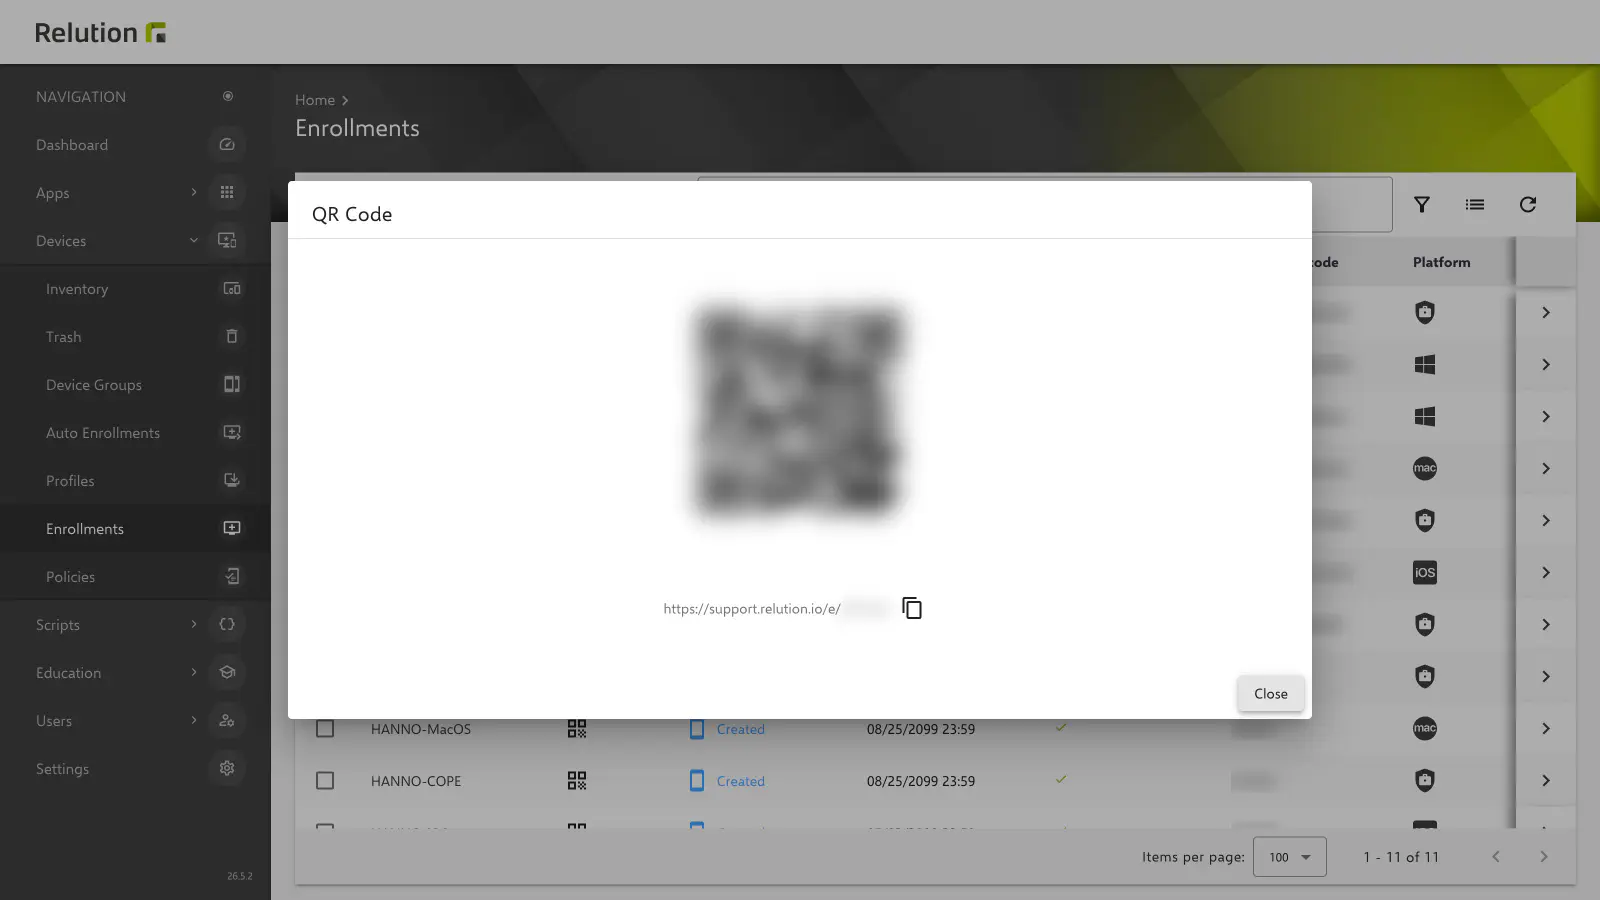
The following steps should then be performed:
It should be made sure that the Android device is connected to the Internet (WiFi or mobile network).
The registration link is opened:
- If a registration email was received: the email is opened on the Android device and the link is tapped, or the email is opened on another device and the QR code is scanned with the Android device.
- If an SMS was received: the link in the SMS is tapped.
- If neither was received: the URL from the enrollment should be entered manually in the browser, or the responsible administrator should be contacted.
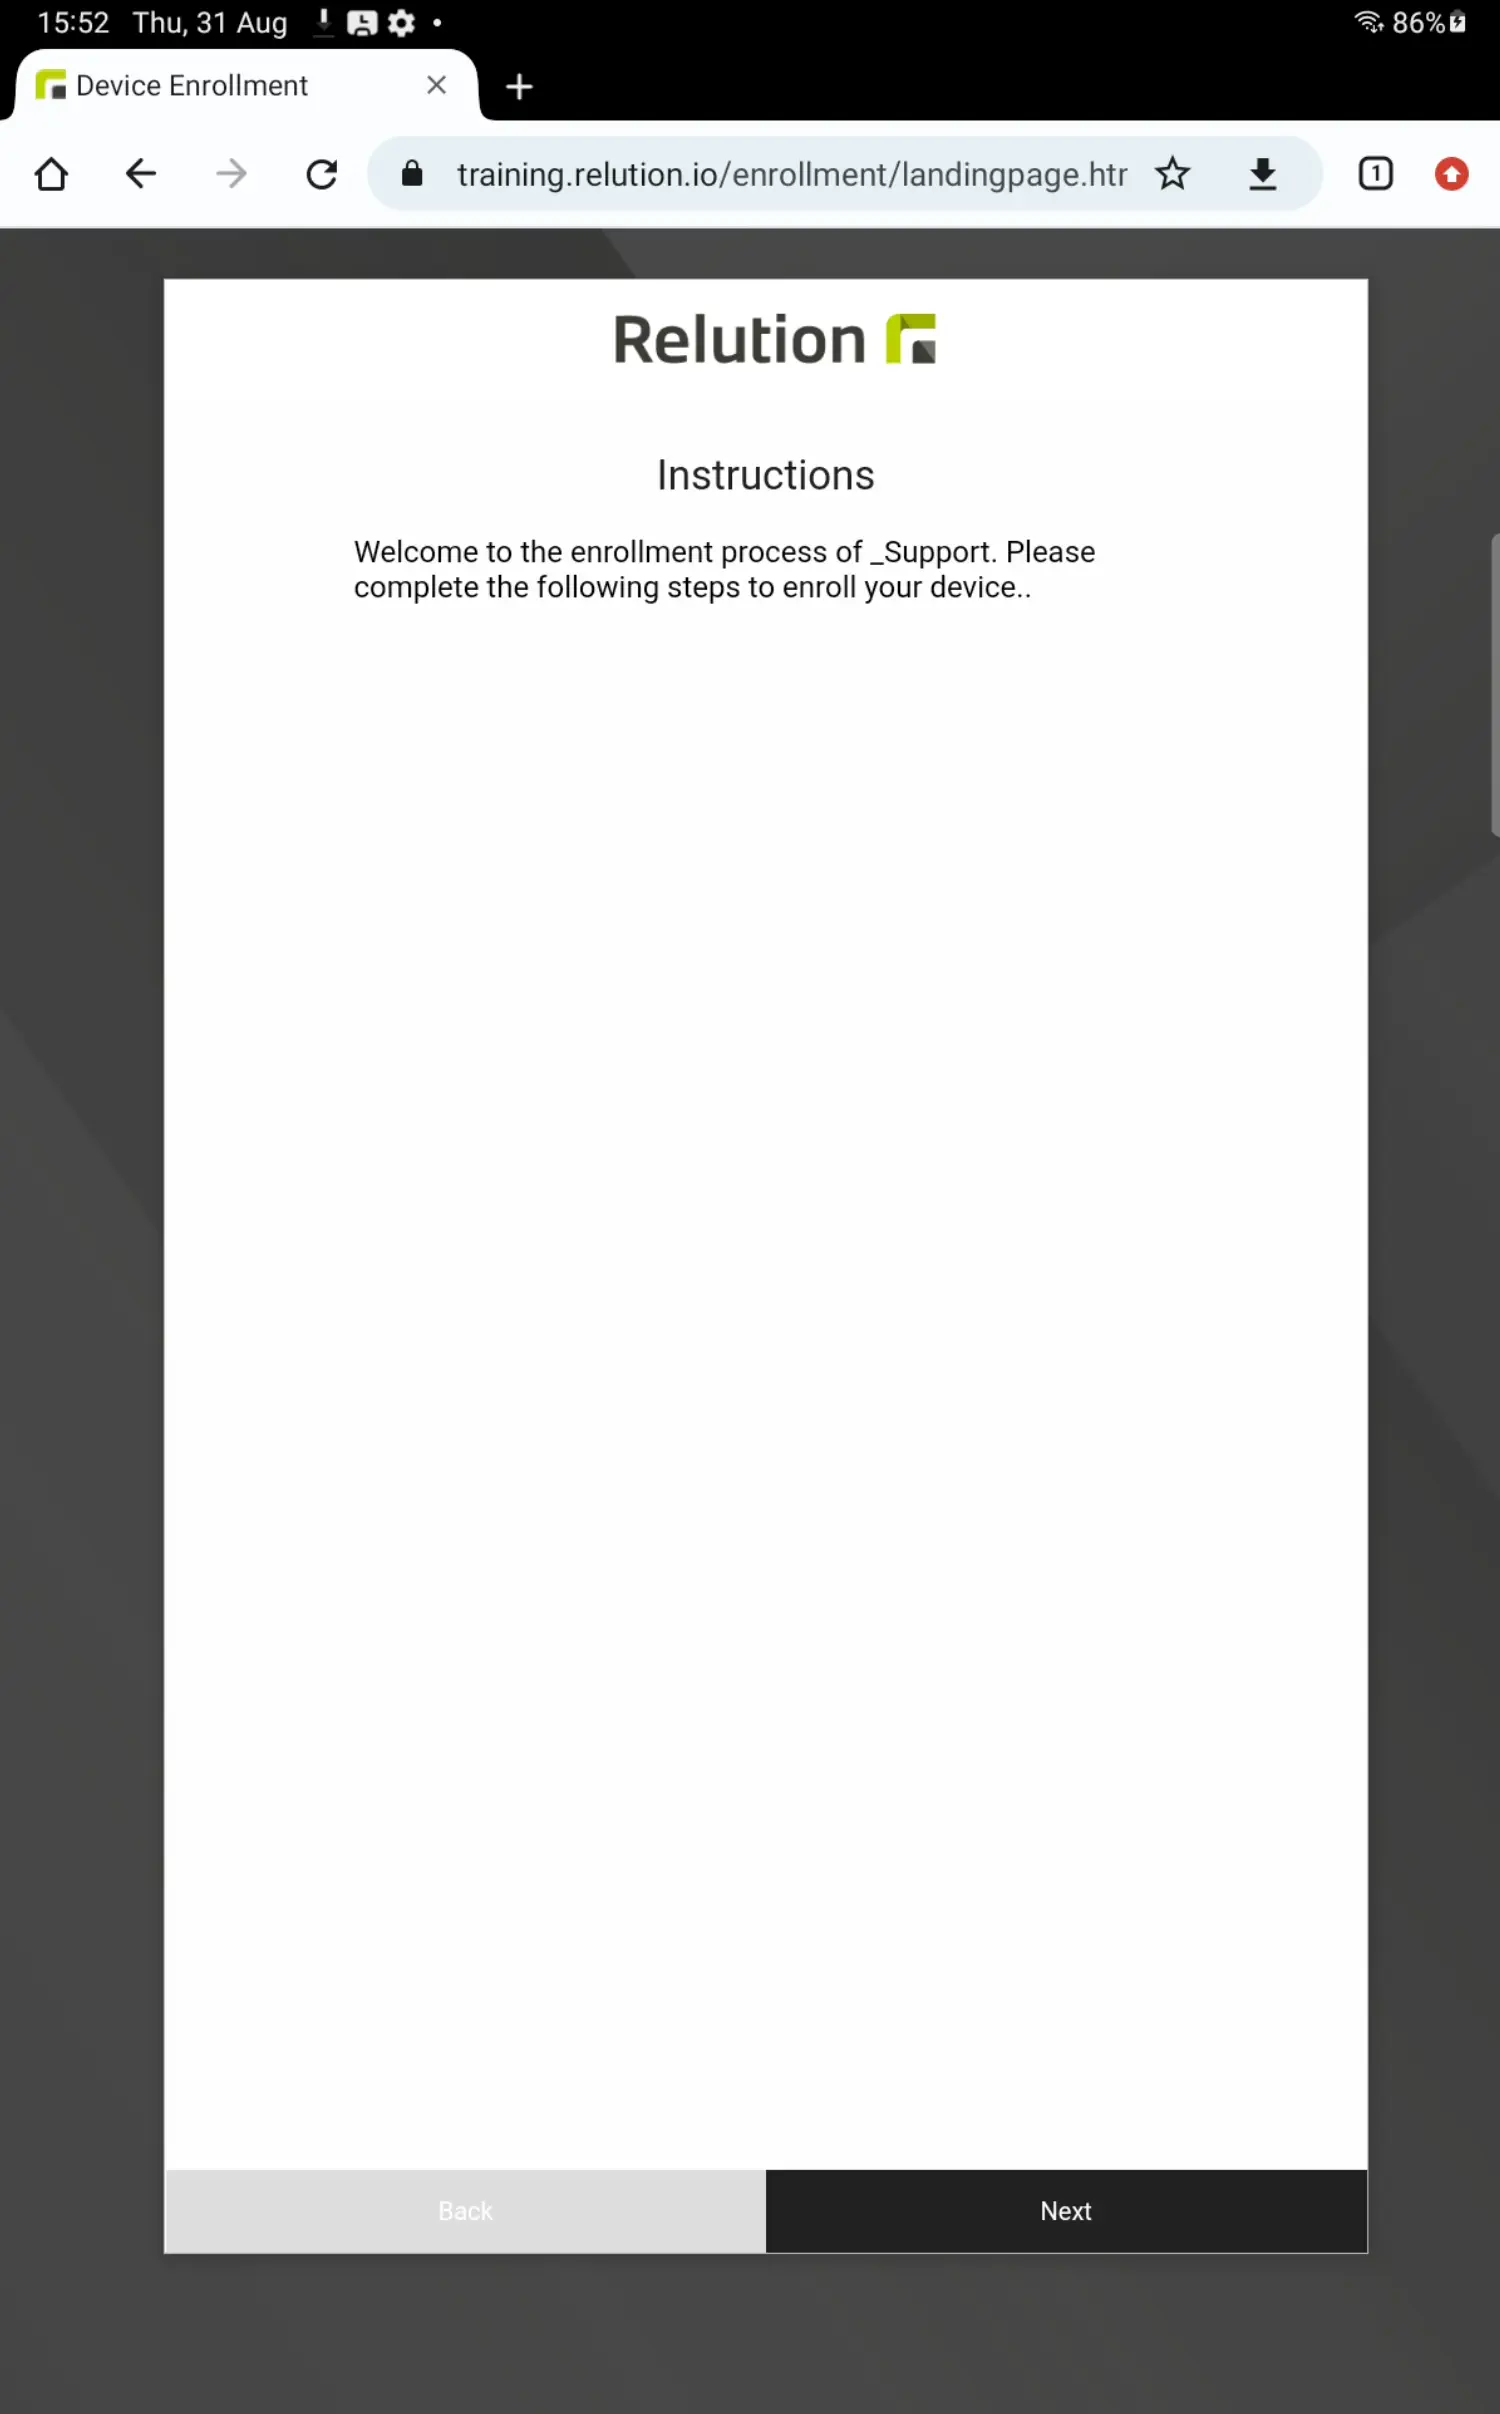
The browser on the Android device shows this welcome screen. Tapping Next continues.
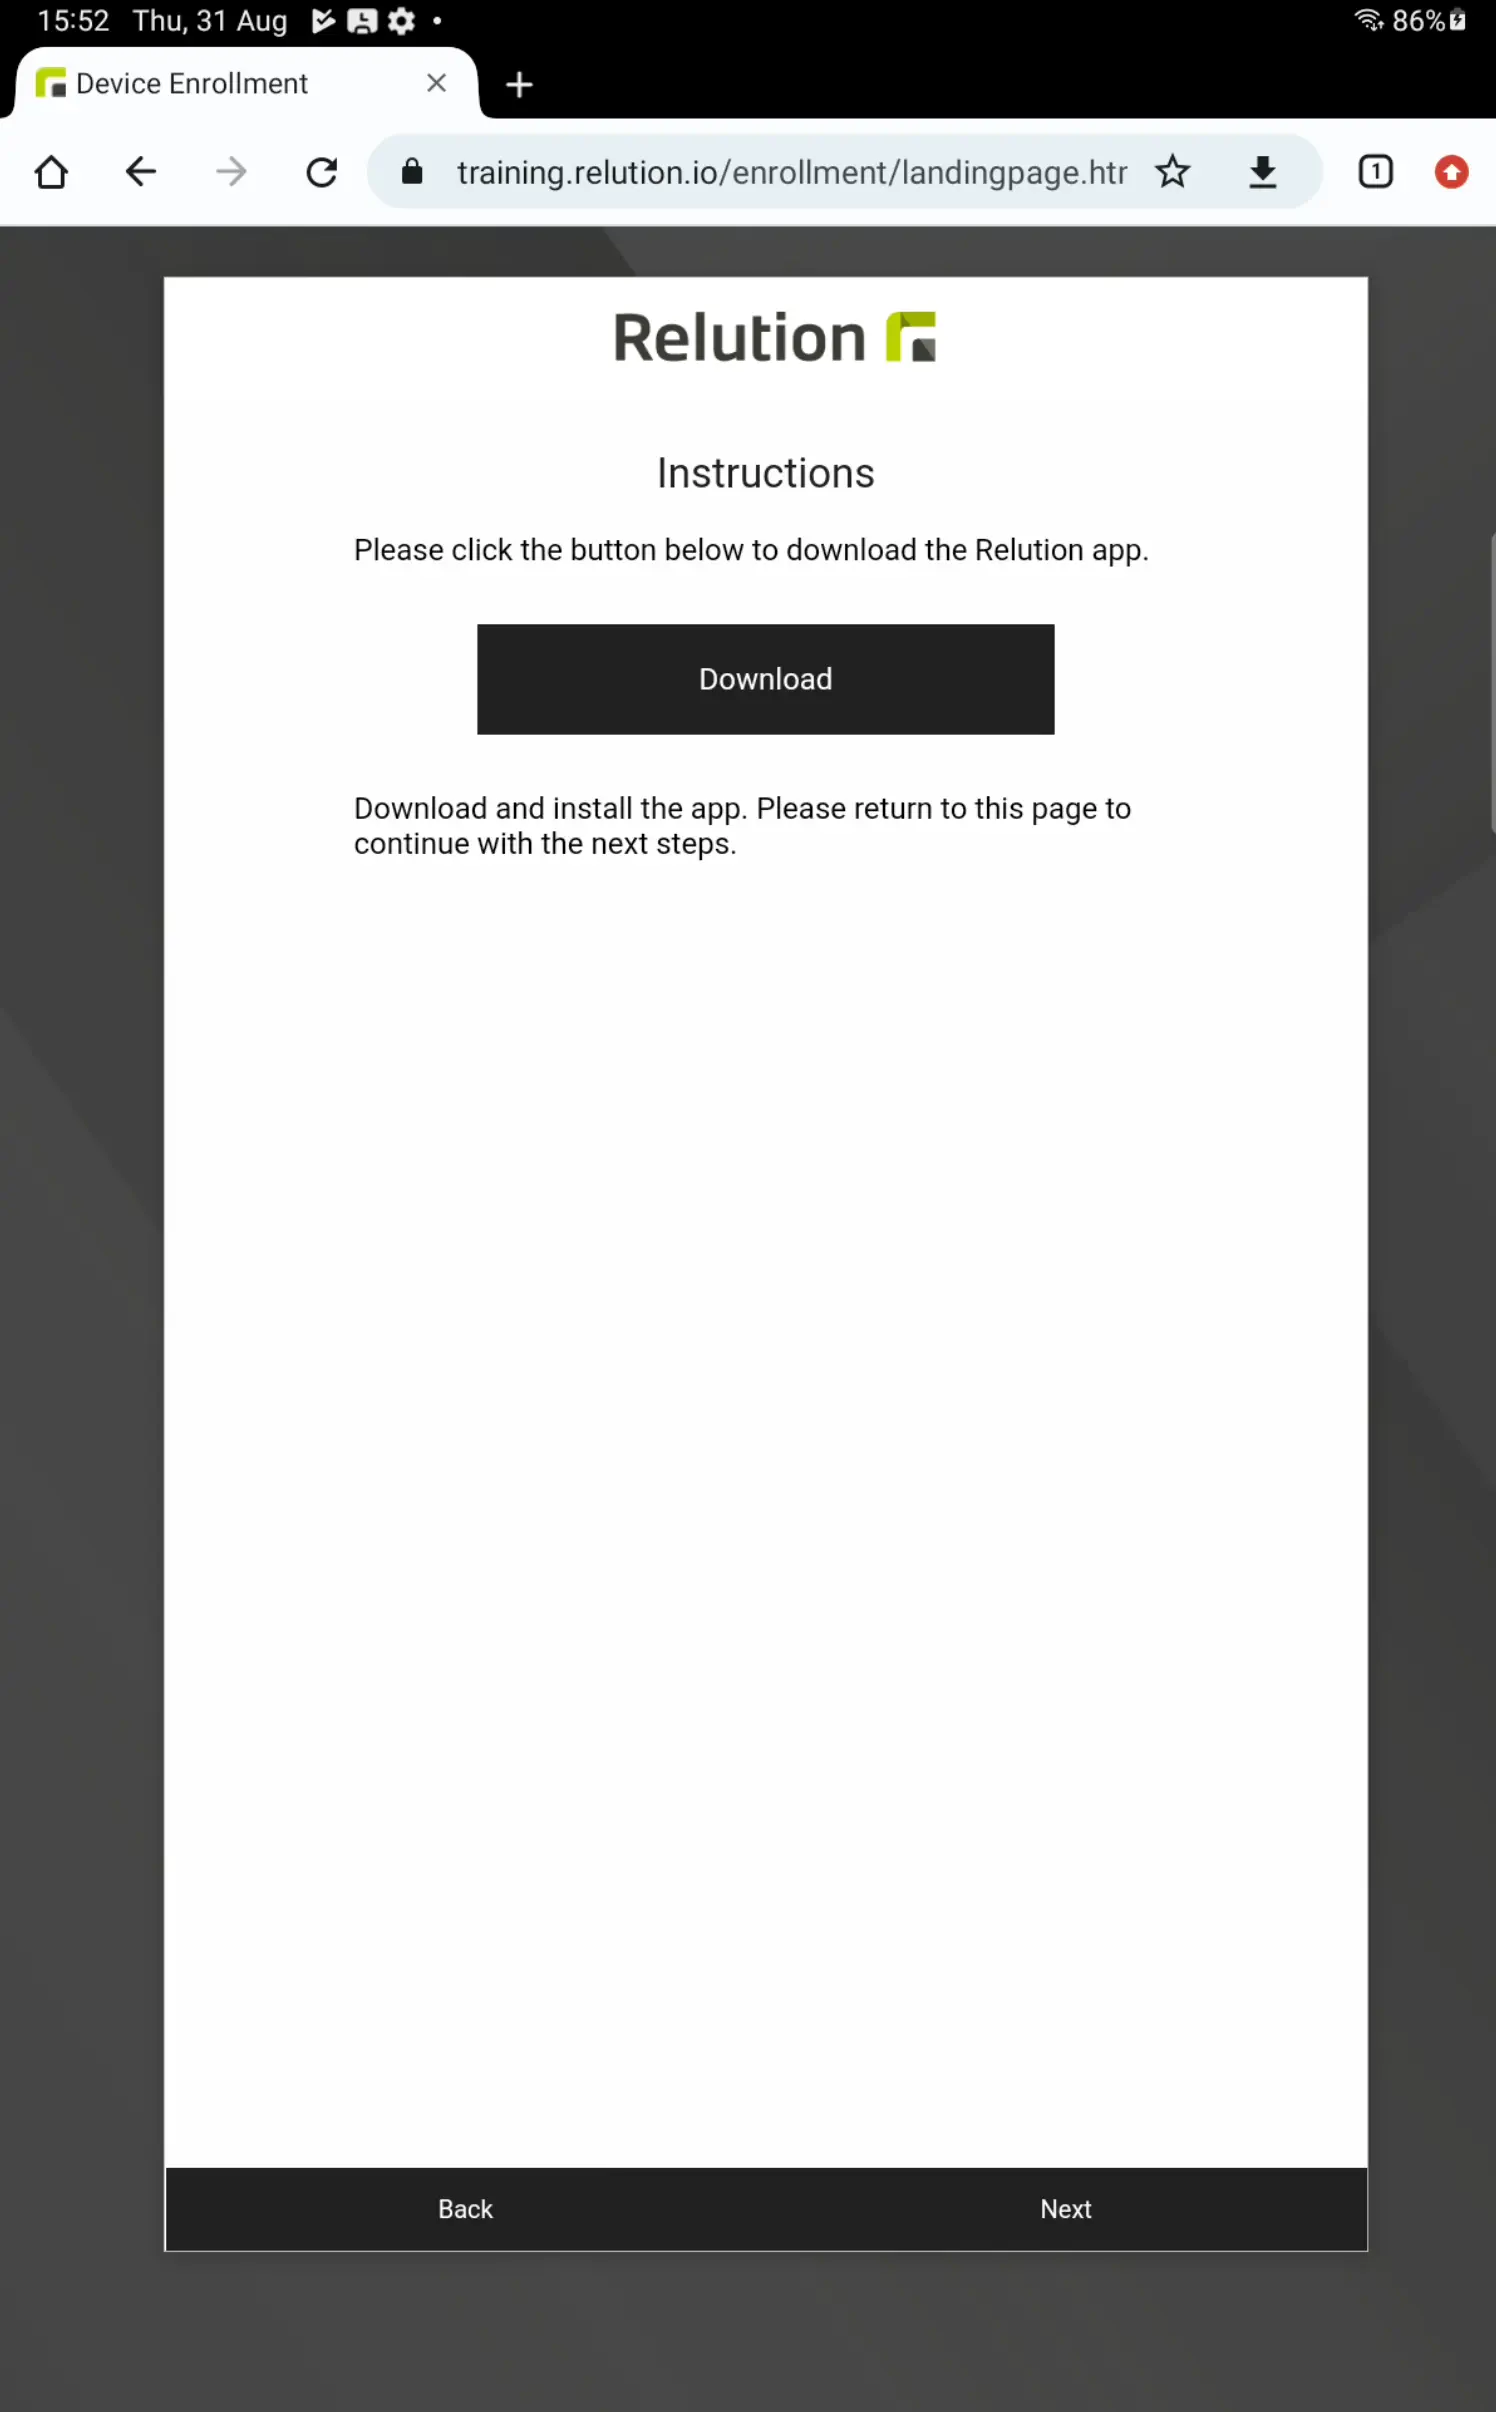
A prompt to download and install the
Relution Companionfor Android appears (alternatively available as *.apk from our server Relution Companion APK →).After the installation is complete, one should return to the browser to continue with the log in. If the installation fails, installing apps from unknown sources is not allowed on the Android device. As of Android 8, this permission is granted per app, namely for the app used to download the Relution app, for example the browser (Install unknown apps, depending on the manufacturer under
Settings→Apps→Special app access). Up to Android 7, the setting is located underSettings→Security→Unknown sources.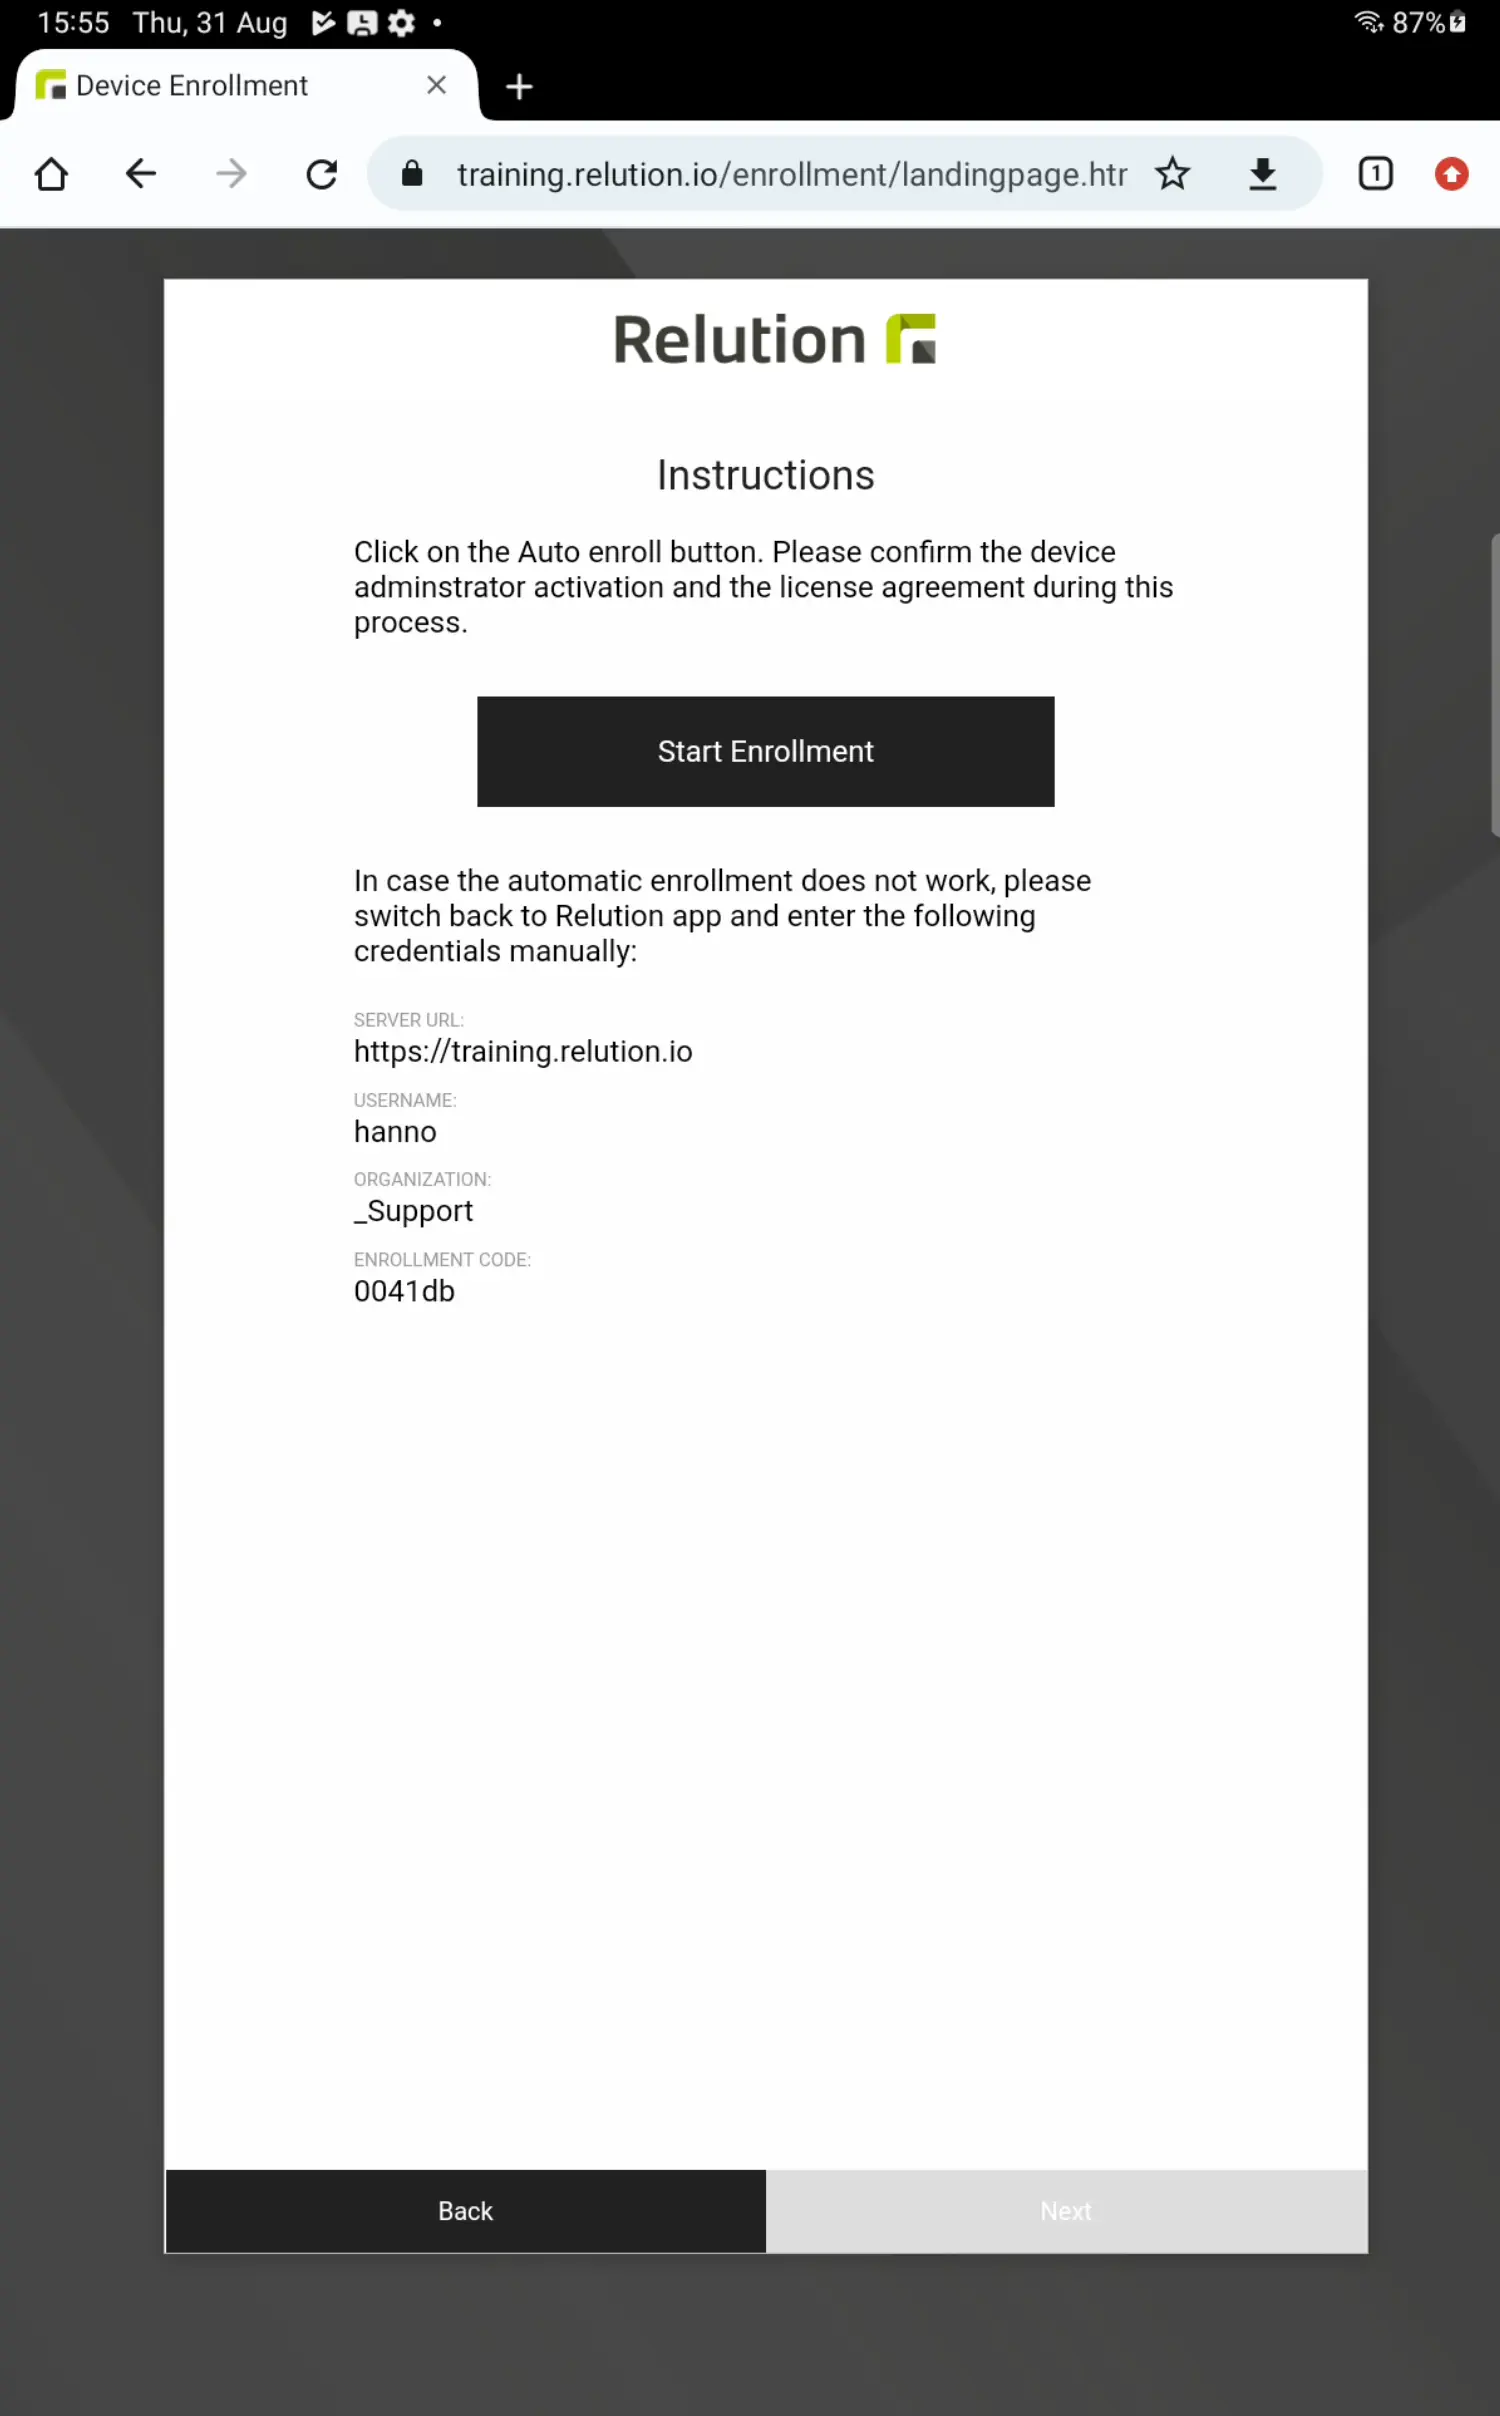
Tapping Start Enrollment opens the
Relution Companionfor Android.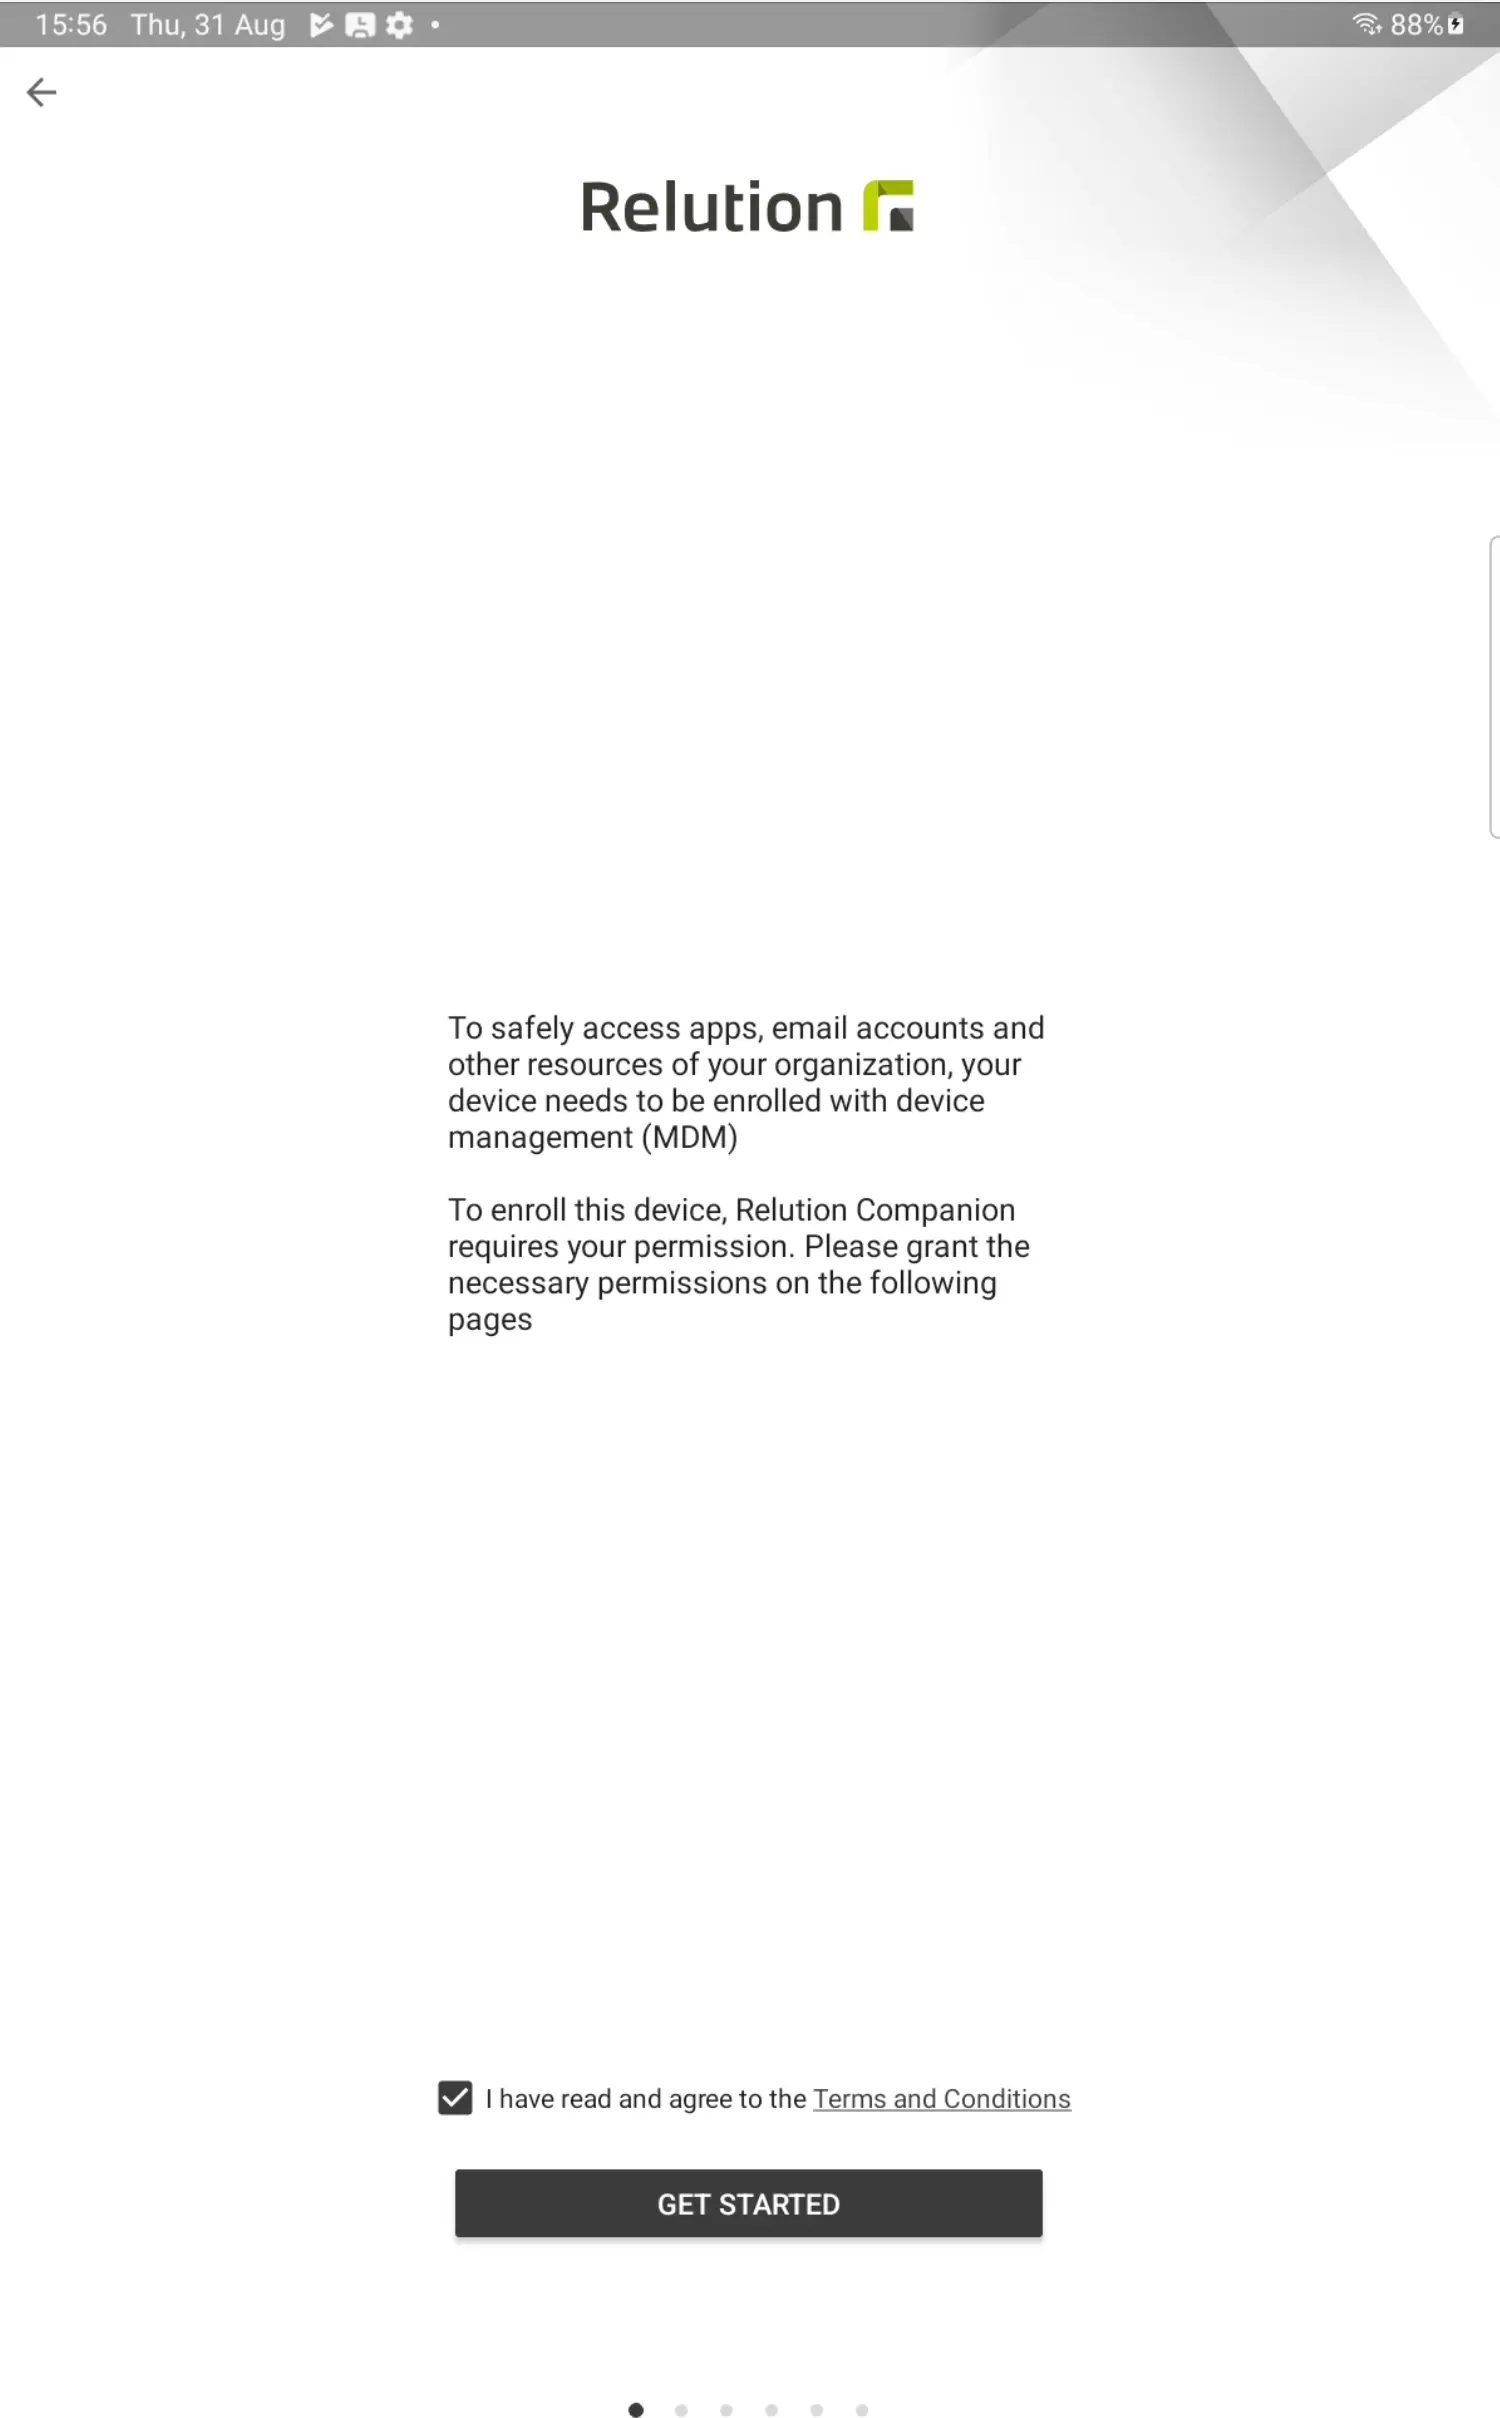
After the terms and conditions have been accepted, Get started is tapped.
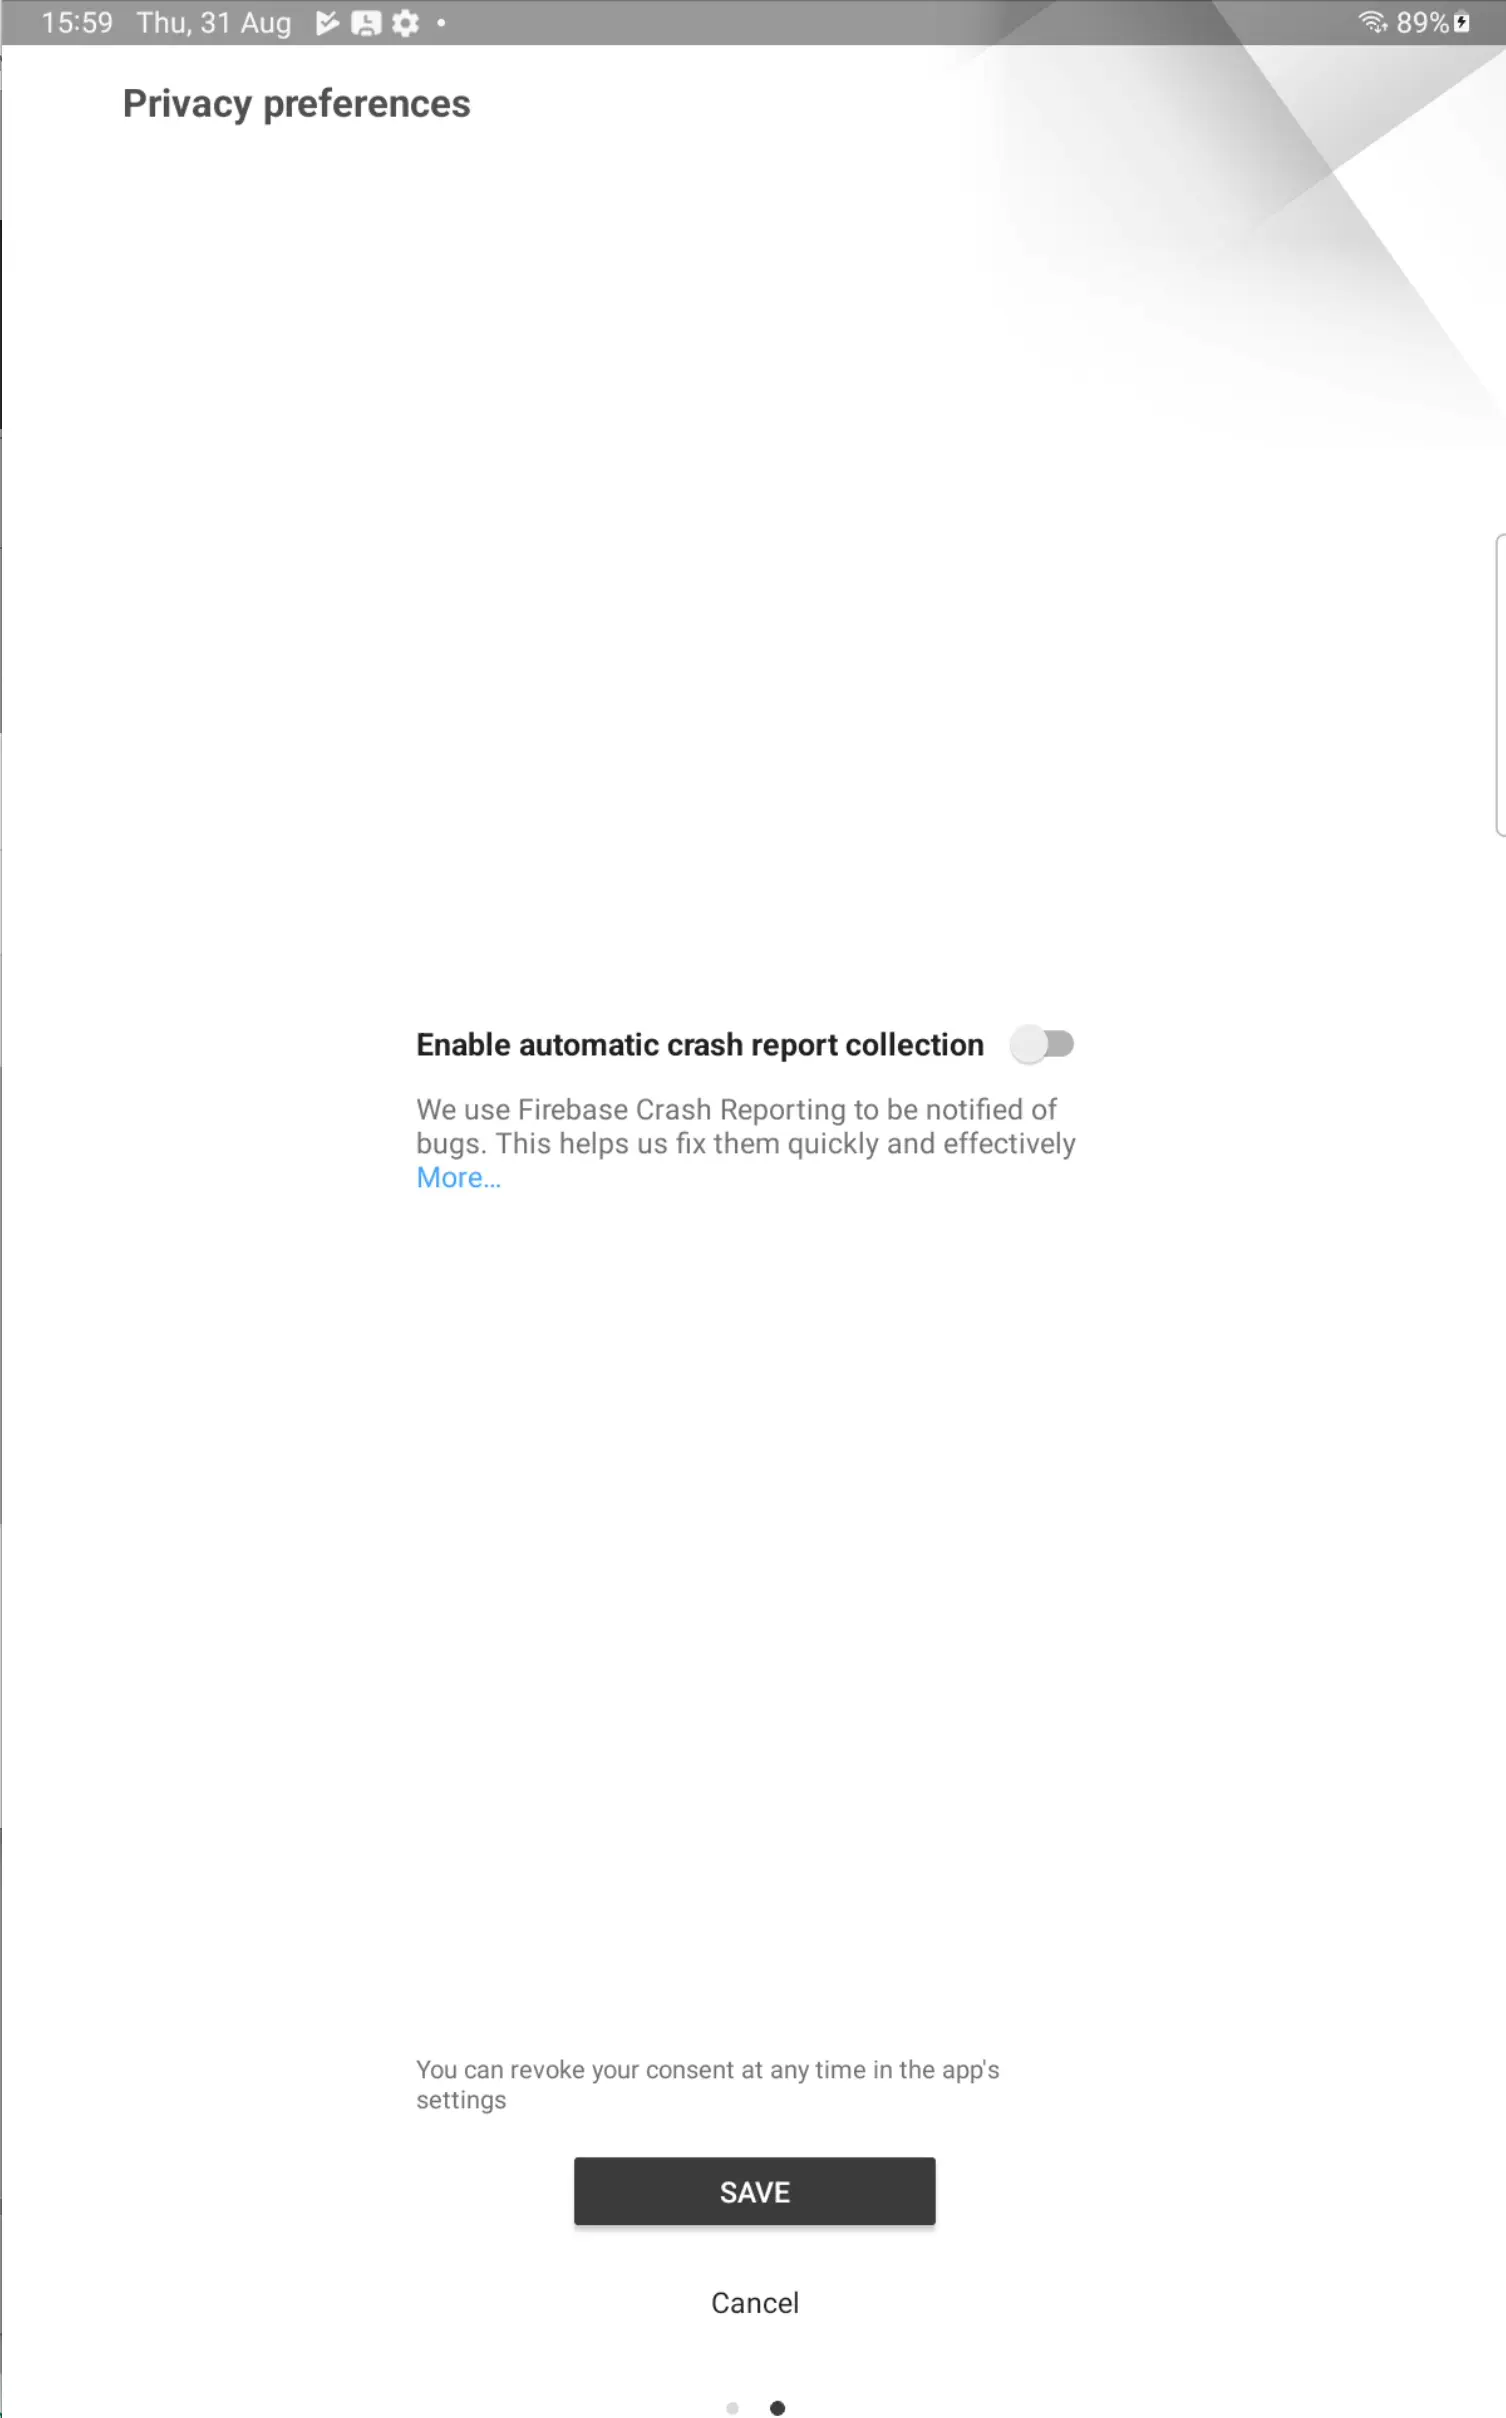
The Privacy preferences screen determines which optional data the
Relution Companionmay transmit, e.g. automatic crash reports. Save applies the selection, which can later be revoked in the app’s settings.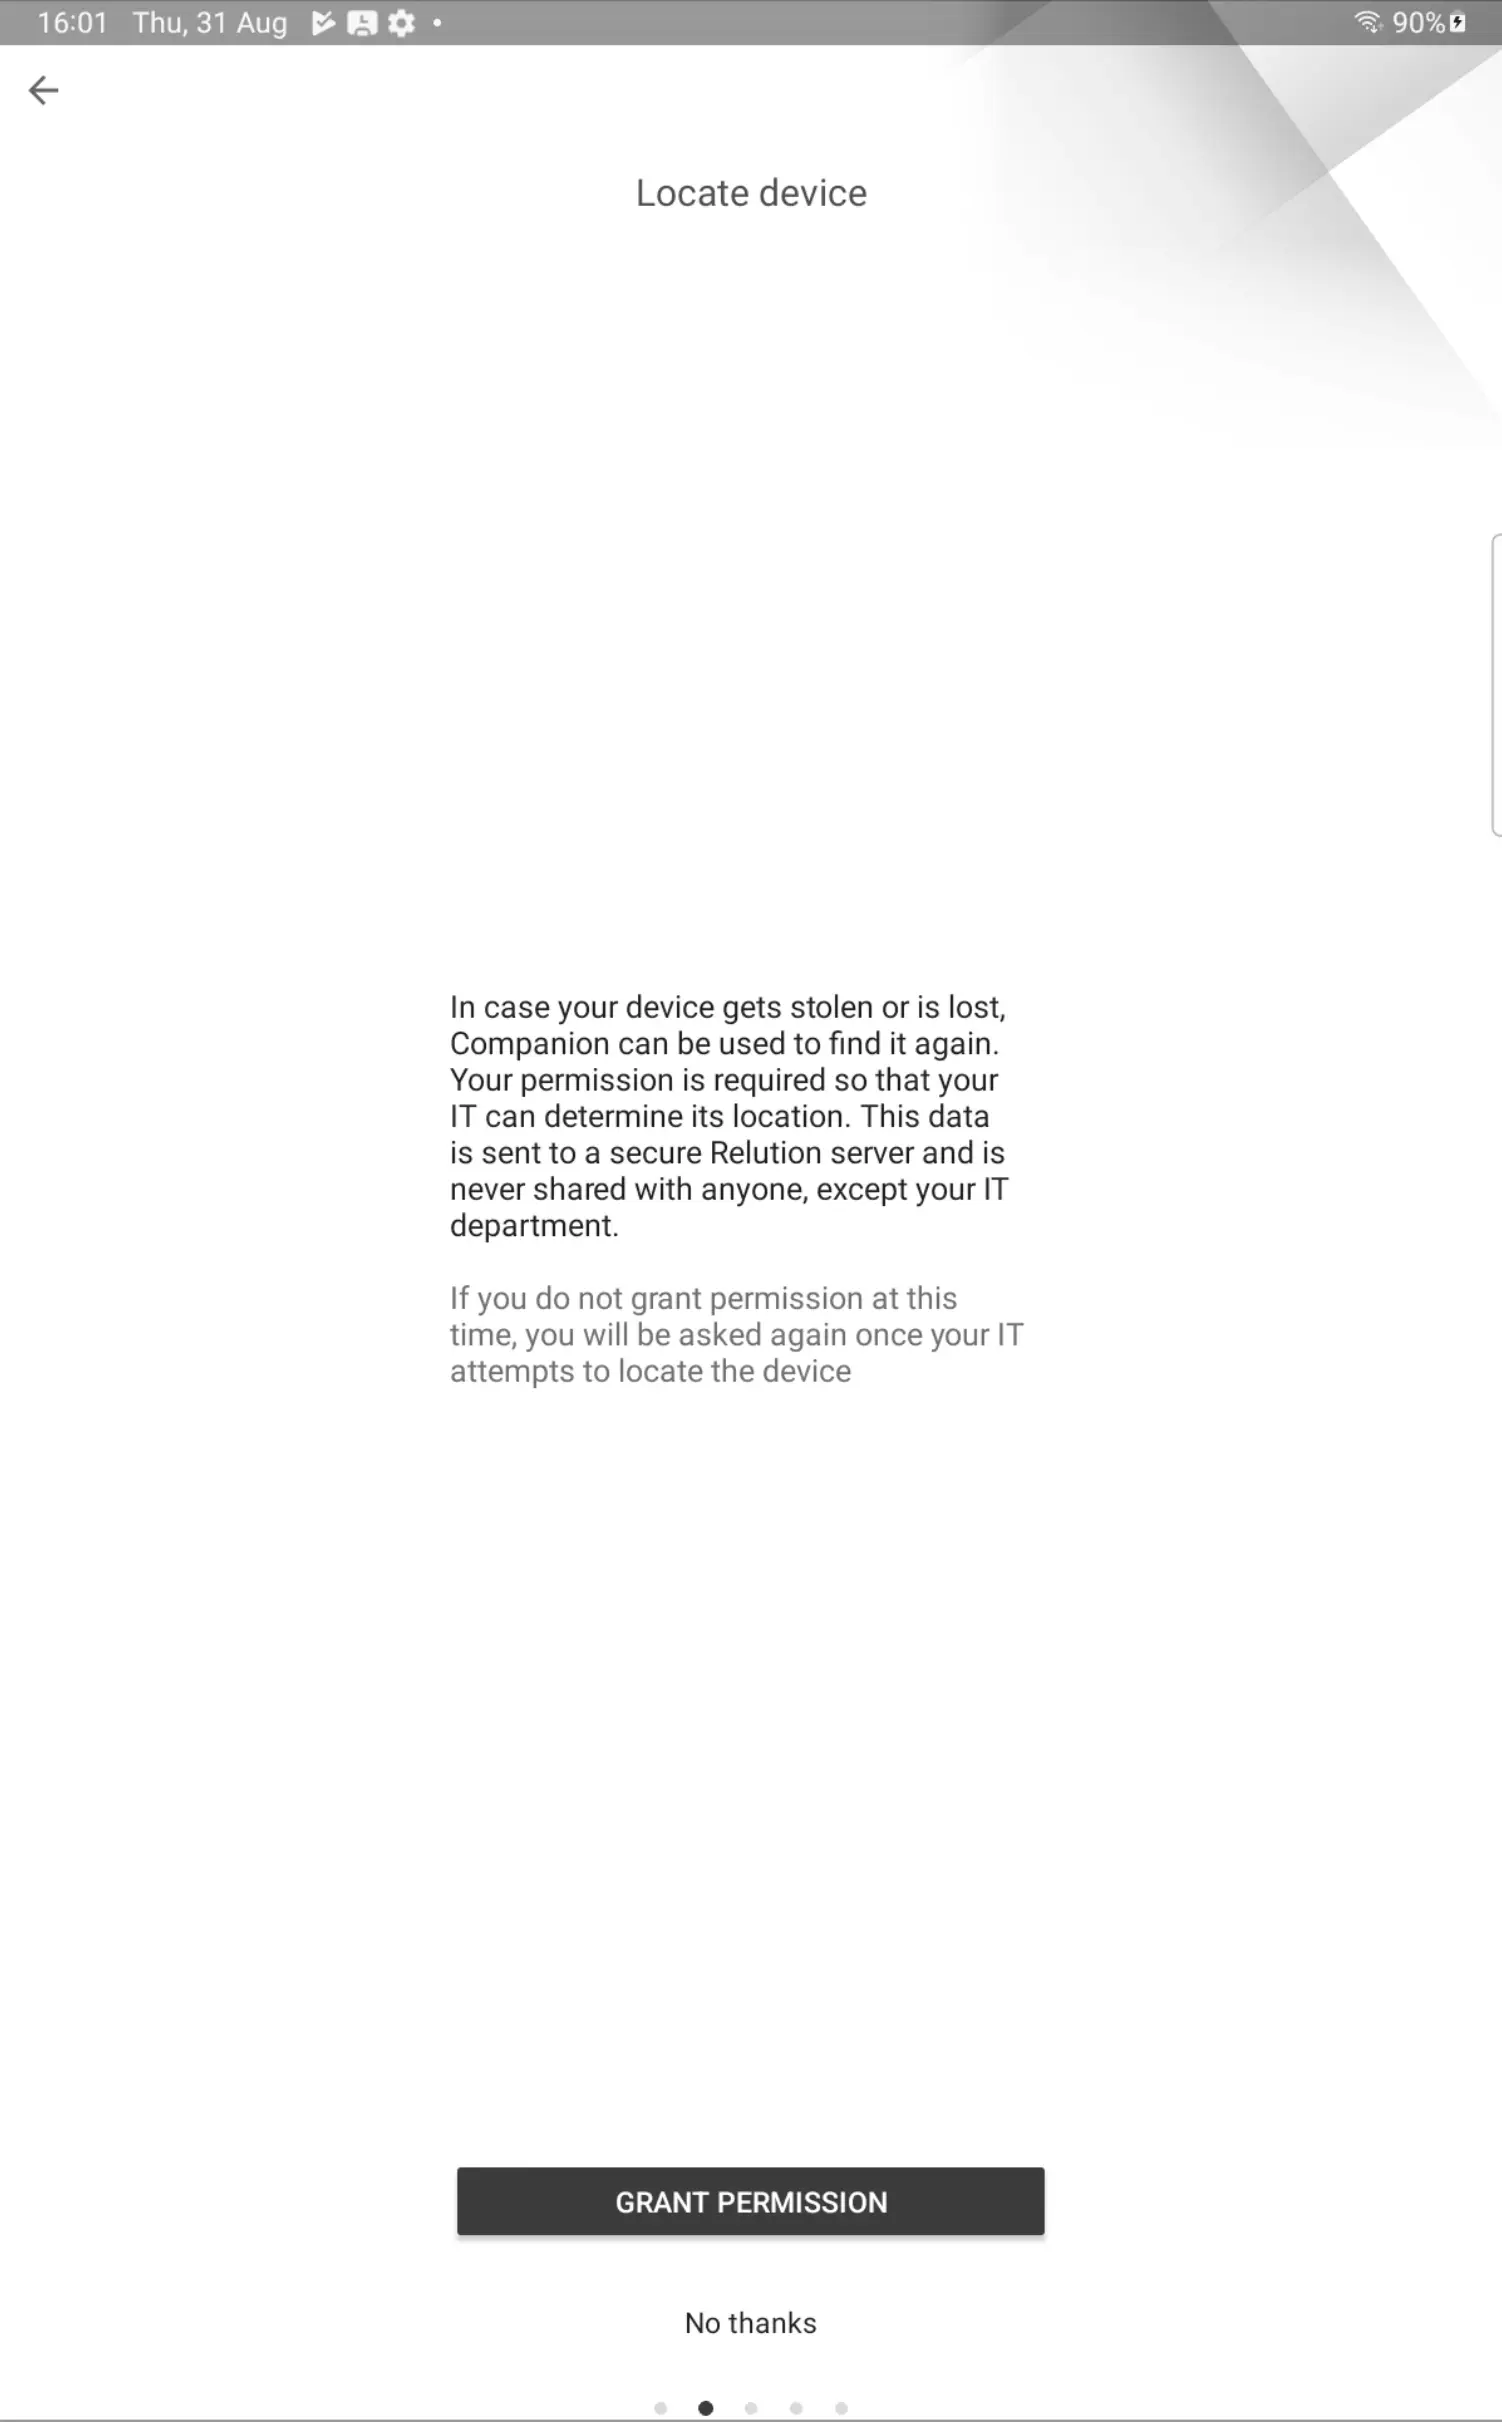
Permission to locate the device can then be granted. If permission is not granted, the administrator will not be able to locate the Android device if it is stolen or lost.
Relution can also be allowed to read the device status to share the phone number and IMEI with the administrator. This information is transmitted encrypted and never shared with third parties.
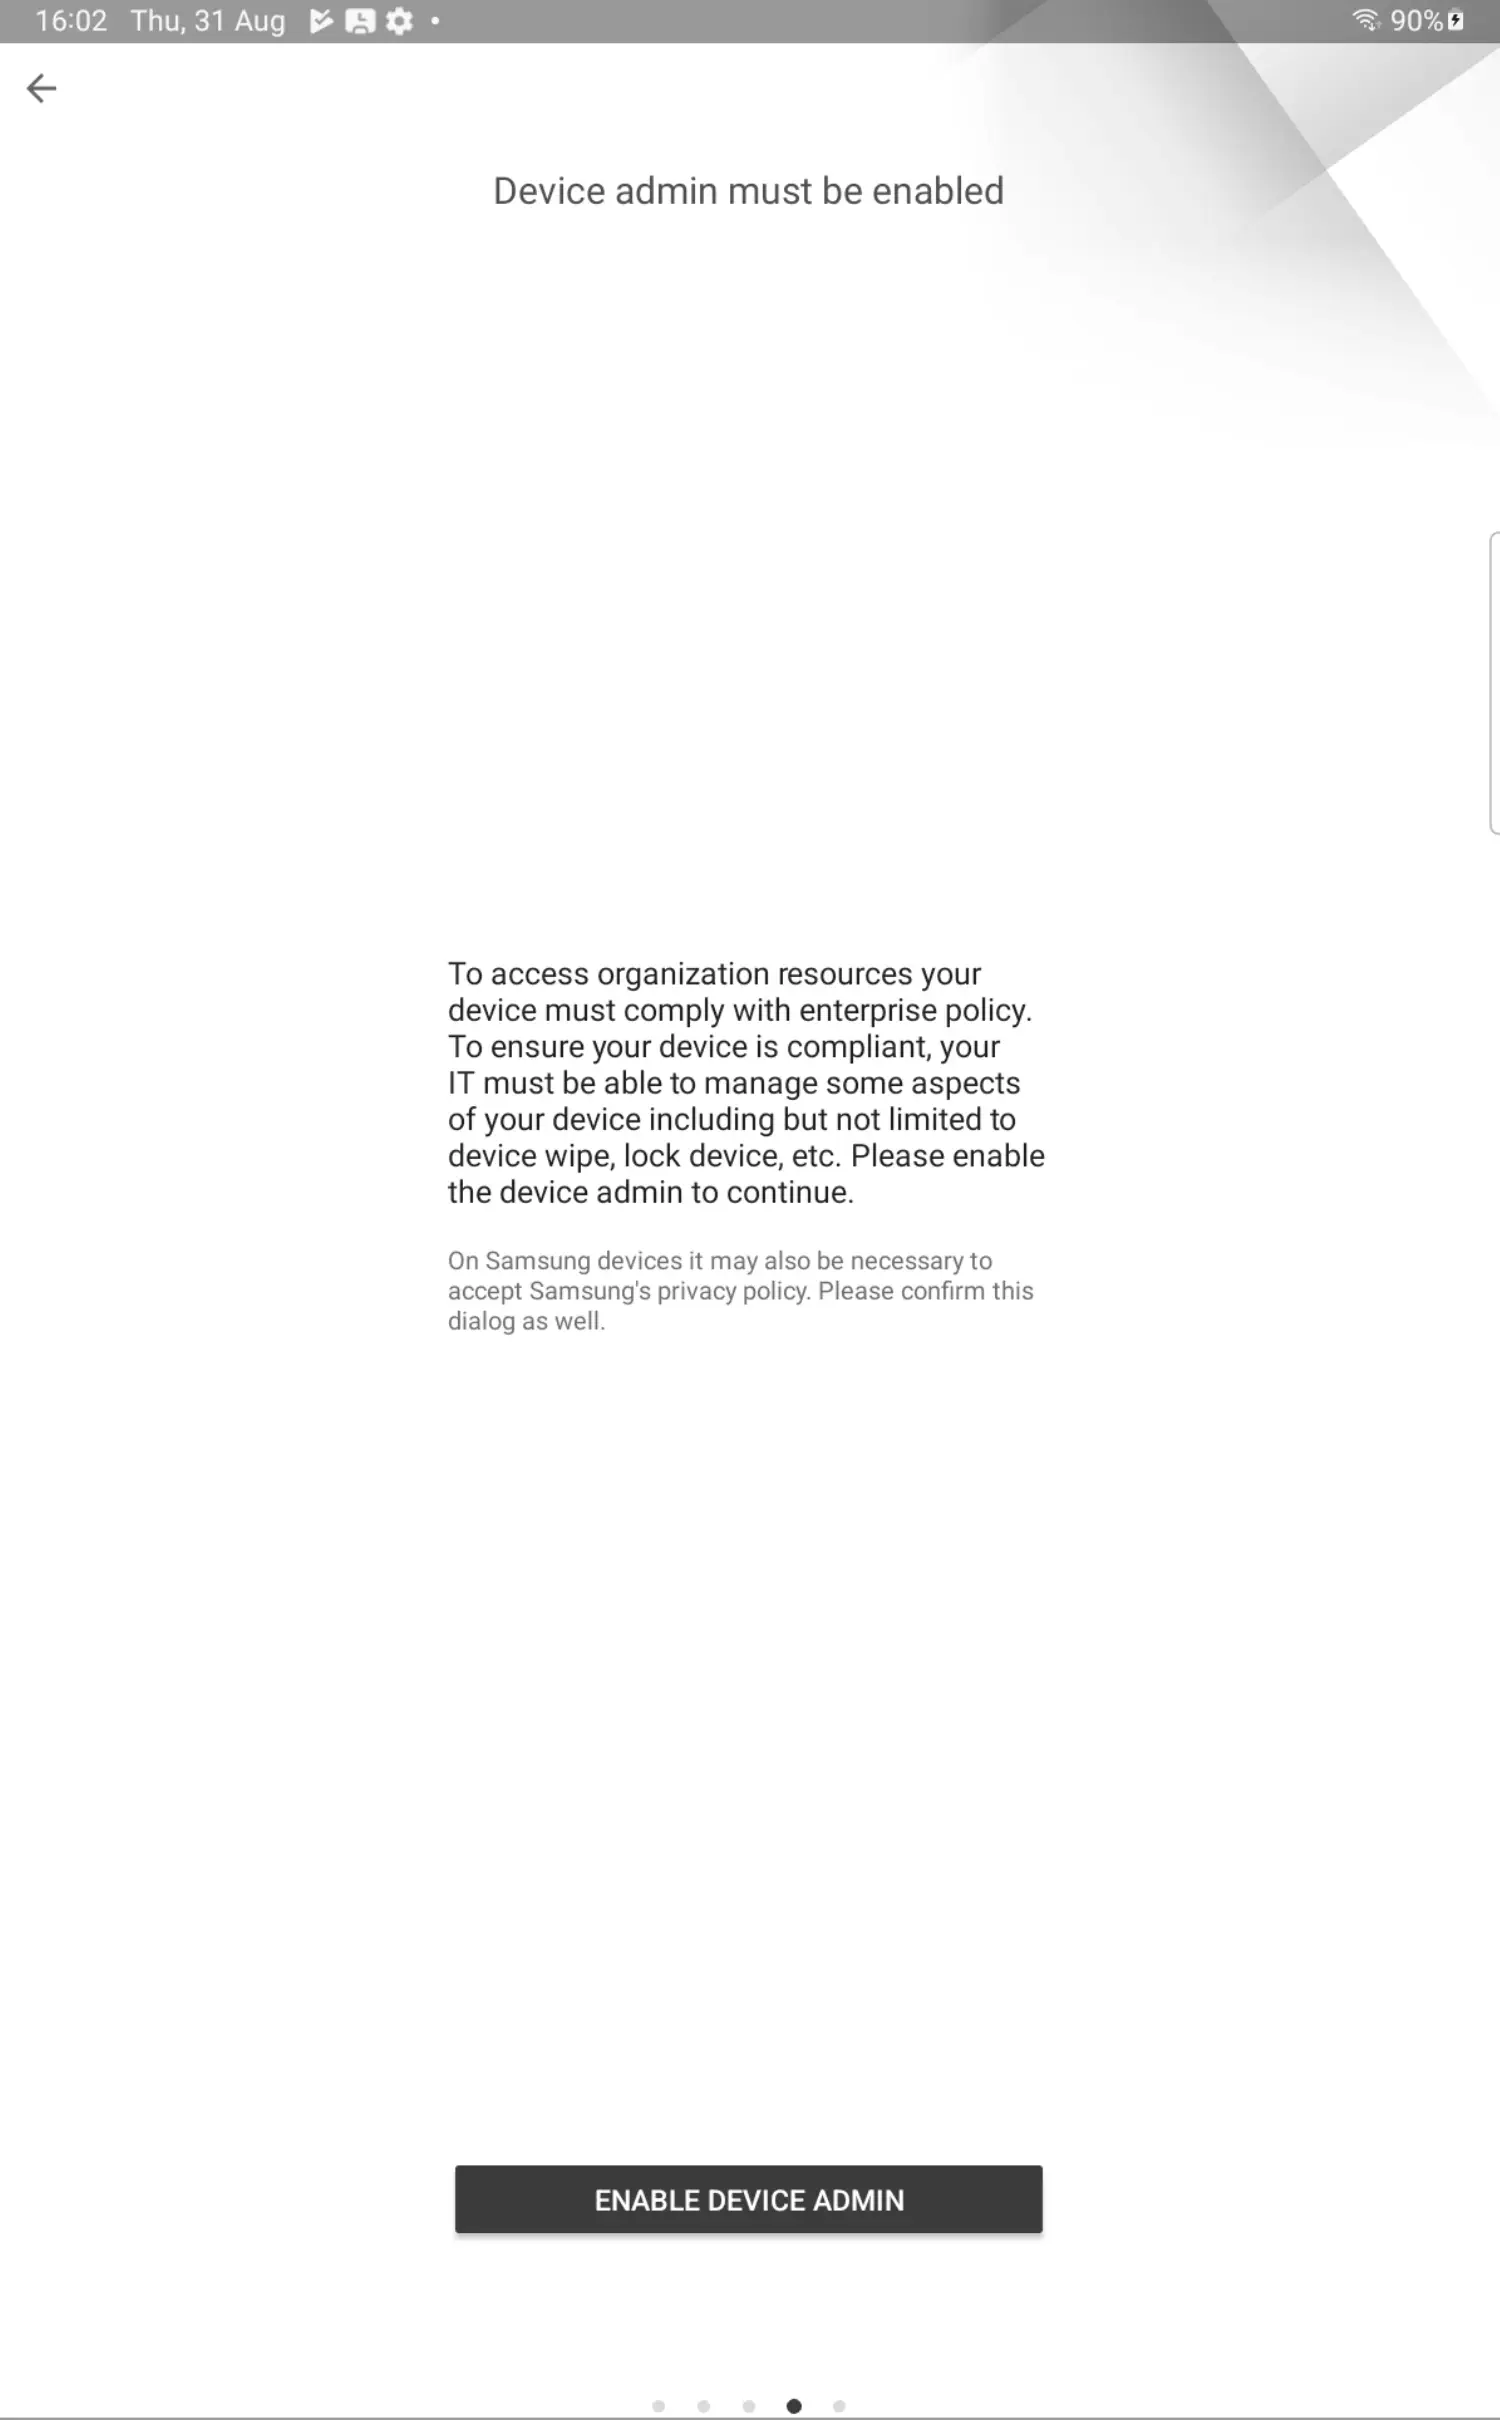
A prompt then appears to grant administrative rights to Relution. This is necessary to ensure that the Android device complies with the organization’s requirements, such as password policies. If the option Withdraw Android legacy devices in case the device administrator permission is not granted is enabled in
Settings→Device Management, the device is withdrawn from management if the permission is not granted or is revoked later.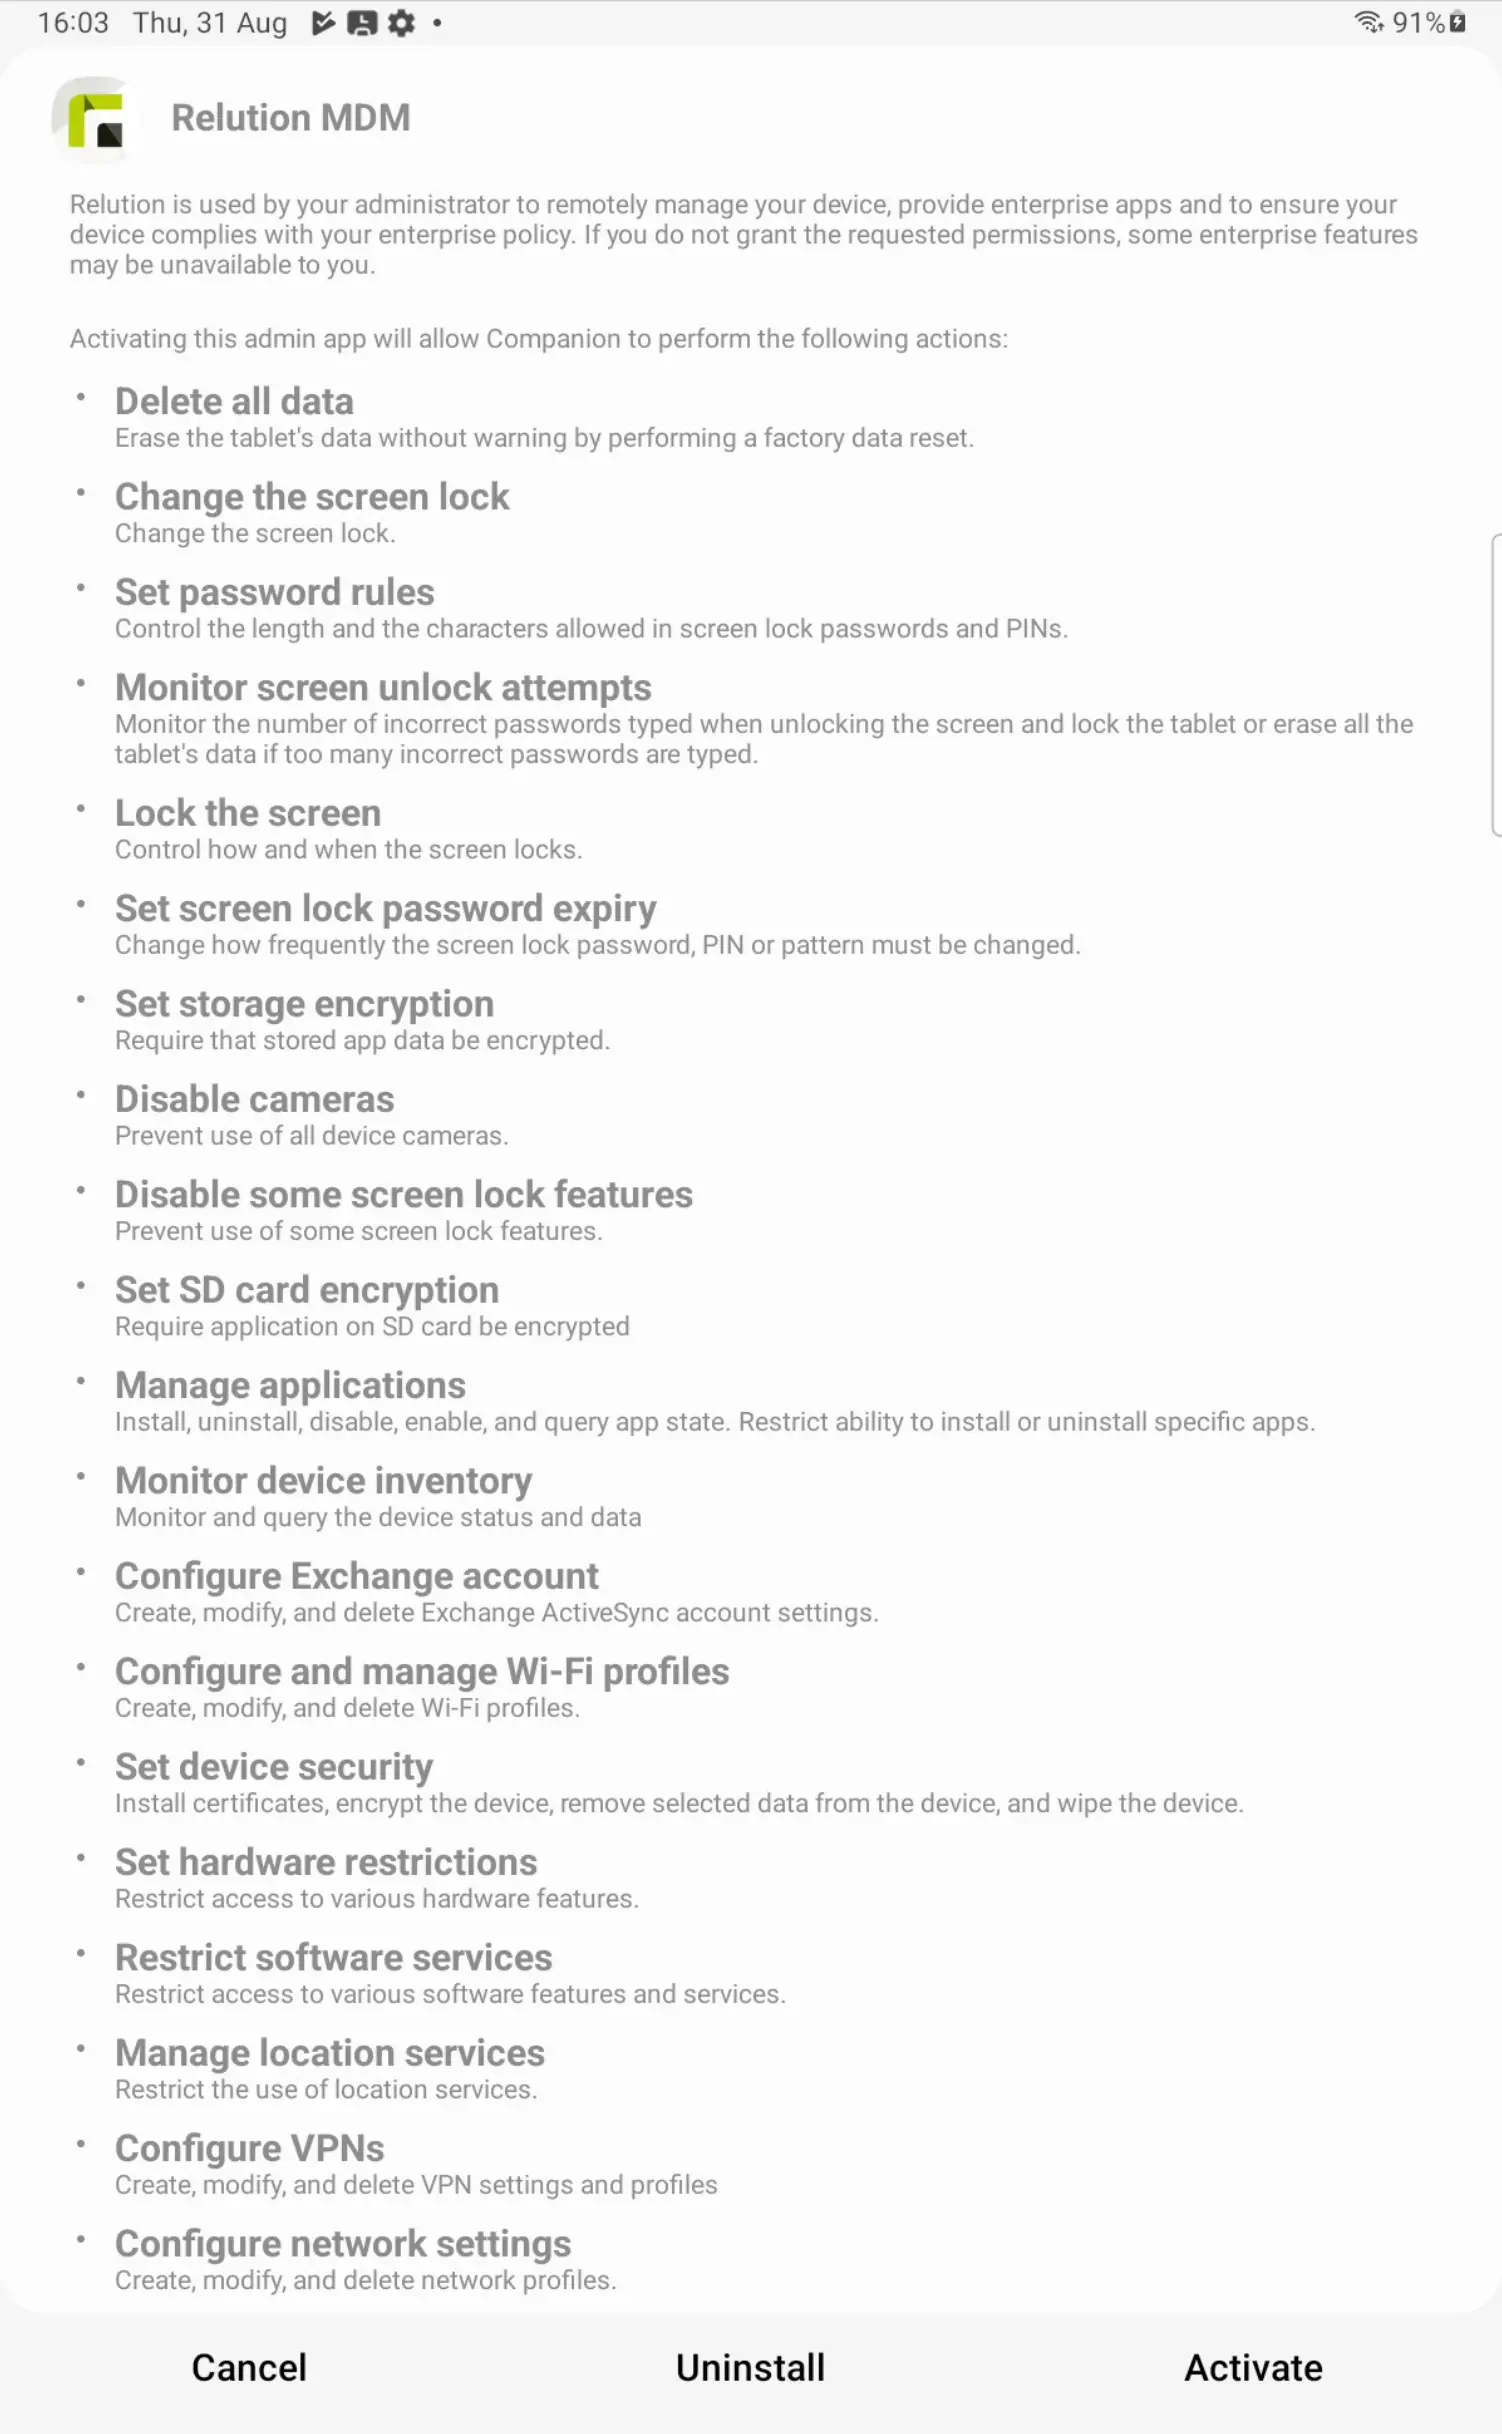
Tapping Activate grants the administrative permissions. Depending on the manufacturer and Android version of the device, the screen layout and the button label may differ from the screenshot above.
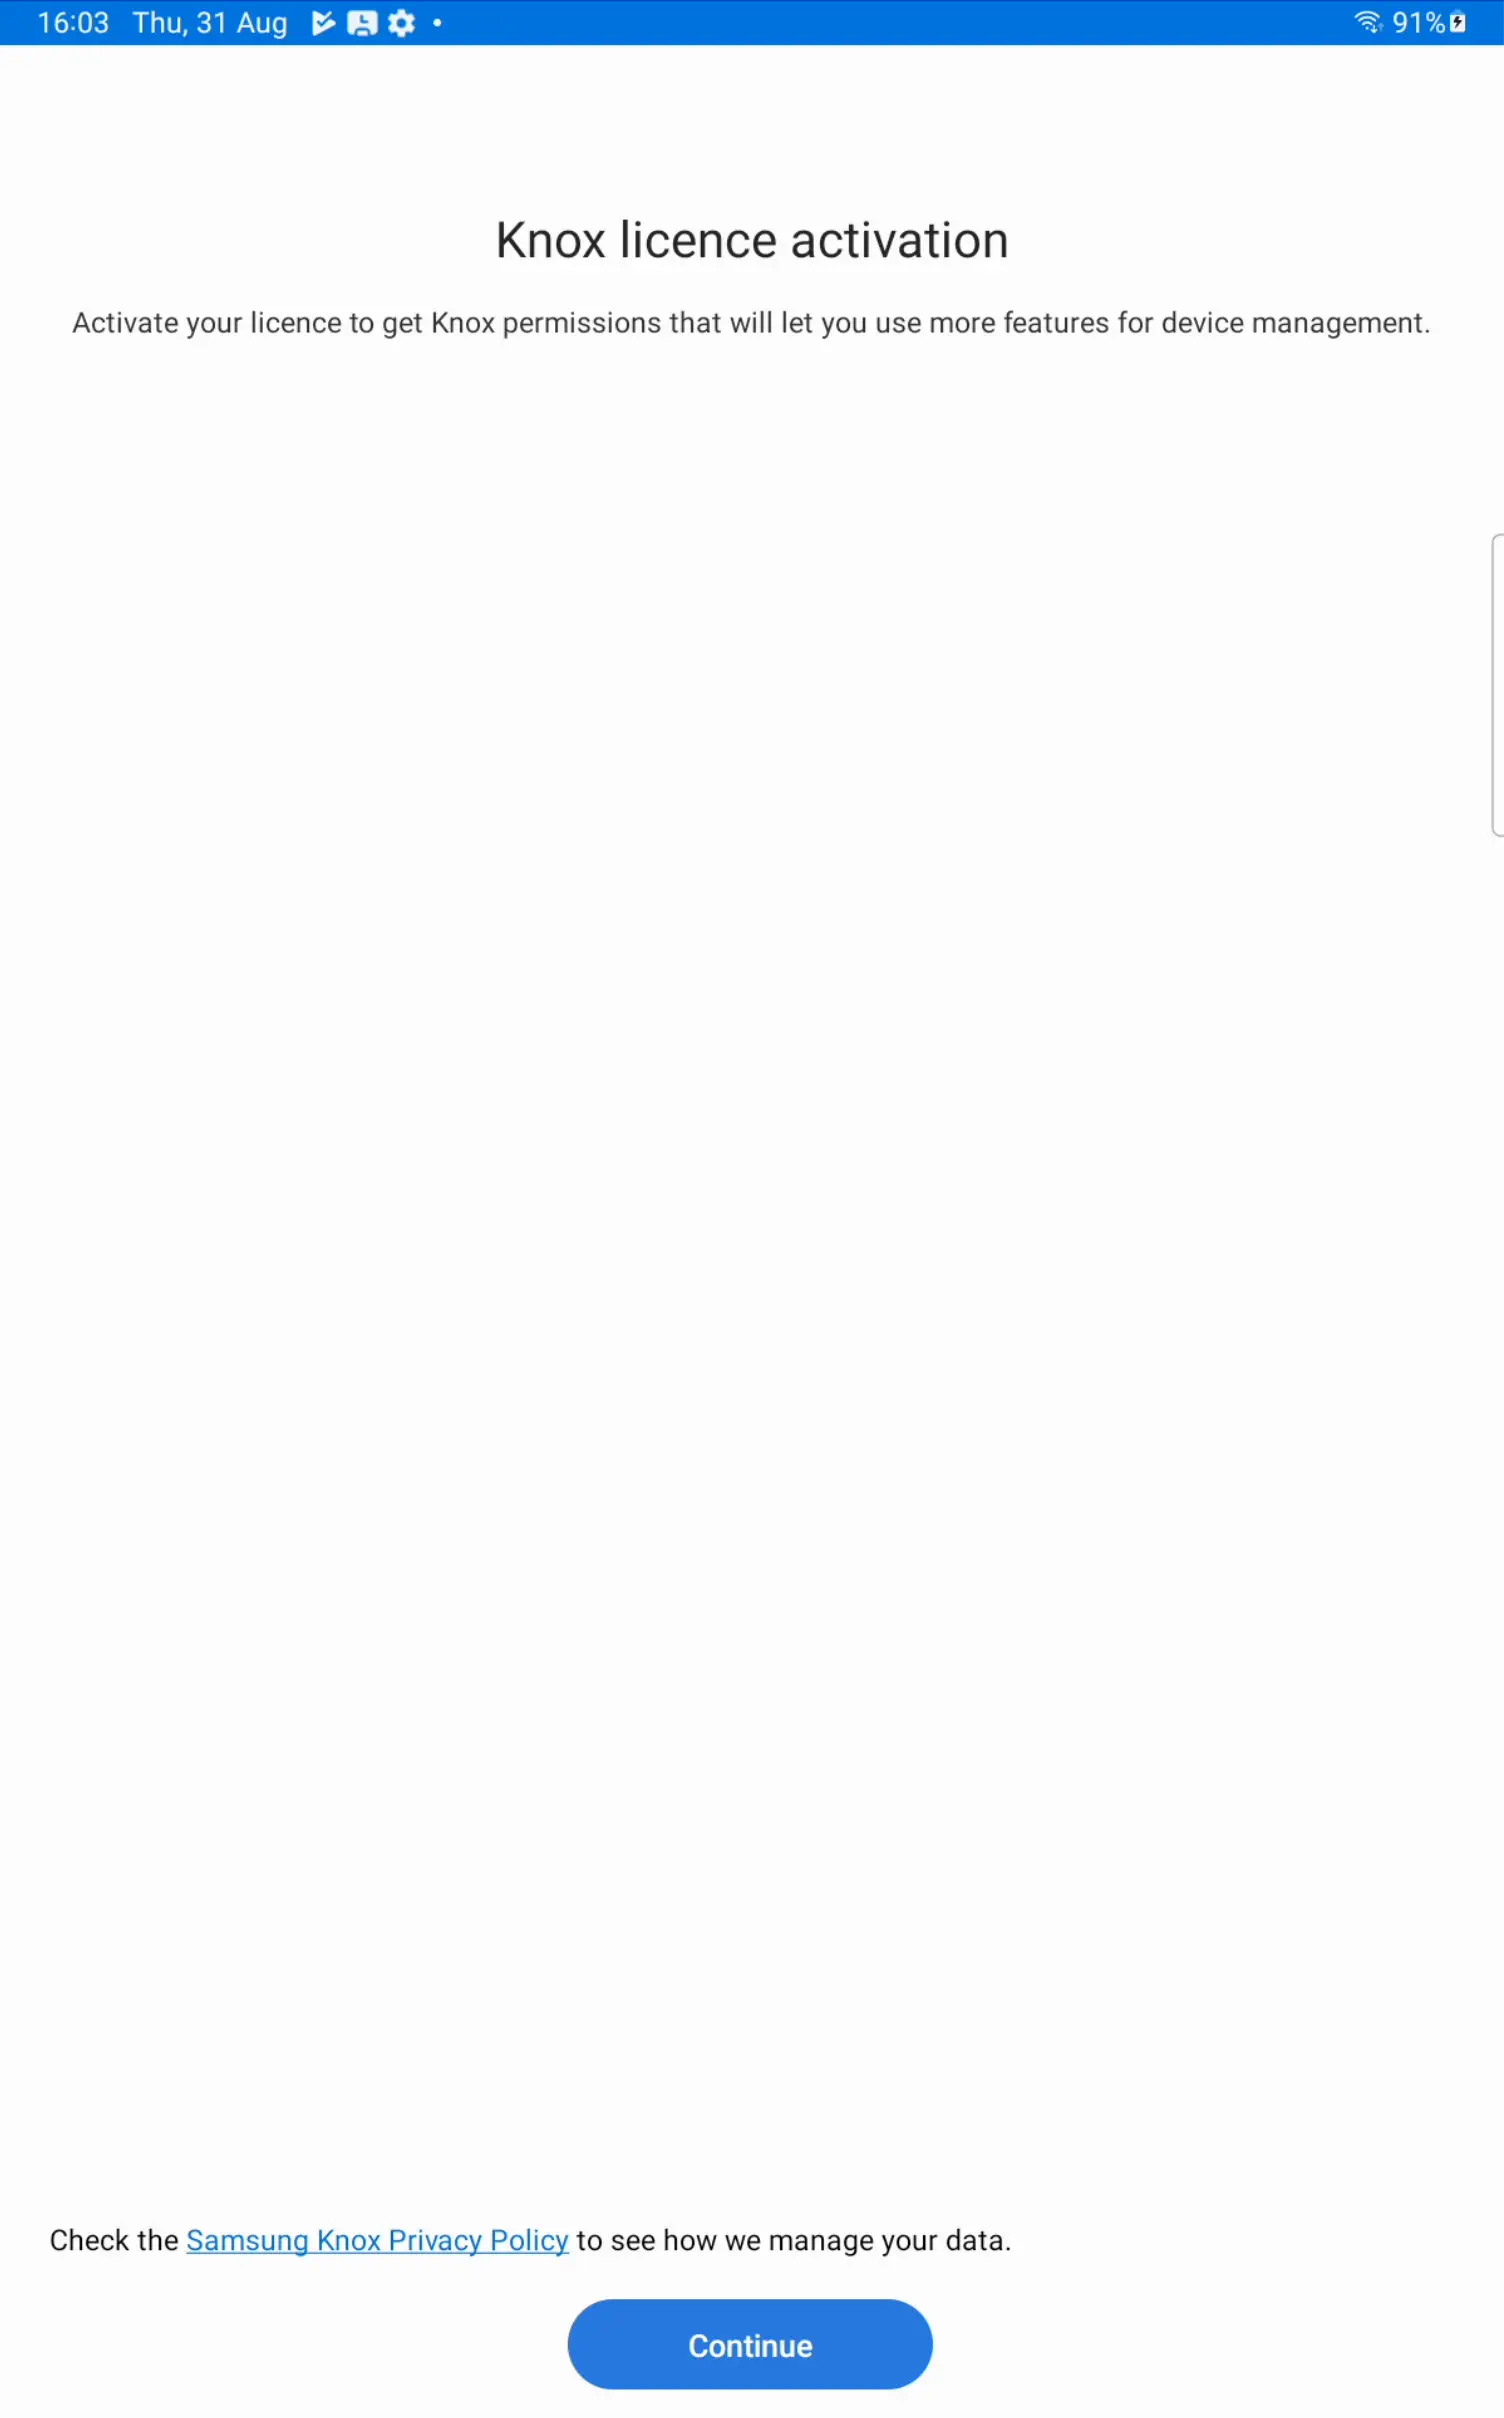
On Samsung devices, a Knox license activation dialog with a reference to the Samsung Knox privacy policy also appears. This dialog is confirmed with Continue as well.
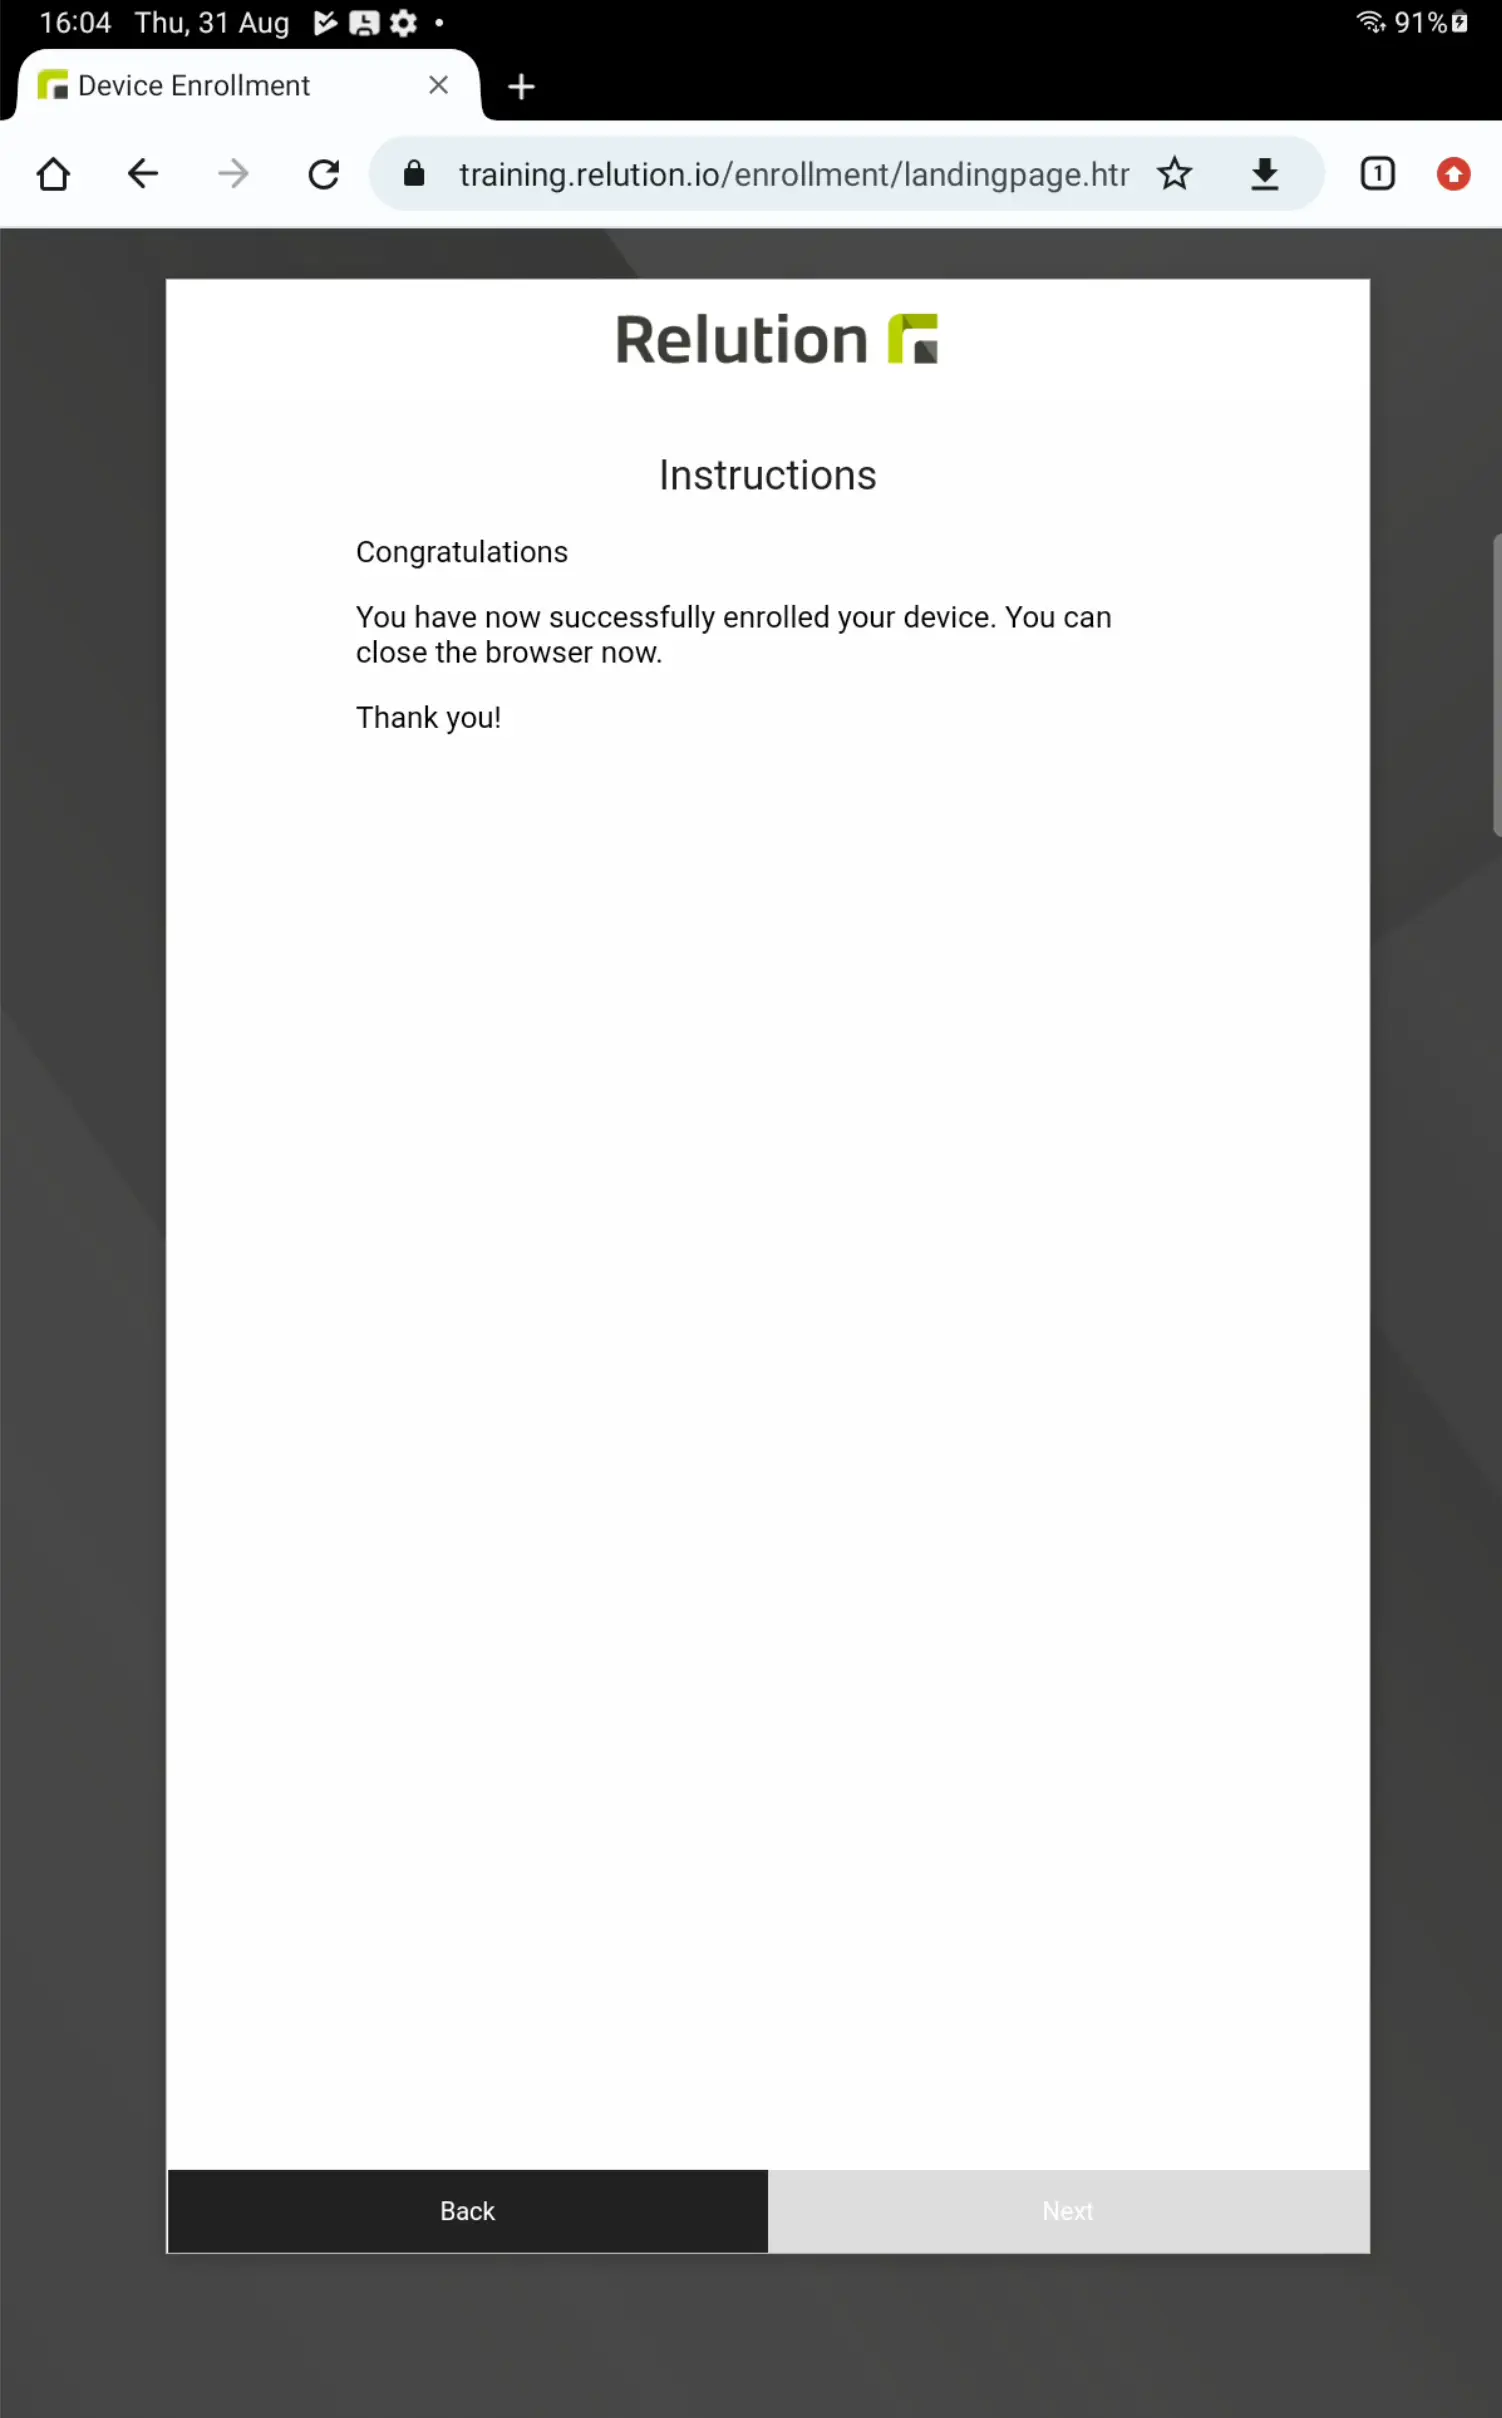
The Android device will now complete the enrollment process and then show up in the device inventory of the appropriate Relution organization for management.