Supervised Mode / Supervision
Introduction
Supervised Mode, also called Supervision, is a deployment strategy introduced by Apple for organizations to manage iOS, macOS and tvOS devices. Since its introduction with iOS 5, Supervision has been available to organizations as an effective method for managing Apple devices. Supervision means that an organization owns and has complete control over the devices. End users can access and use supervised devices, but the organization has full administrative control. Thus, the owner can decide which features may be used on the devices by enforcing advanced restrictions or adjusting device settings via MDM system.
Relution supports enrollment type via Apple DEP to put devices in monitored mode.
Put devices in supervised mode / Supervised Mode
In order to access all functions of Apple devices via an MDM system, they must be monitored or supervised. This state is achieved by enrolling the devices in the Apple Device Enrollment Program (DEP). For this purpose, it is necessary to add the devices to the Apple School/Business Manager. If devices are already enrolled, you can continue in the following section.
Add iOS and tvOS devices to Apple School / Business Manager
You will need a Mac and Apple Configurator 2 software.
Apple Configurator 2 is a free app available from the Mac App Store. The application can be used to manually configure Apple devices connected via USB to a Mac computer before the devices are handed out to users. For this purpose, so-called profiles can be created and applied to the devices. In addition, Apple Configurator 2 allows Apple devices that have not already been added to the DEP by an authorized reseller to be subsequently added to the DEP. This option is only available for iPhones, iPads and Apple TVs. macOS devices must be purchased from an authorized reseller to take advantage of automatic enrollment through Apple DEP. Overall, it is recommended to purchase DEP devices directly, as adding them after the fact involves manual effort.
Apple devices that are subsequently enrolled via Apple Configurator 2 in Apple School/Business Manager will not function for the first 30 days after provisioning as devices enrolled directly in DEP when purchased through an authorized reseller. Even if you have blocked manual removal of MDM management on devices via the associated DEP profile in the MDM system, users can remove MDM management under Preferences > General > Profiles.
With the expiration of the 30-day period from registration, user will be prevented from removing MDM management on devices.
Preparation
In order for Apple devices to automatically connect to the Internet and for the subsequent registration to DEP to be as convenient as possible, it is recommended to create a WiFi profile in advance. This can be created on a Mac via the menu item File > New Profile > WiFi and then saved as a file.
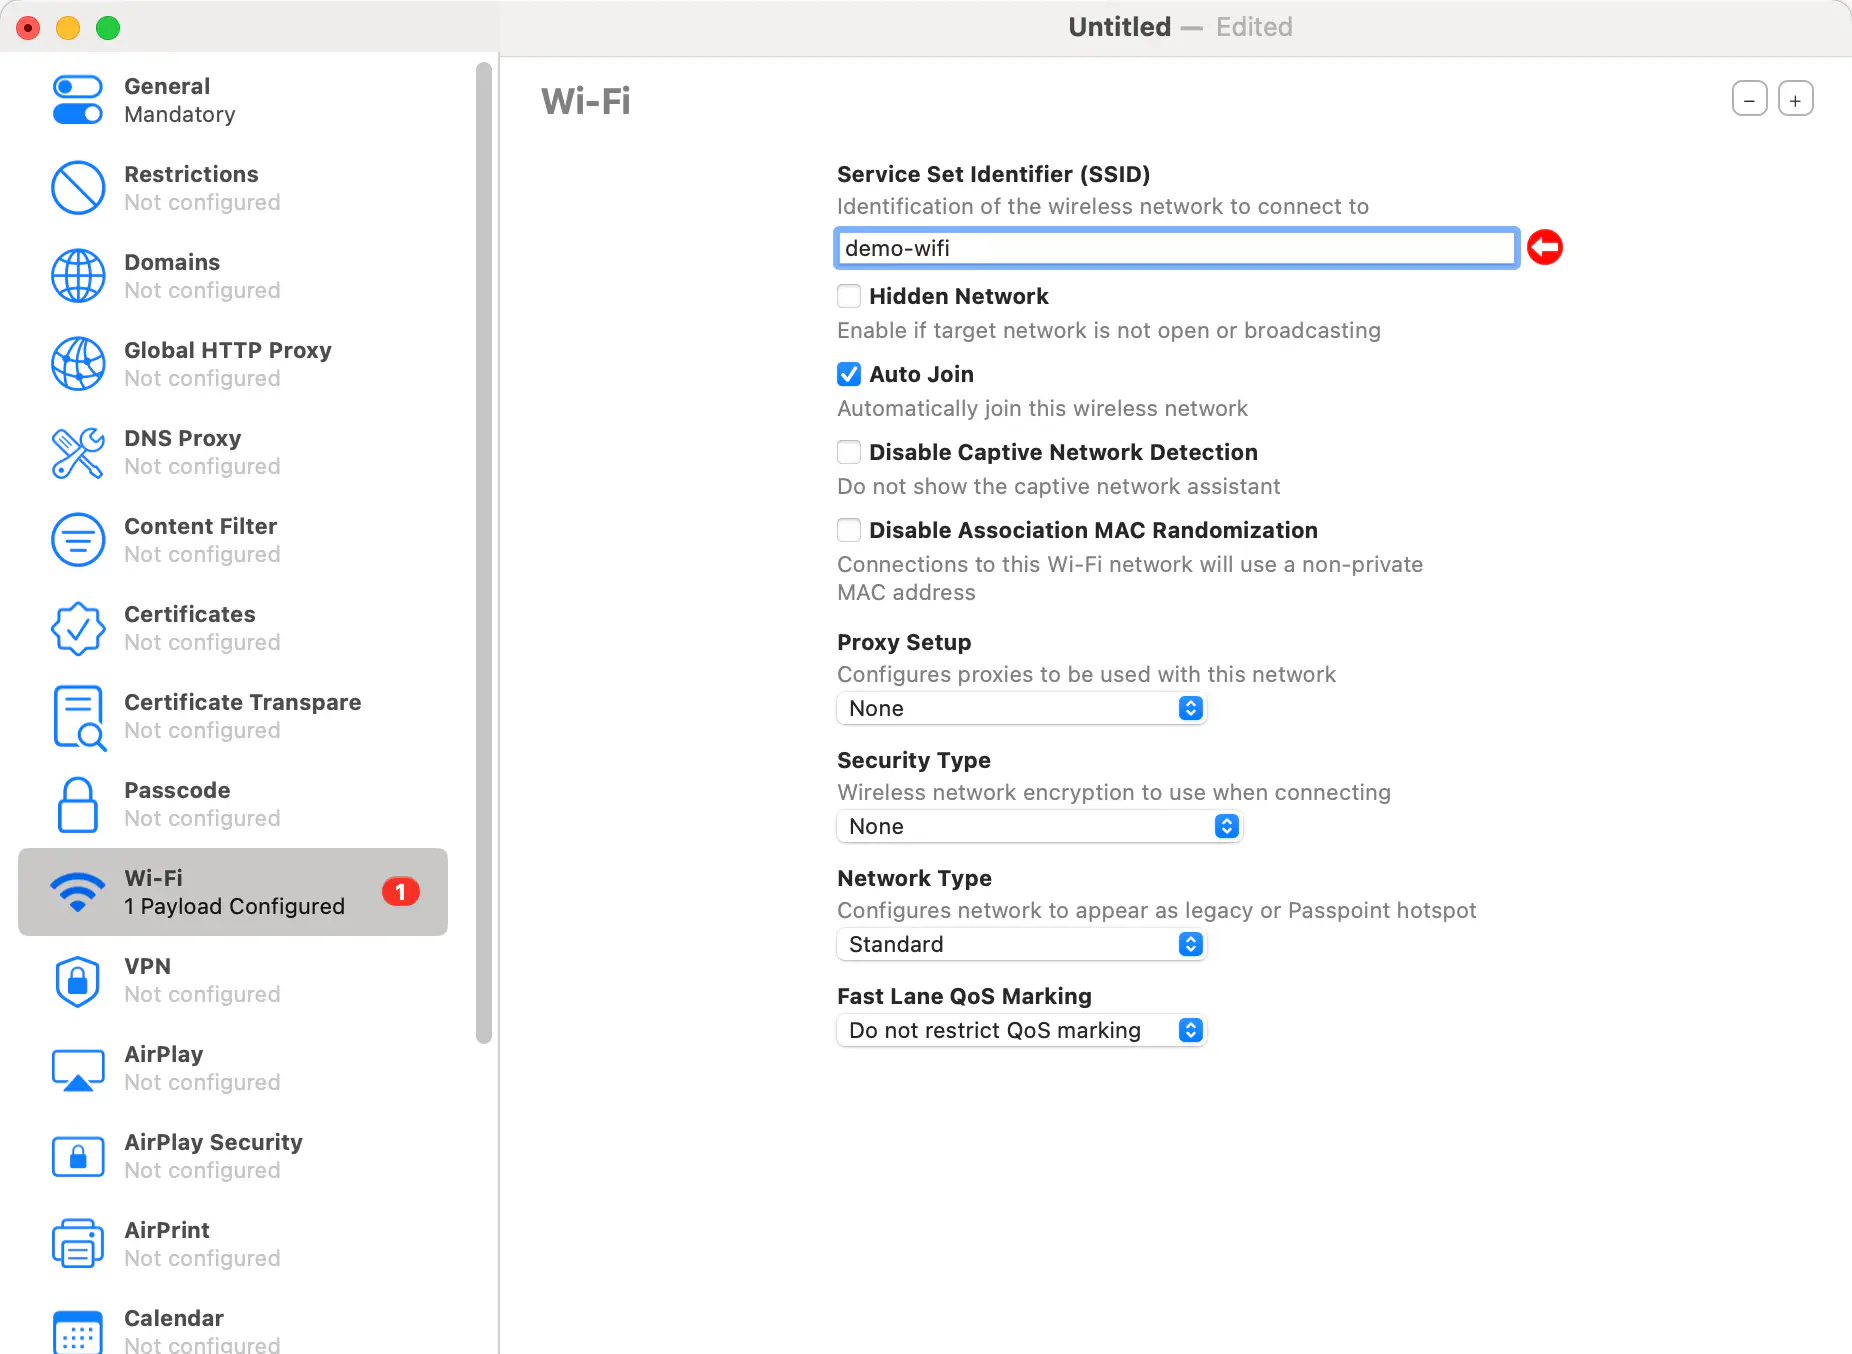
Add devices to DEP
The Apple devices have to be connected with a USB cable to a Mac computer, on which the Apple Configurator 2 is started afterwards. The following dialog appears:
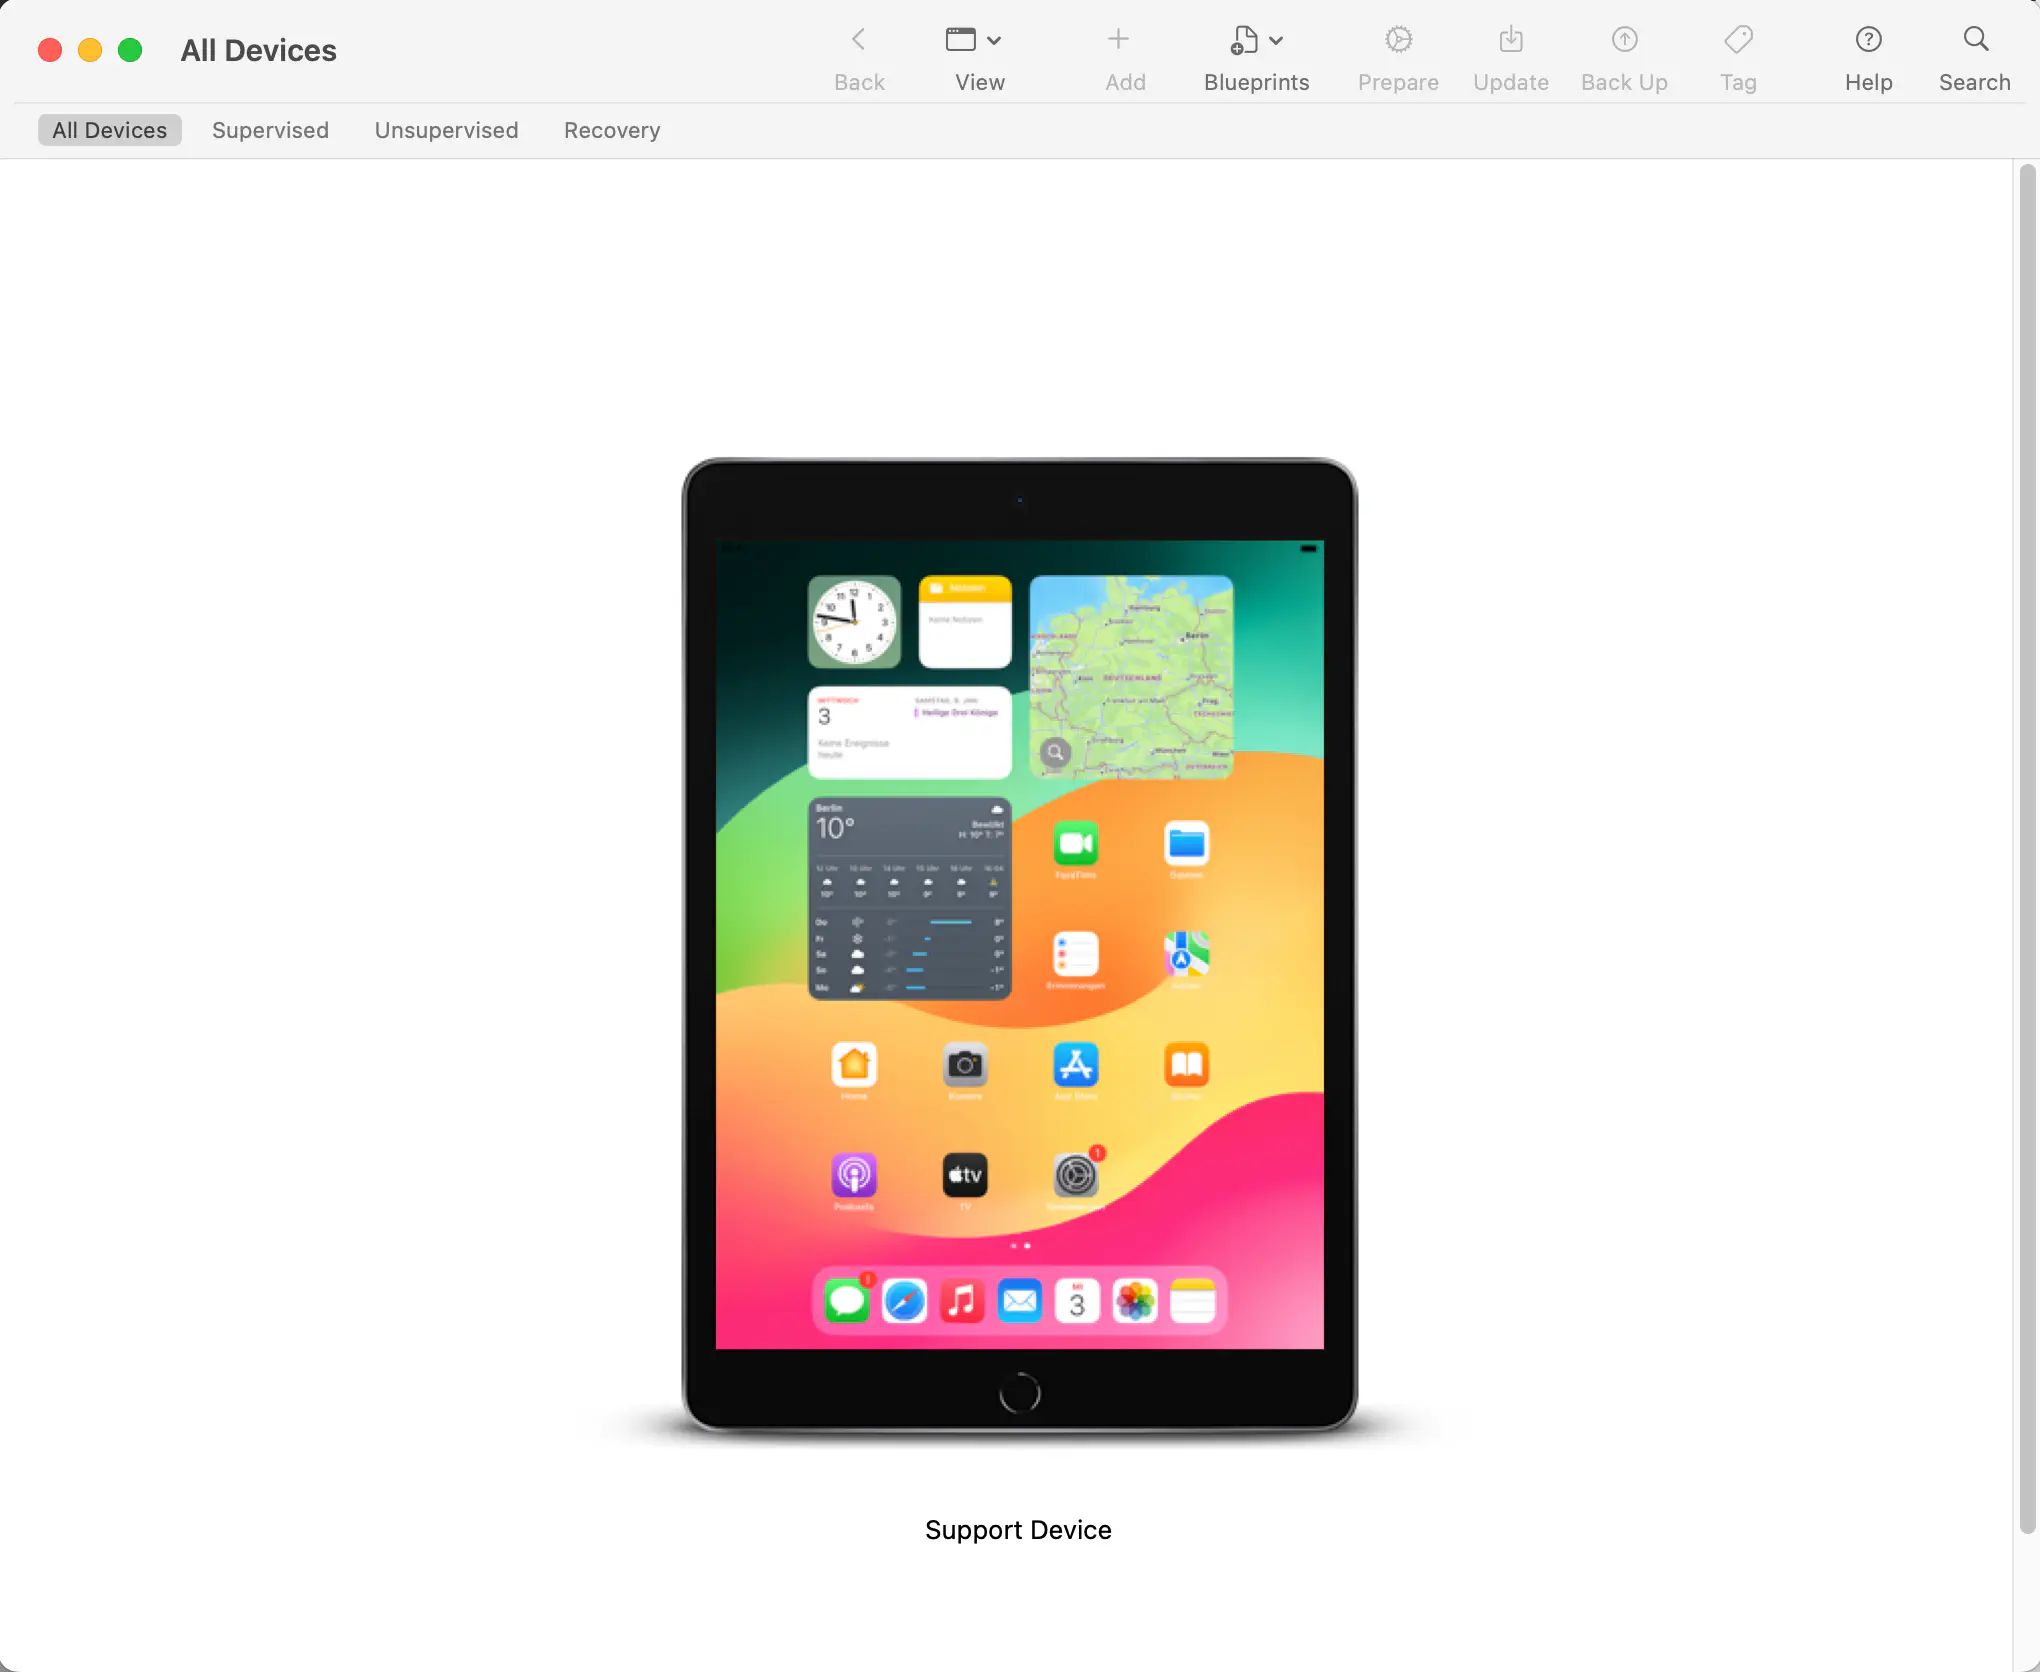
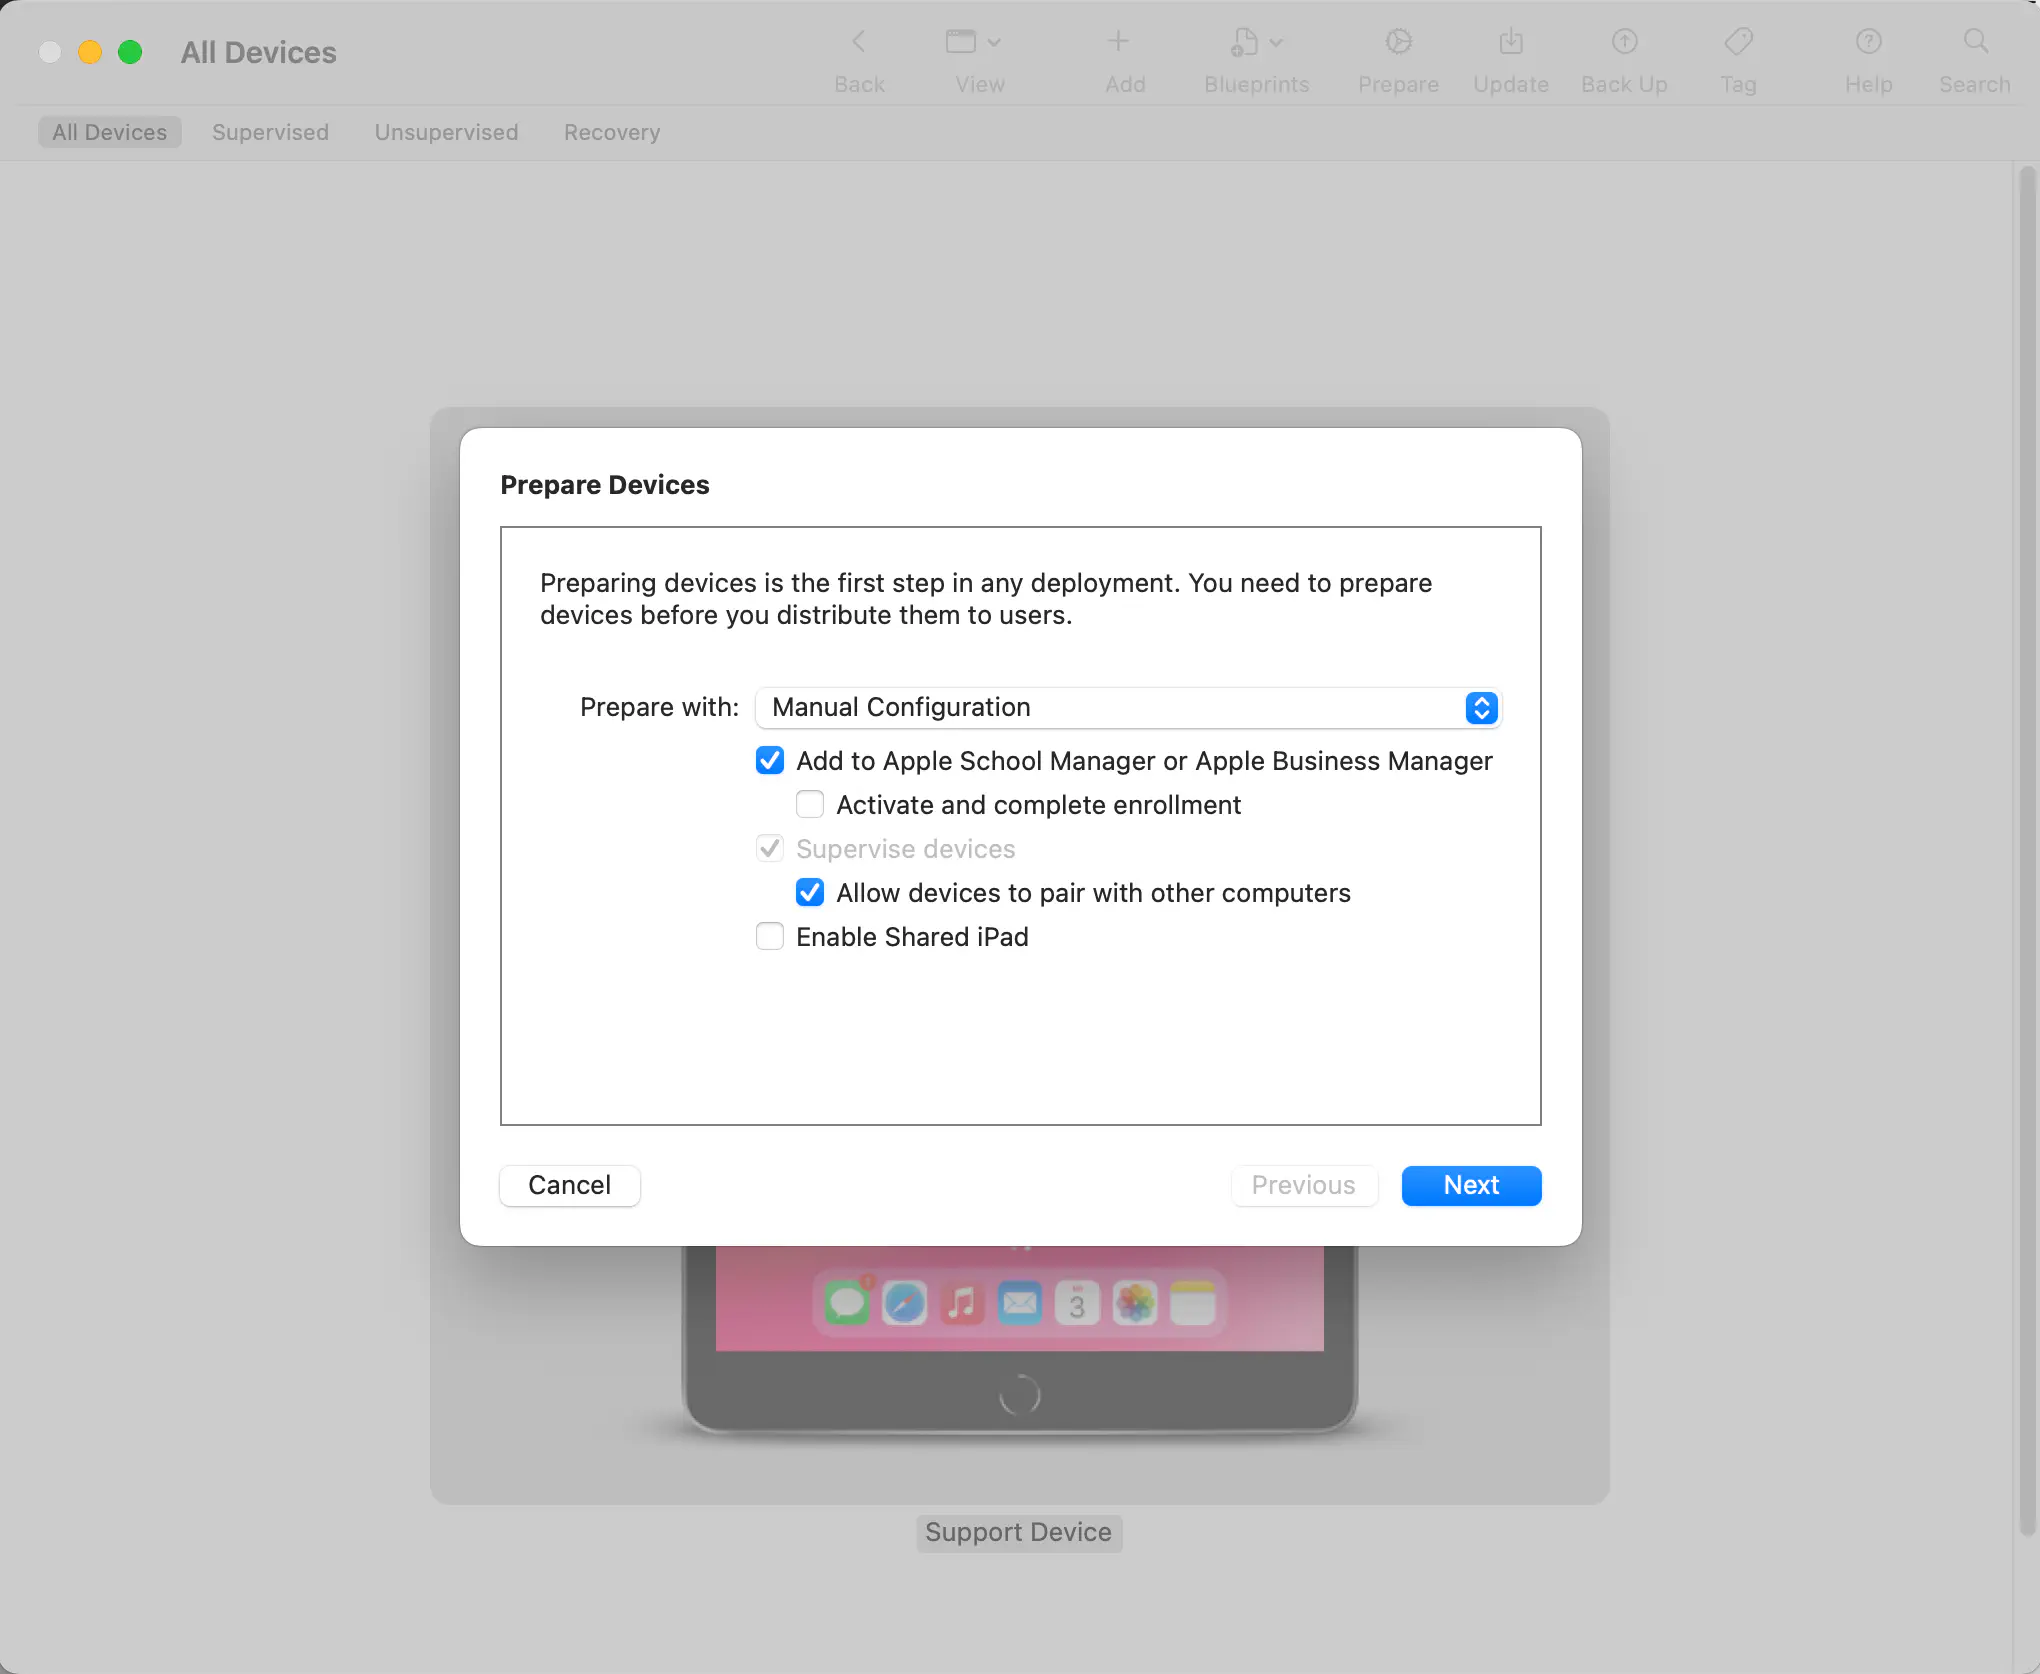
Select the displayed device with the right mouse button and click Prepare.... In the next step, the following options must be selected:
- Add to Apple School Manager or Apple Business Manager (educational/corporate).
- Allow devices to pair with other computers.
The activate and complete enrollment option must not be selected, otherwise the device will directly try to enroll. However, this requires further configuration in Apple School/Business Manager and Relution after adding to DEP.
In the next step select New Server... and click Next.
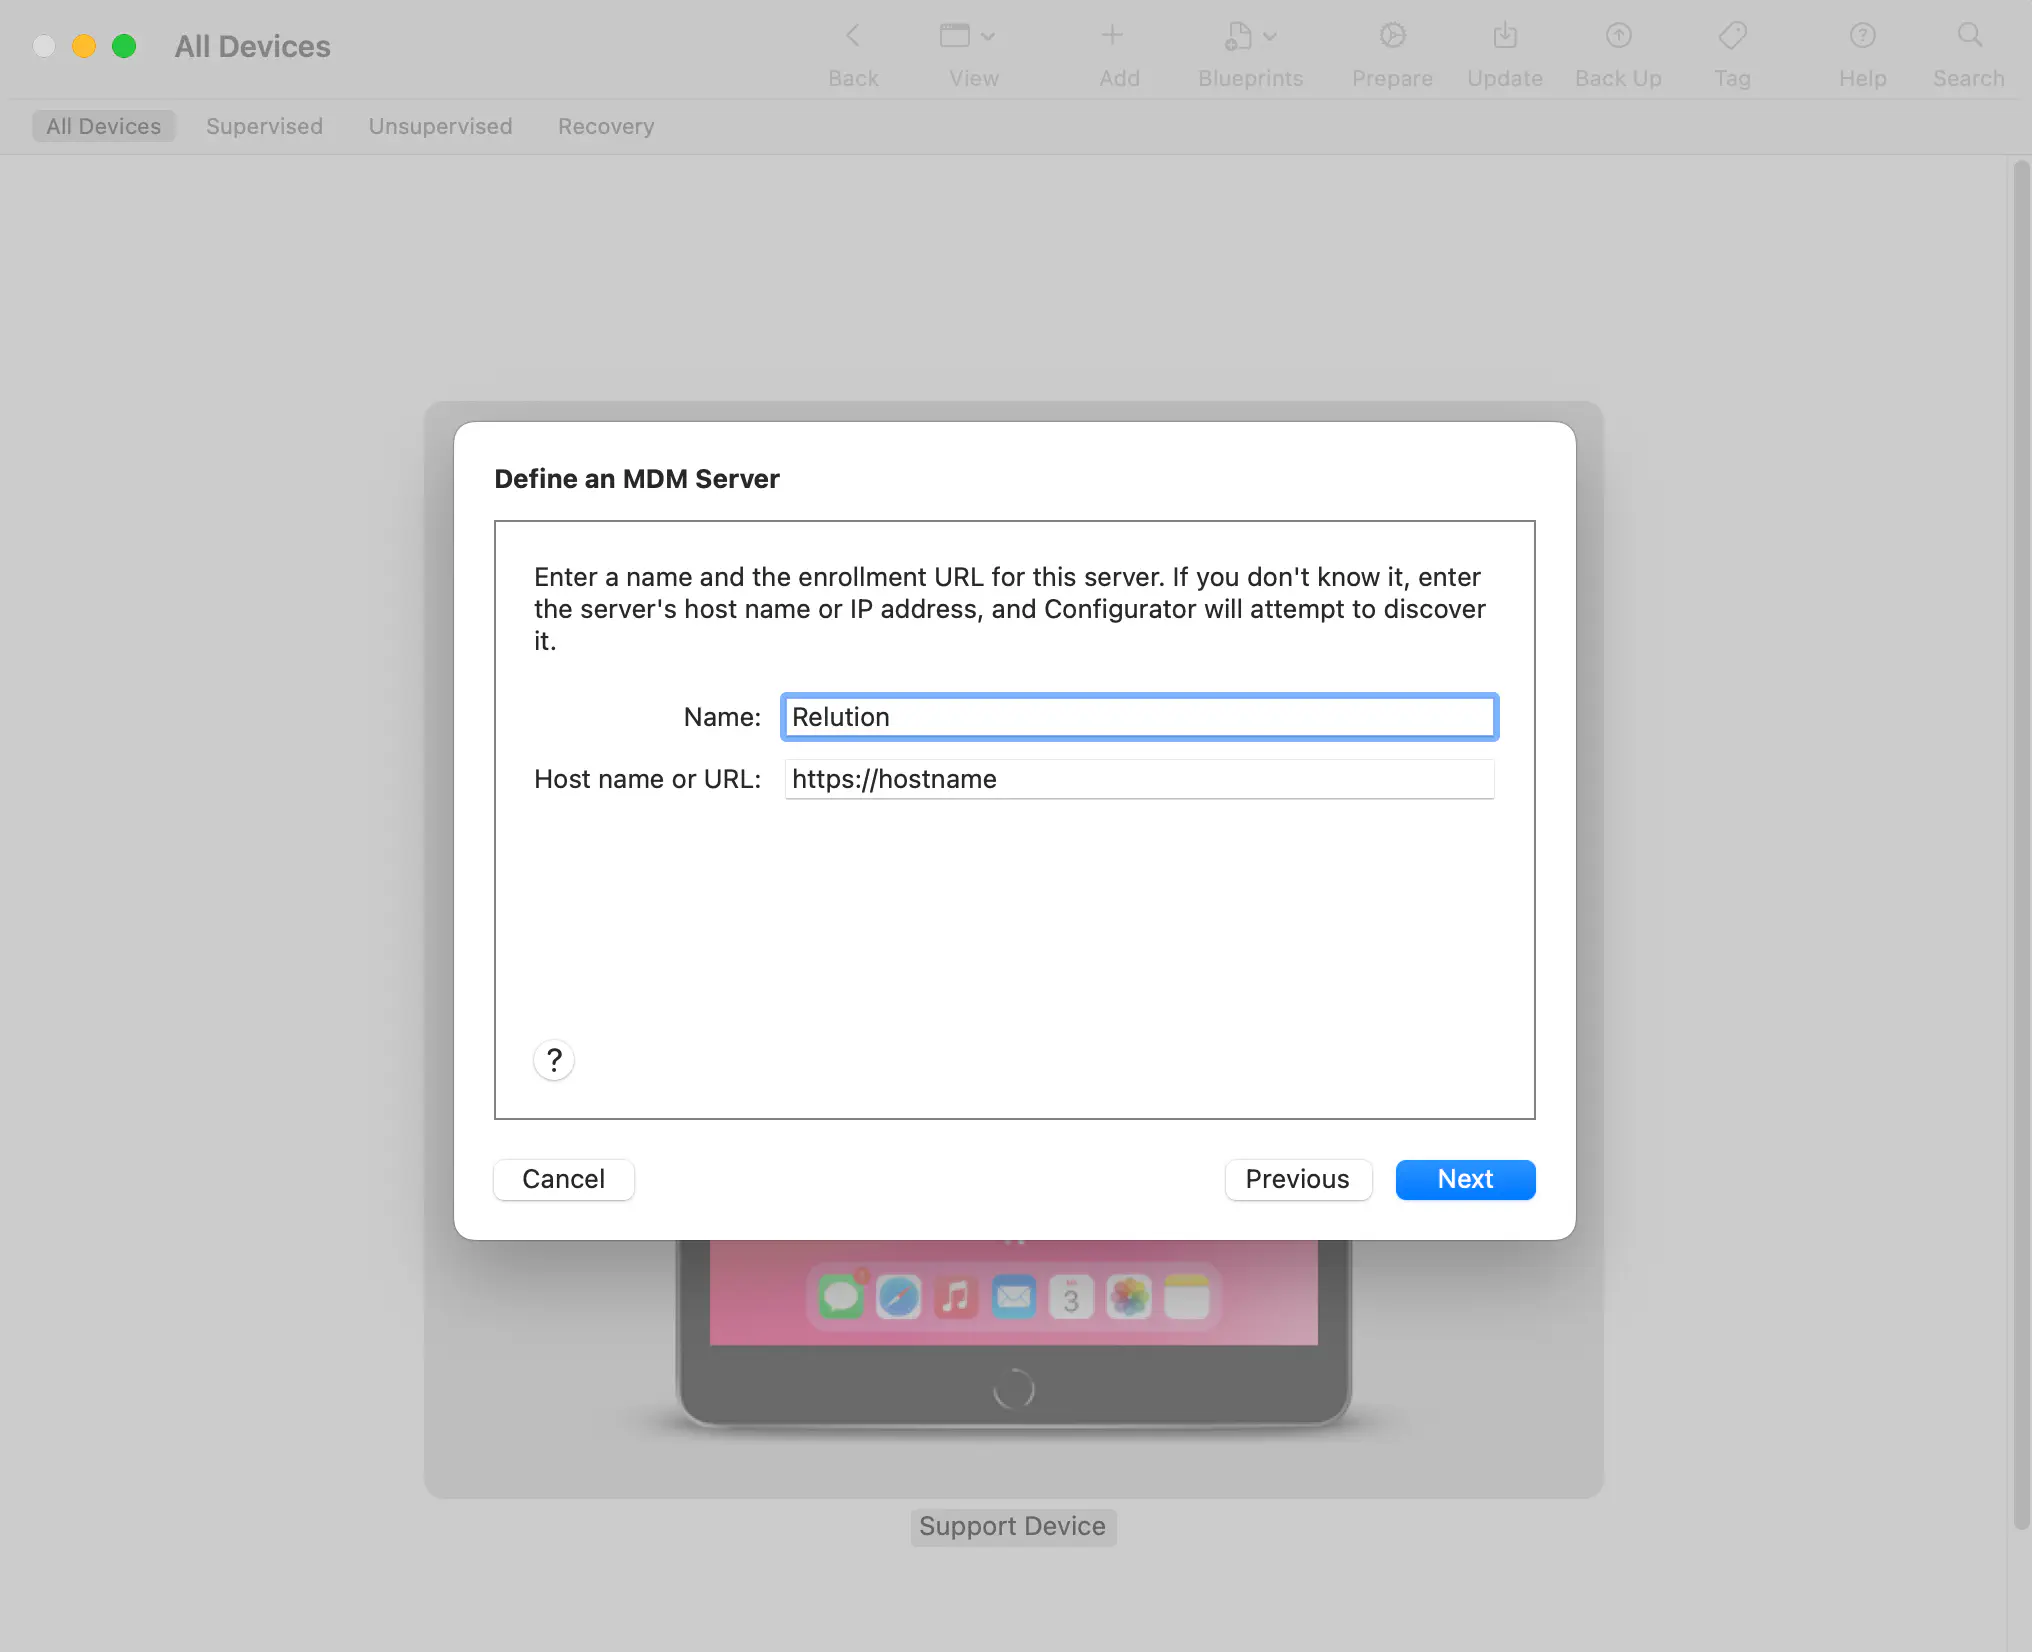
Now specify the name and URL of the corresponding Relution Server. The name can be chosen arbitrarily. The URL starts with https:// and is for example for the Relution live system:
- For iOS devices
https://live.relution.io/ - For tvOS devices
https://live.relution.io/api/v1/devices/appleMdm/depenroll.
This only works if the devices are to be managed on the Relution test system.
Then, the next step is to select the displayed certificate. If there are several certificates, the first one is selected.
With this the server, is defined and stored in the Apple Configurator 2. The information is available again for adding further devices to the Device Enrollment Program at a later time.
Now, in the following dialogue New Organization... is selected and confirmed with Next.
The next step is to connect to the Apple DEP server. For this purpose, the Apple ID and password of the respective Apple School / Business Manager account are entered.
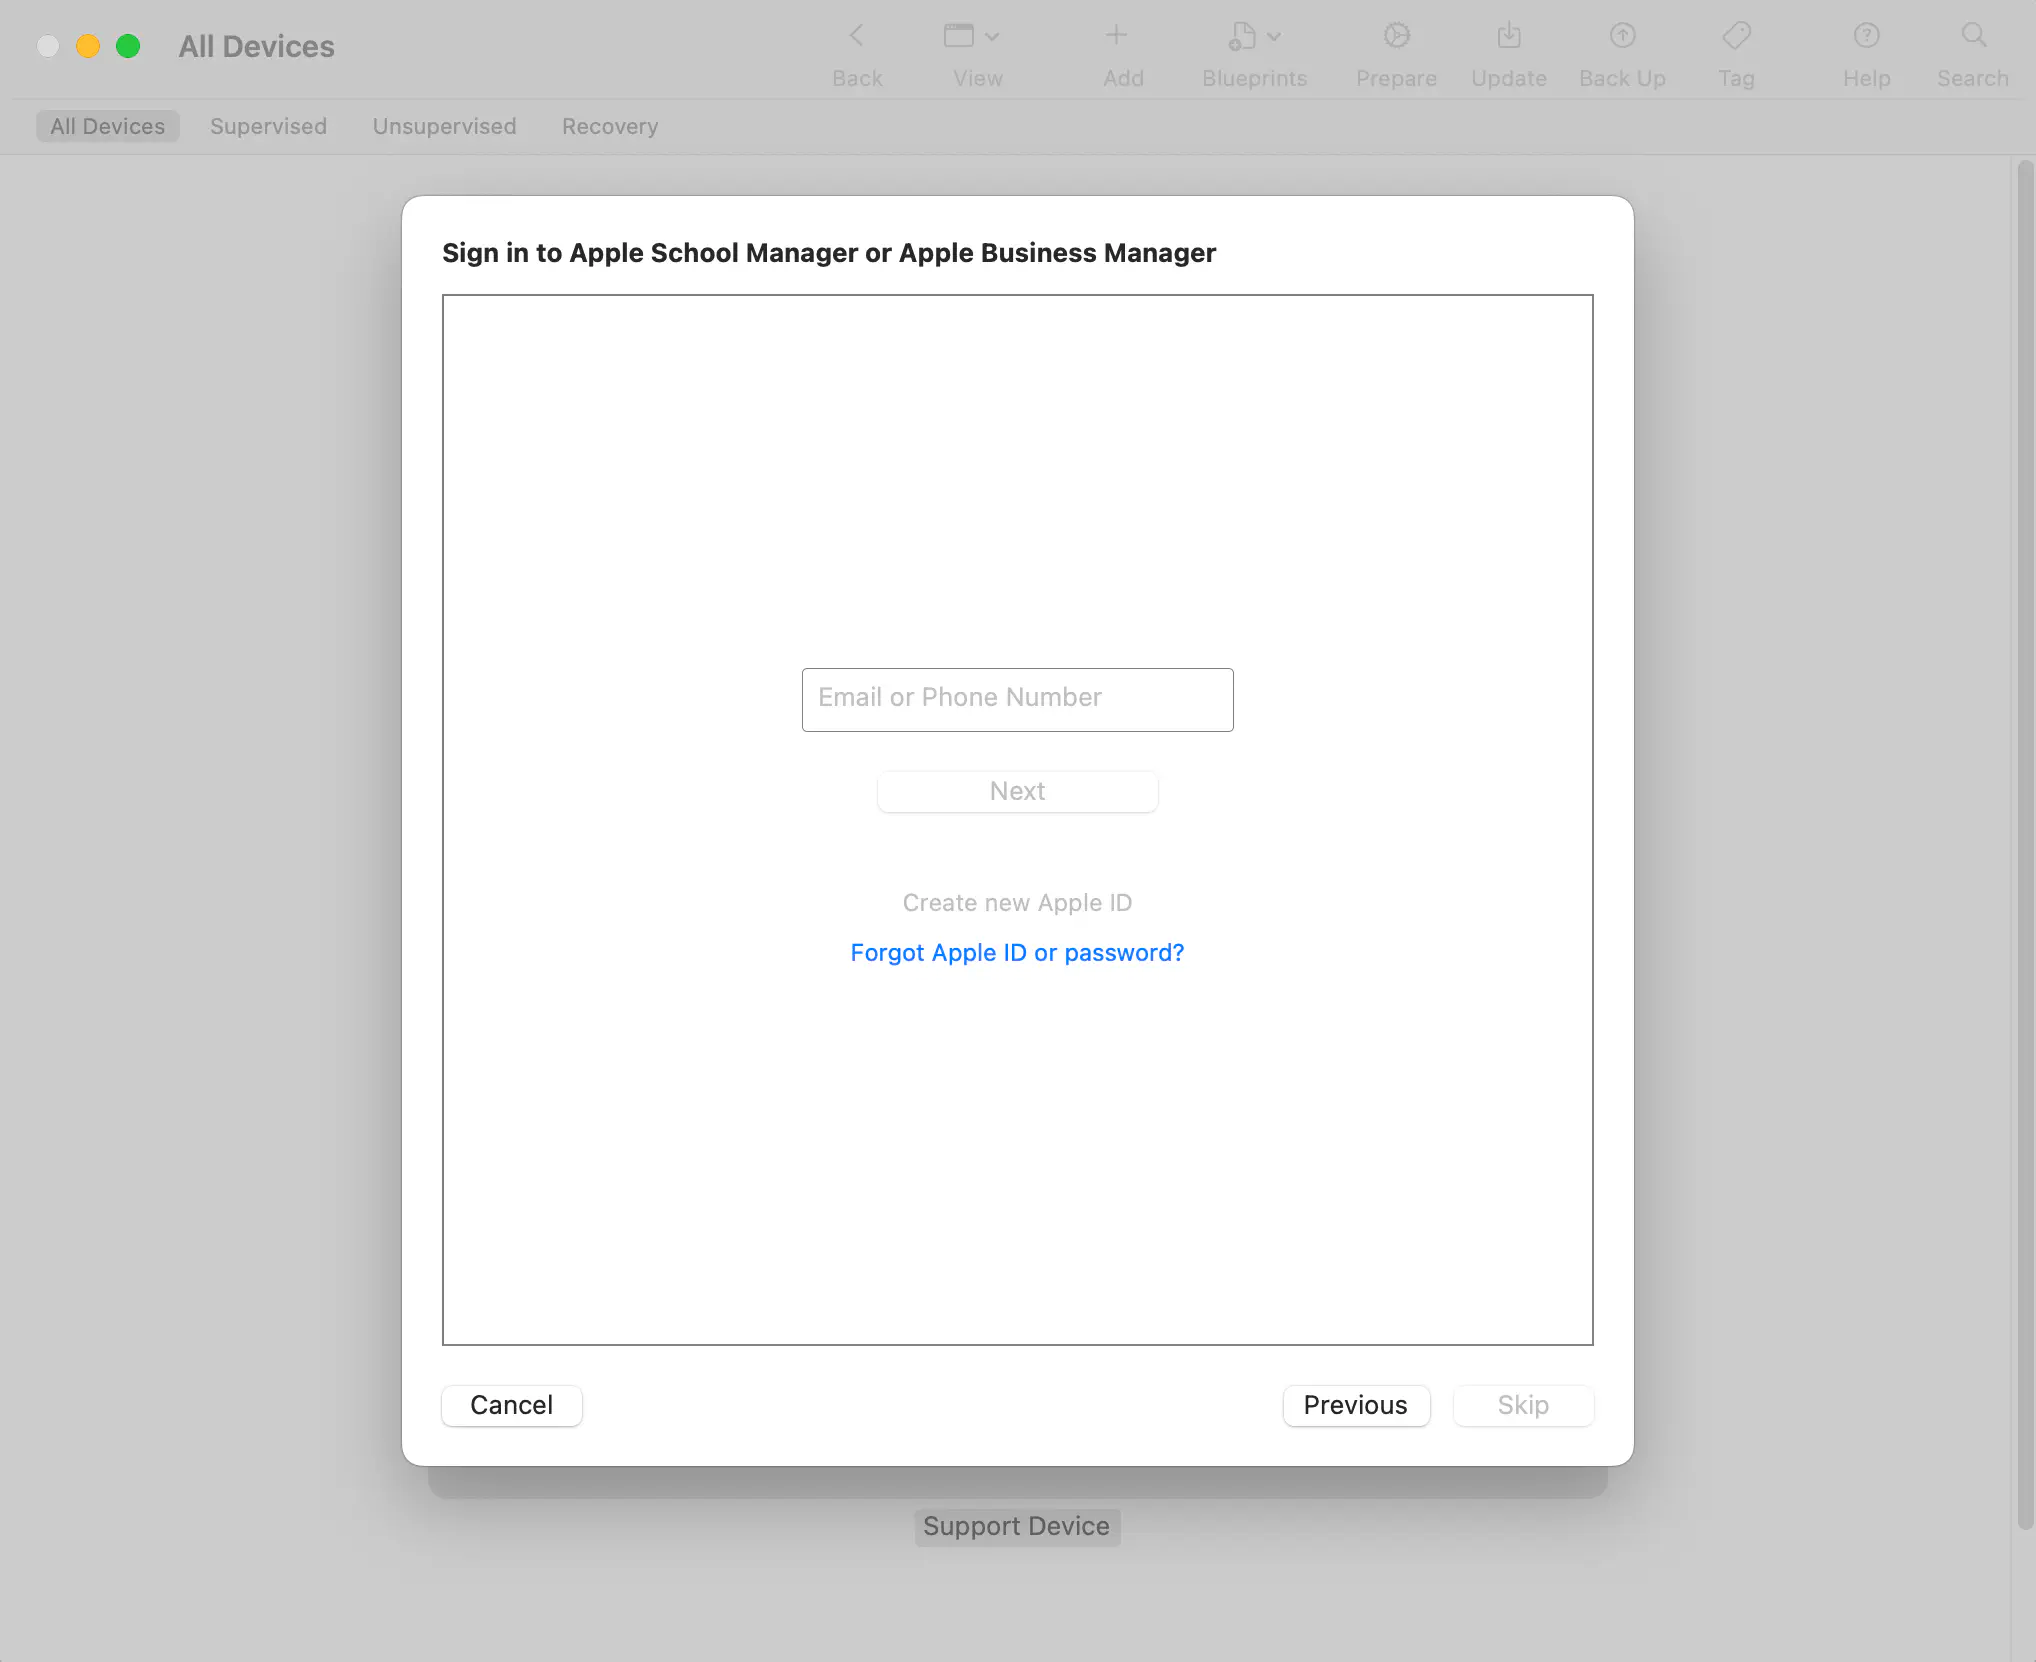
If necessary, this login has to be confirmed via two-factor authentication (entering a four-digit code sent via SMS).
Now select Create new caregiver identity and confirm with Next. The organization data is also saved by Apple Configurator 2, so that it can be reused later and no new organization needs to be created.
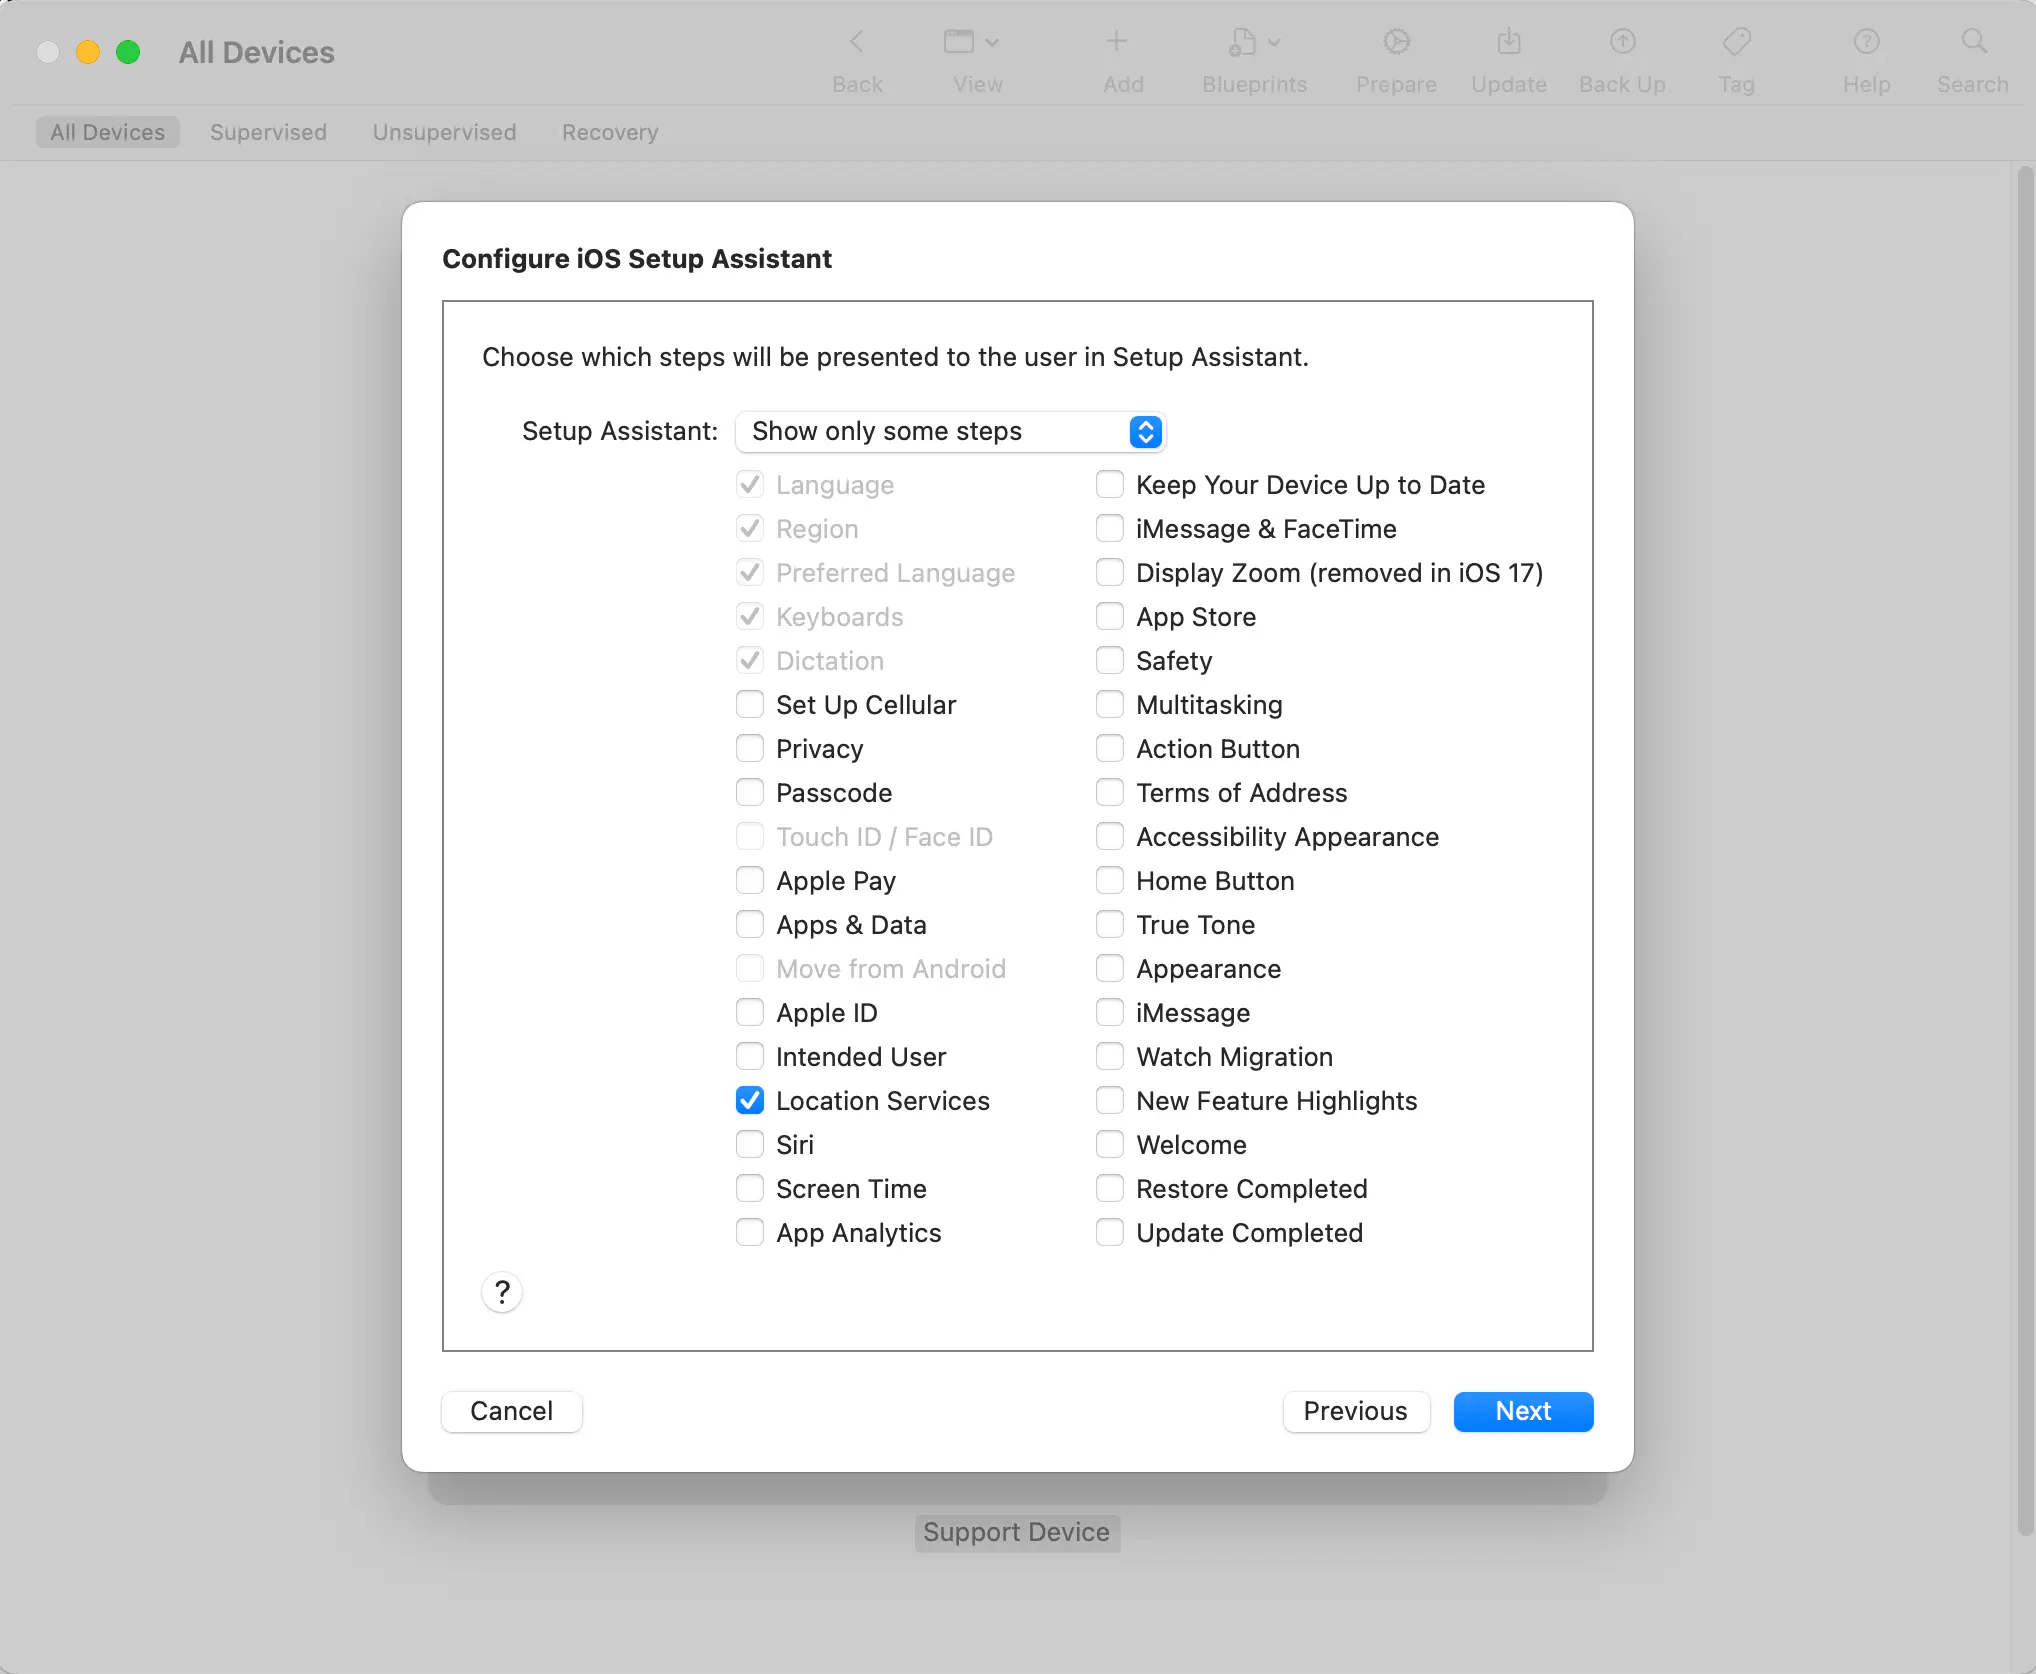
Afterwards, the setup steps that should not be skipped when setting up the devices are selected in the next dialog. The option Location Services should be selected, otherwise the Apple device will not be assigned to the correct time zone.
Next, you should select a WiFi configuration profile that was previously created in Apple Configurator 2 via File > New Profile. This profile will be automatically adopted by the device after reboot and will directly establish an Internet connection.
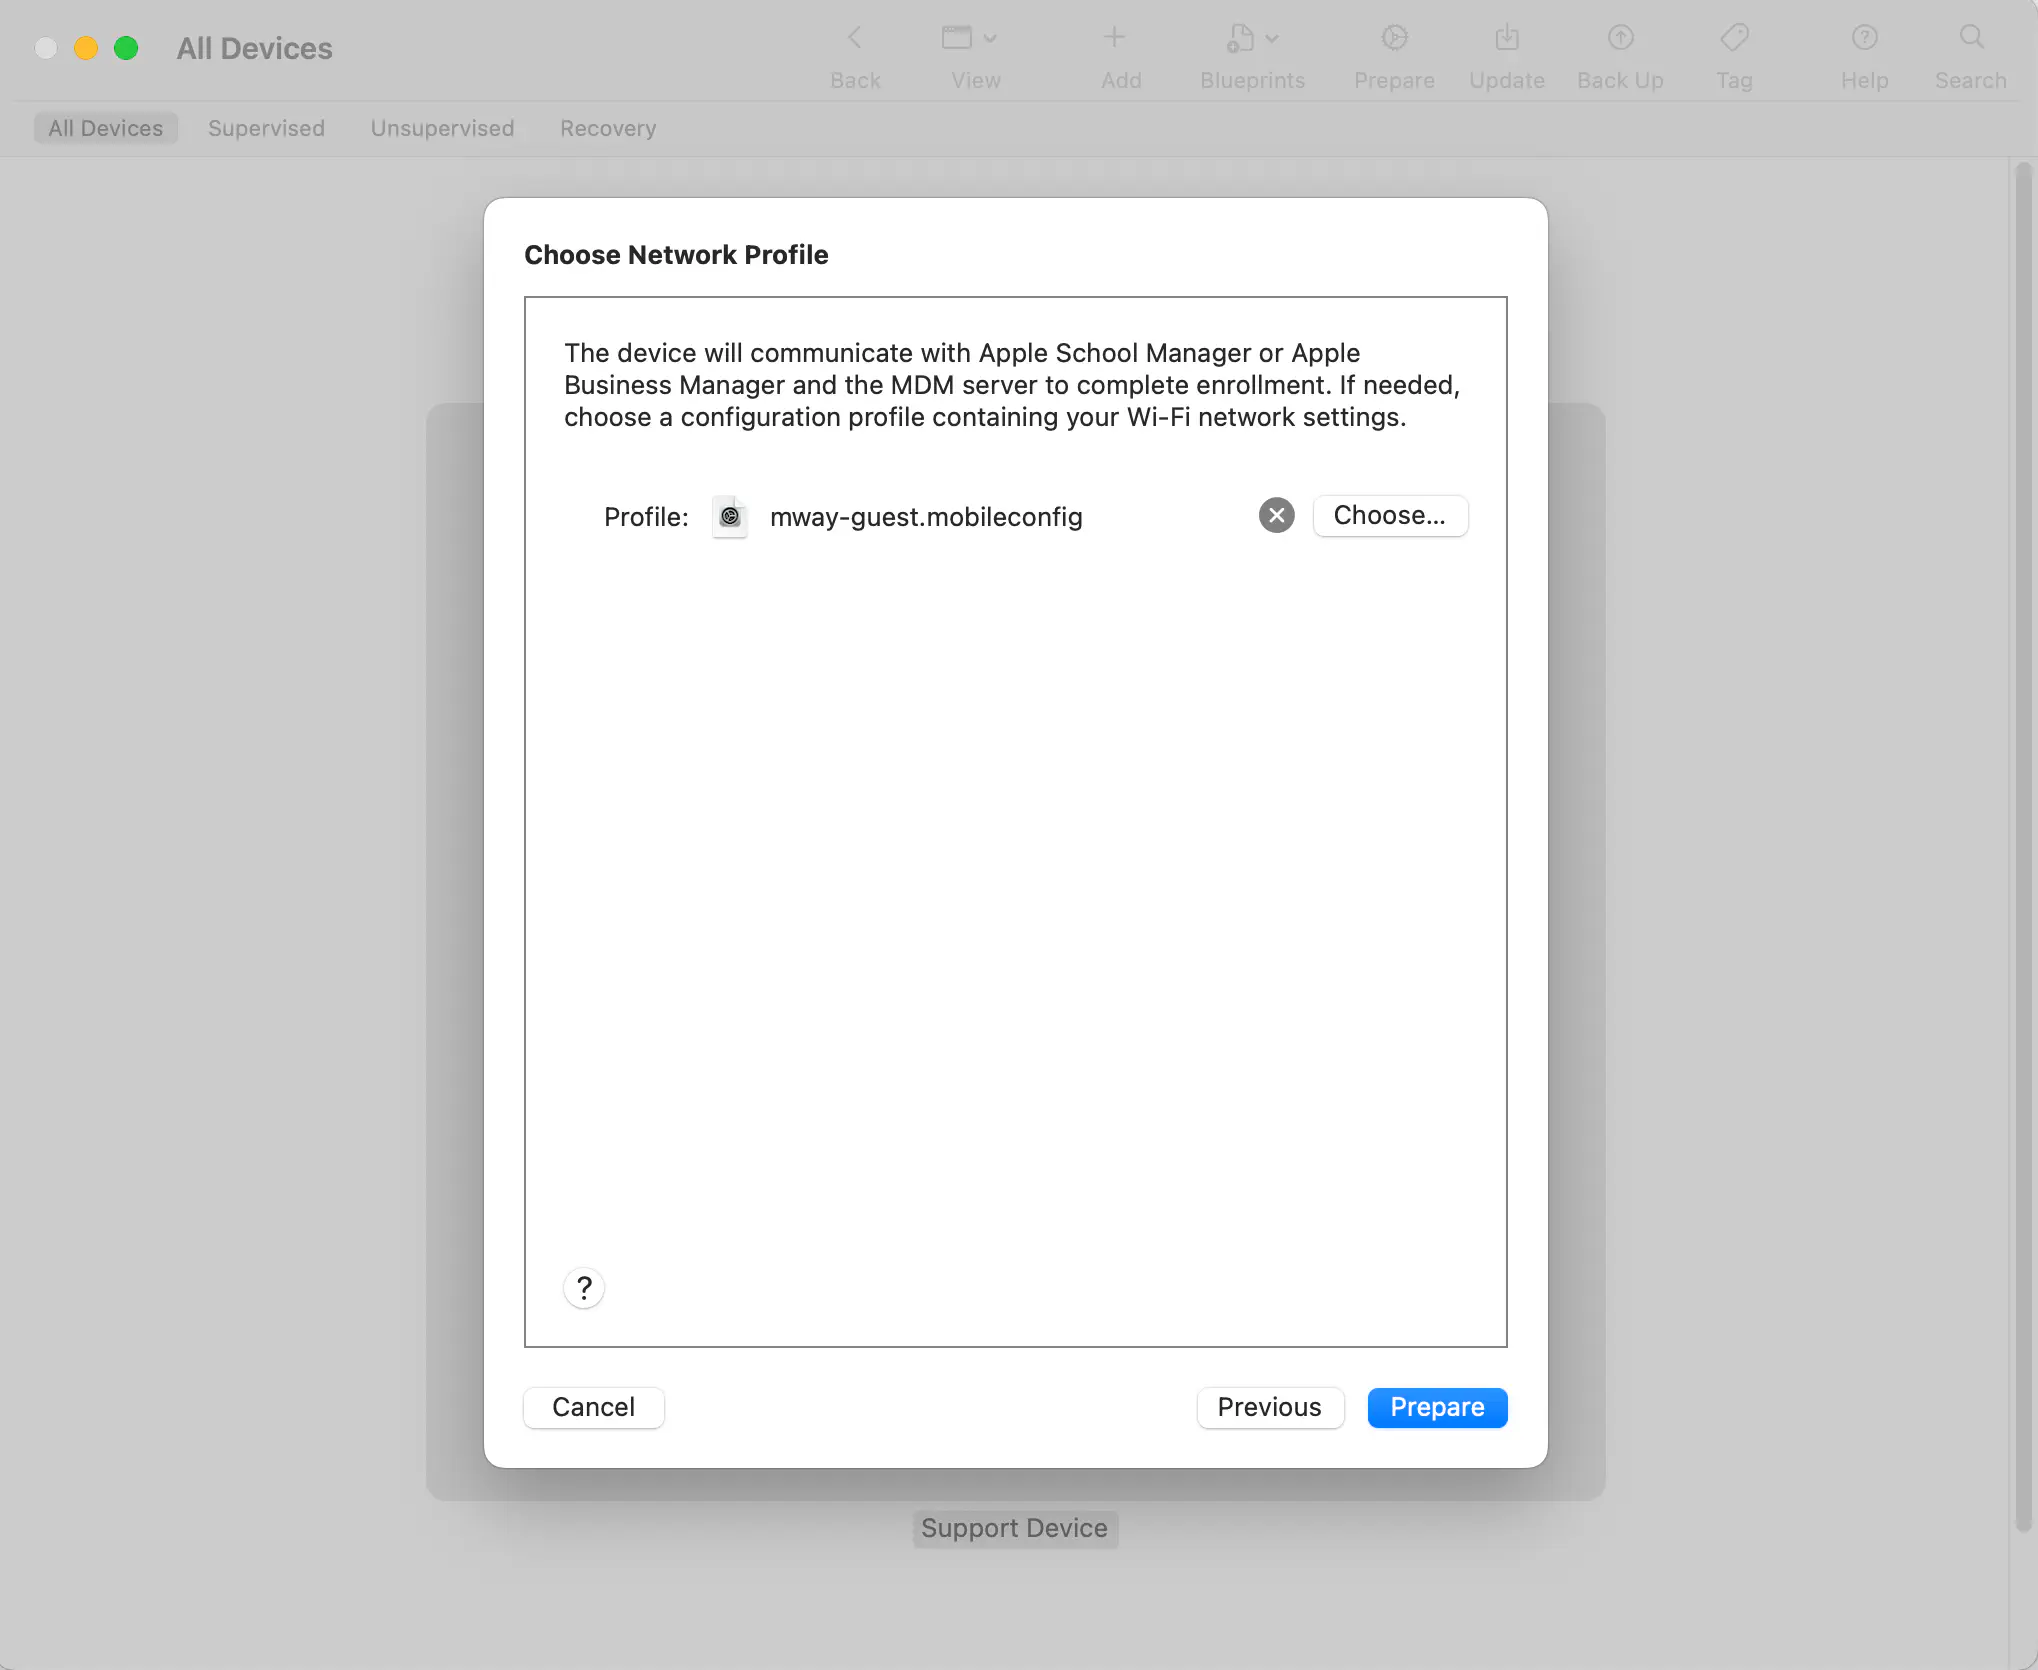
This allows the Apple device to transfer the subsequent registration for DEP to the Apple servers. As an alternative to the WiFi profile, the Internet connection from the Mac computer can also be shared with the connected device via the USB connection.
If no profile is selected, the WiFi settings are entered manually when the devices are restarted.
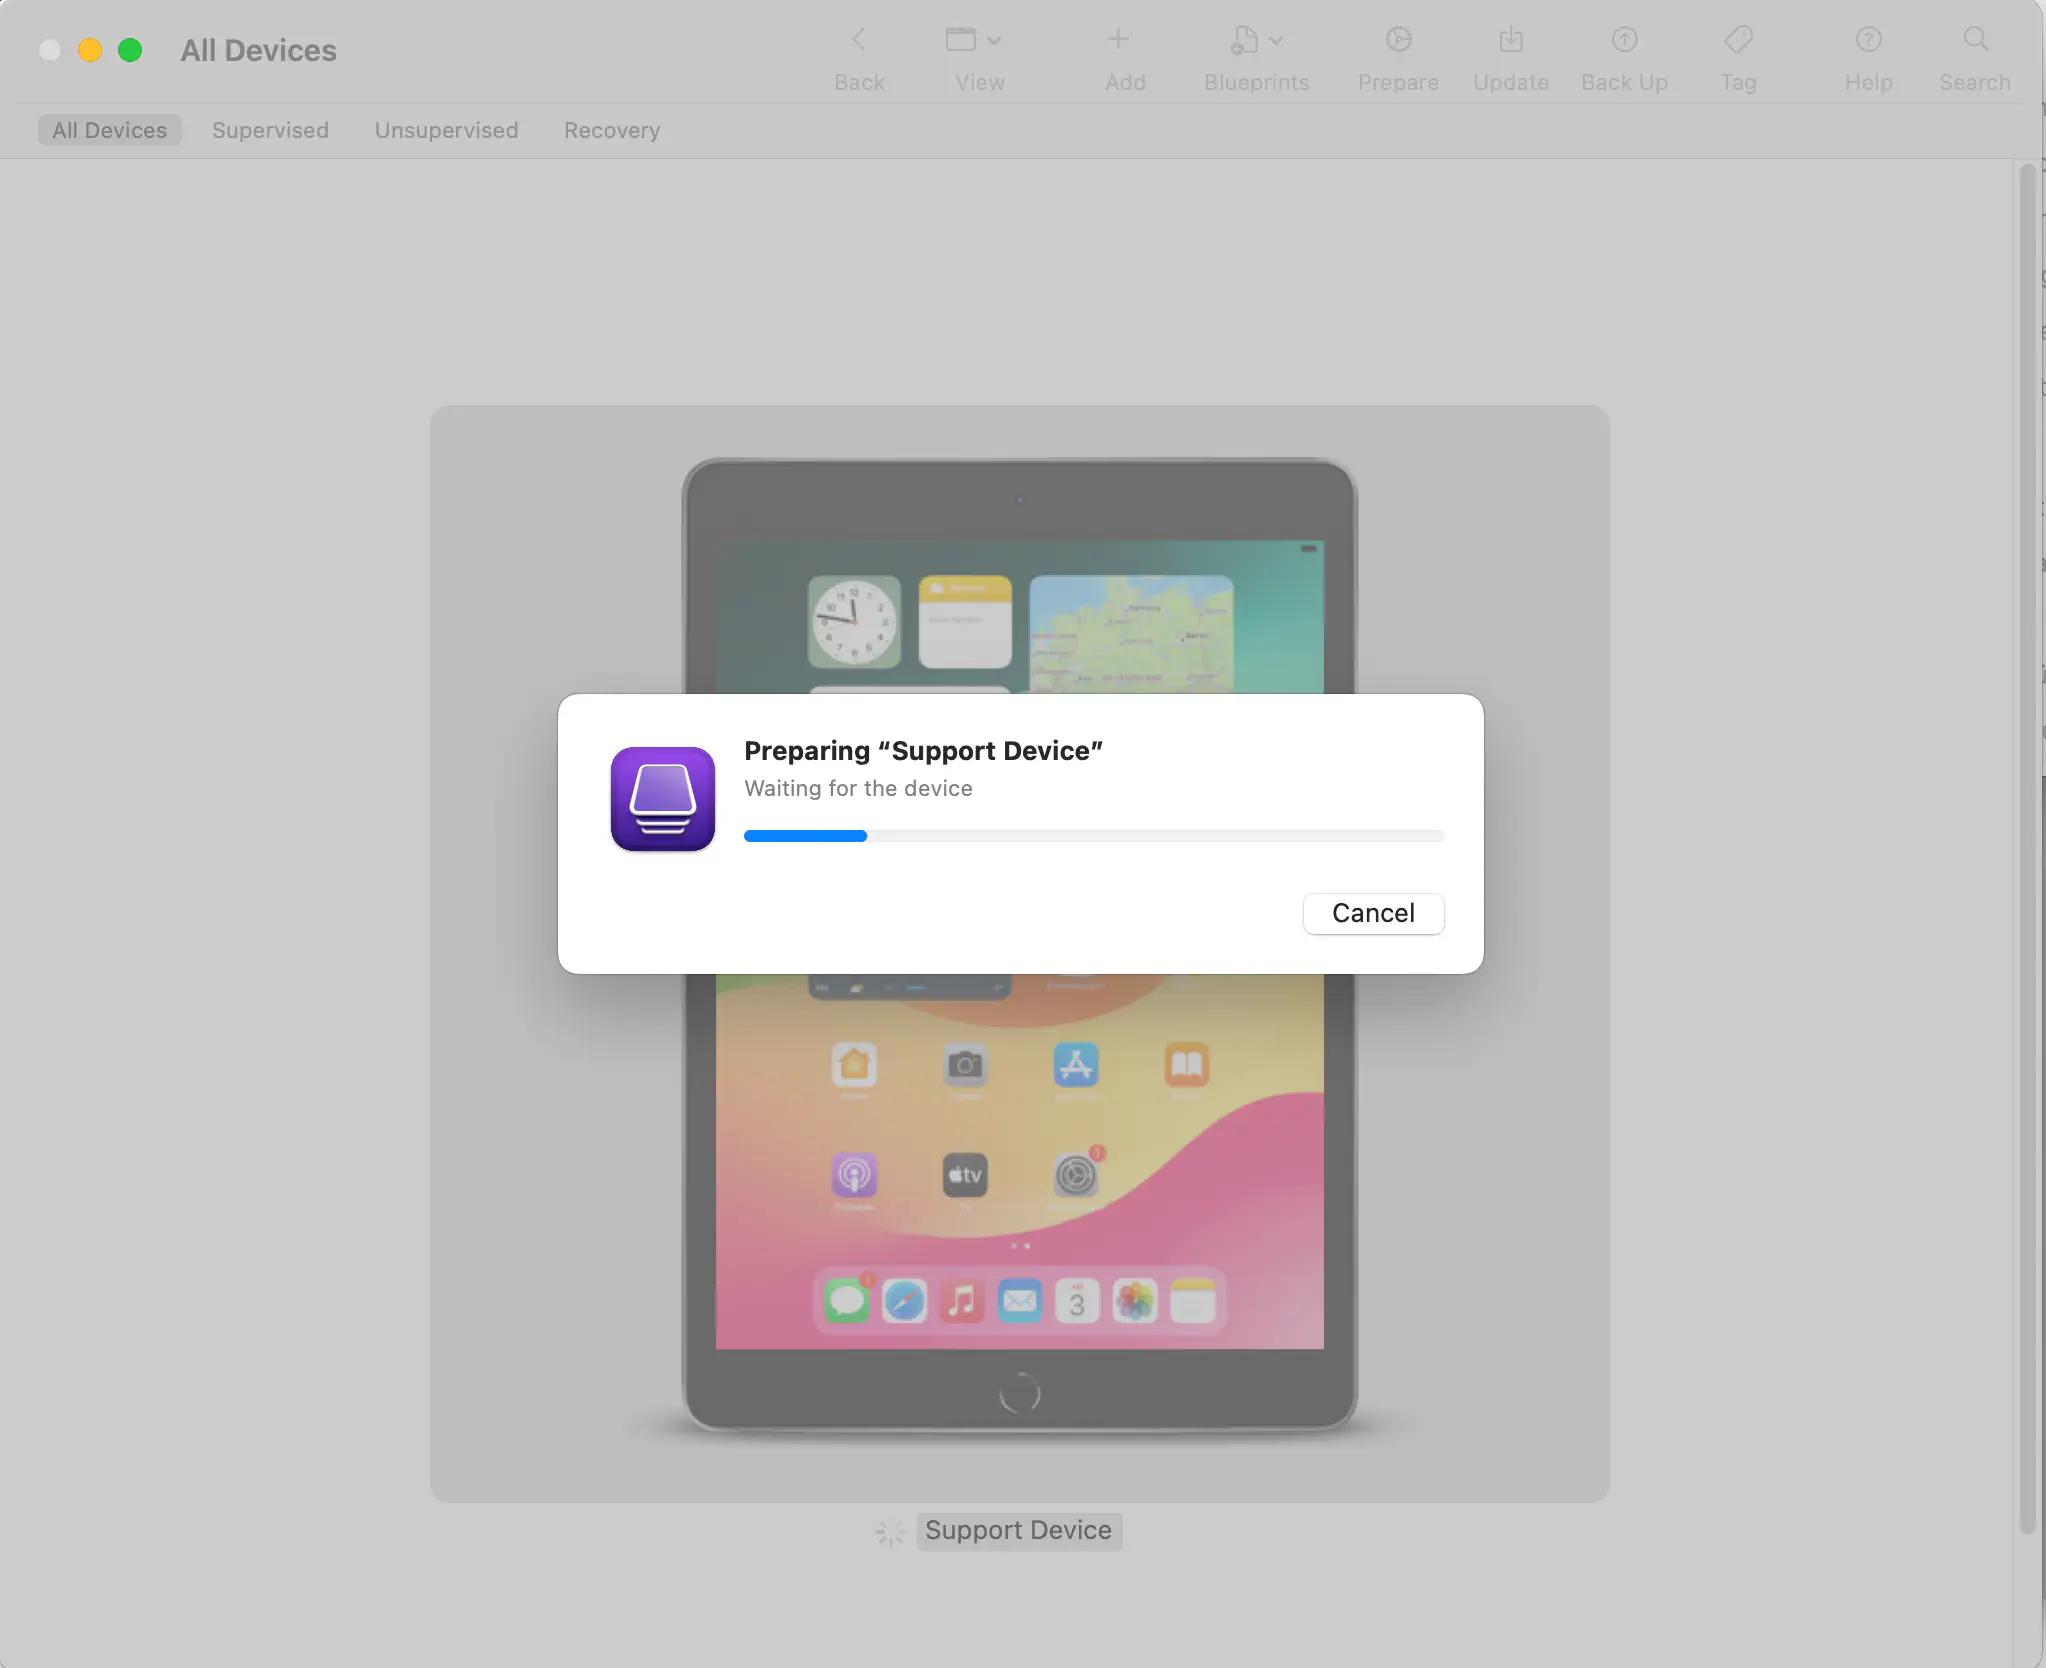
Click on Prepare to reboot the device. It is automatically enrolled into the DEP and then manually assigned to the appropriate Relution MDM server in Apple School/Business Manager.
By default, devices are assigned to Apple Configurator 2 via this path.
Settings in Apple School and Business Manager
After manually adding Apple devices in DEP, they must be assigned to the desired MDM server in Apple School / Business Manager. Alternatively, a setting can be configured in Apple School / Business Manager, whereby new devices are automatically assigned to a defined MDM server. All configuration options are described in Apple’s online documentation.
