Link Microsoft Entra ID
By linking Microsoft Entra ID with Relution, you create the foundation for Microsoft-based integrations in your organization. This includes, for example, connecting Windows devices and using other Microsoft services together with Relution.
As a result, users and groups from Microsoft Entra ID can be synchronized with Relution. This allows user accounts to be managed centrally in Microsoft and automatically provisioned in Relution.
To allow synchronized users to sign in to Relution, OIDC authentication → must also be configured. If access is to be secured using Conditional Access →, both the link to Microsoft Entra ID and the configuration of OIDC → are required.
The required settings are configured partly in Relution and partly in the Microsoft Entra admin center.
Requirements
To link Microsoft Entra ID with Relution, the following requirements must be met if you only want to synchronize users from Microsoft Entra ID to Relution:
- an existing
Microsoft Entra IDenvironment - sufficient permissions in Microsoft Entra, usually the
Global Administratorrole - an accessible Relution Server
- an app registration in Microsoft Entra
If Windows Autopilot or Entra Join is also to be used, the following additional requirements must be met:
- the server URL of the Relution Server, which will later be stored in Microsoft Entra
- a created MDM application
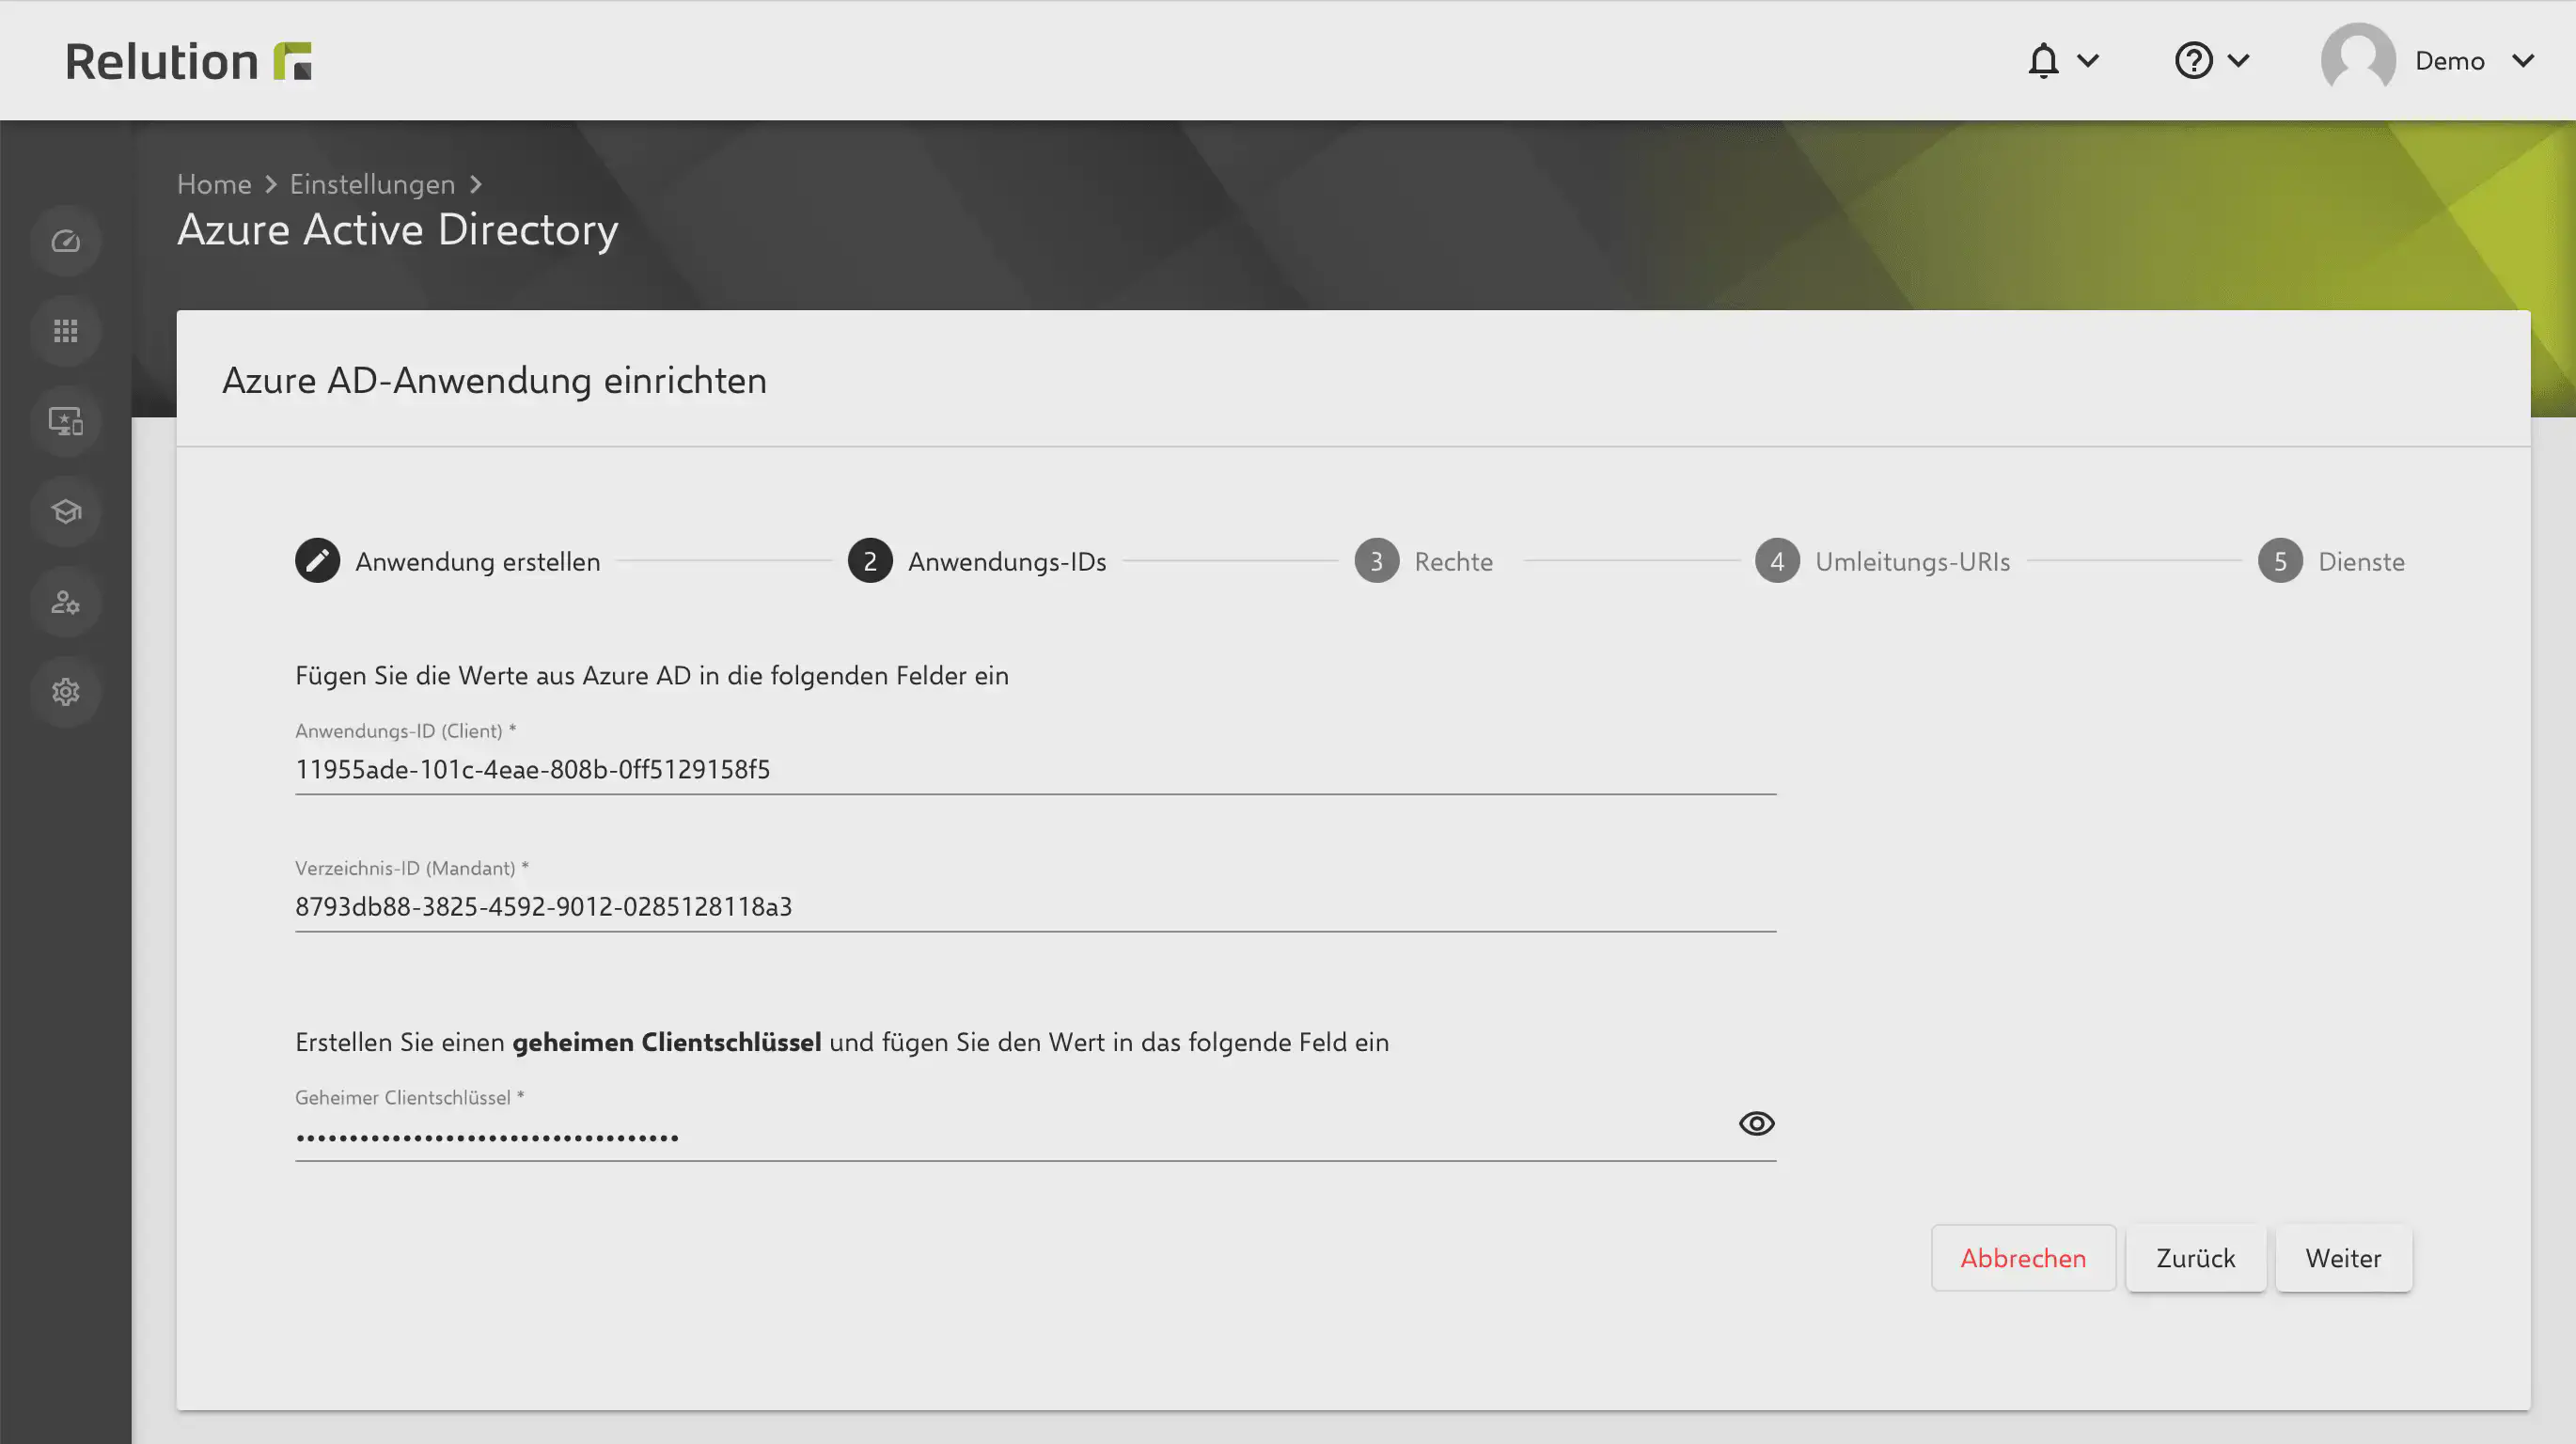
Open the link configuration in Relution
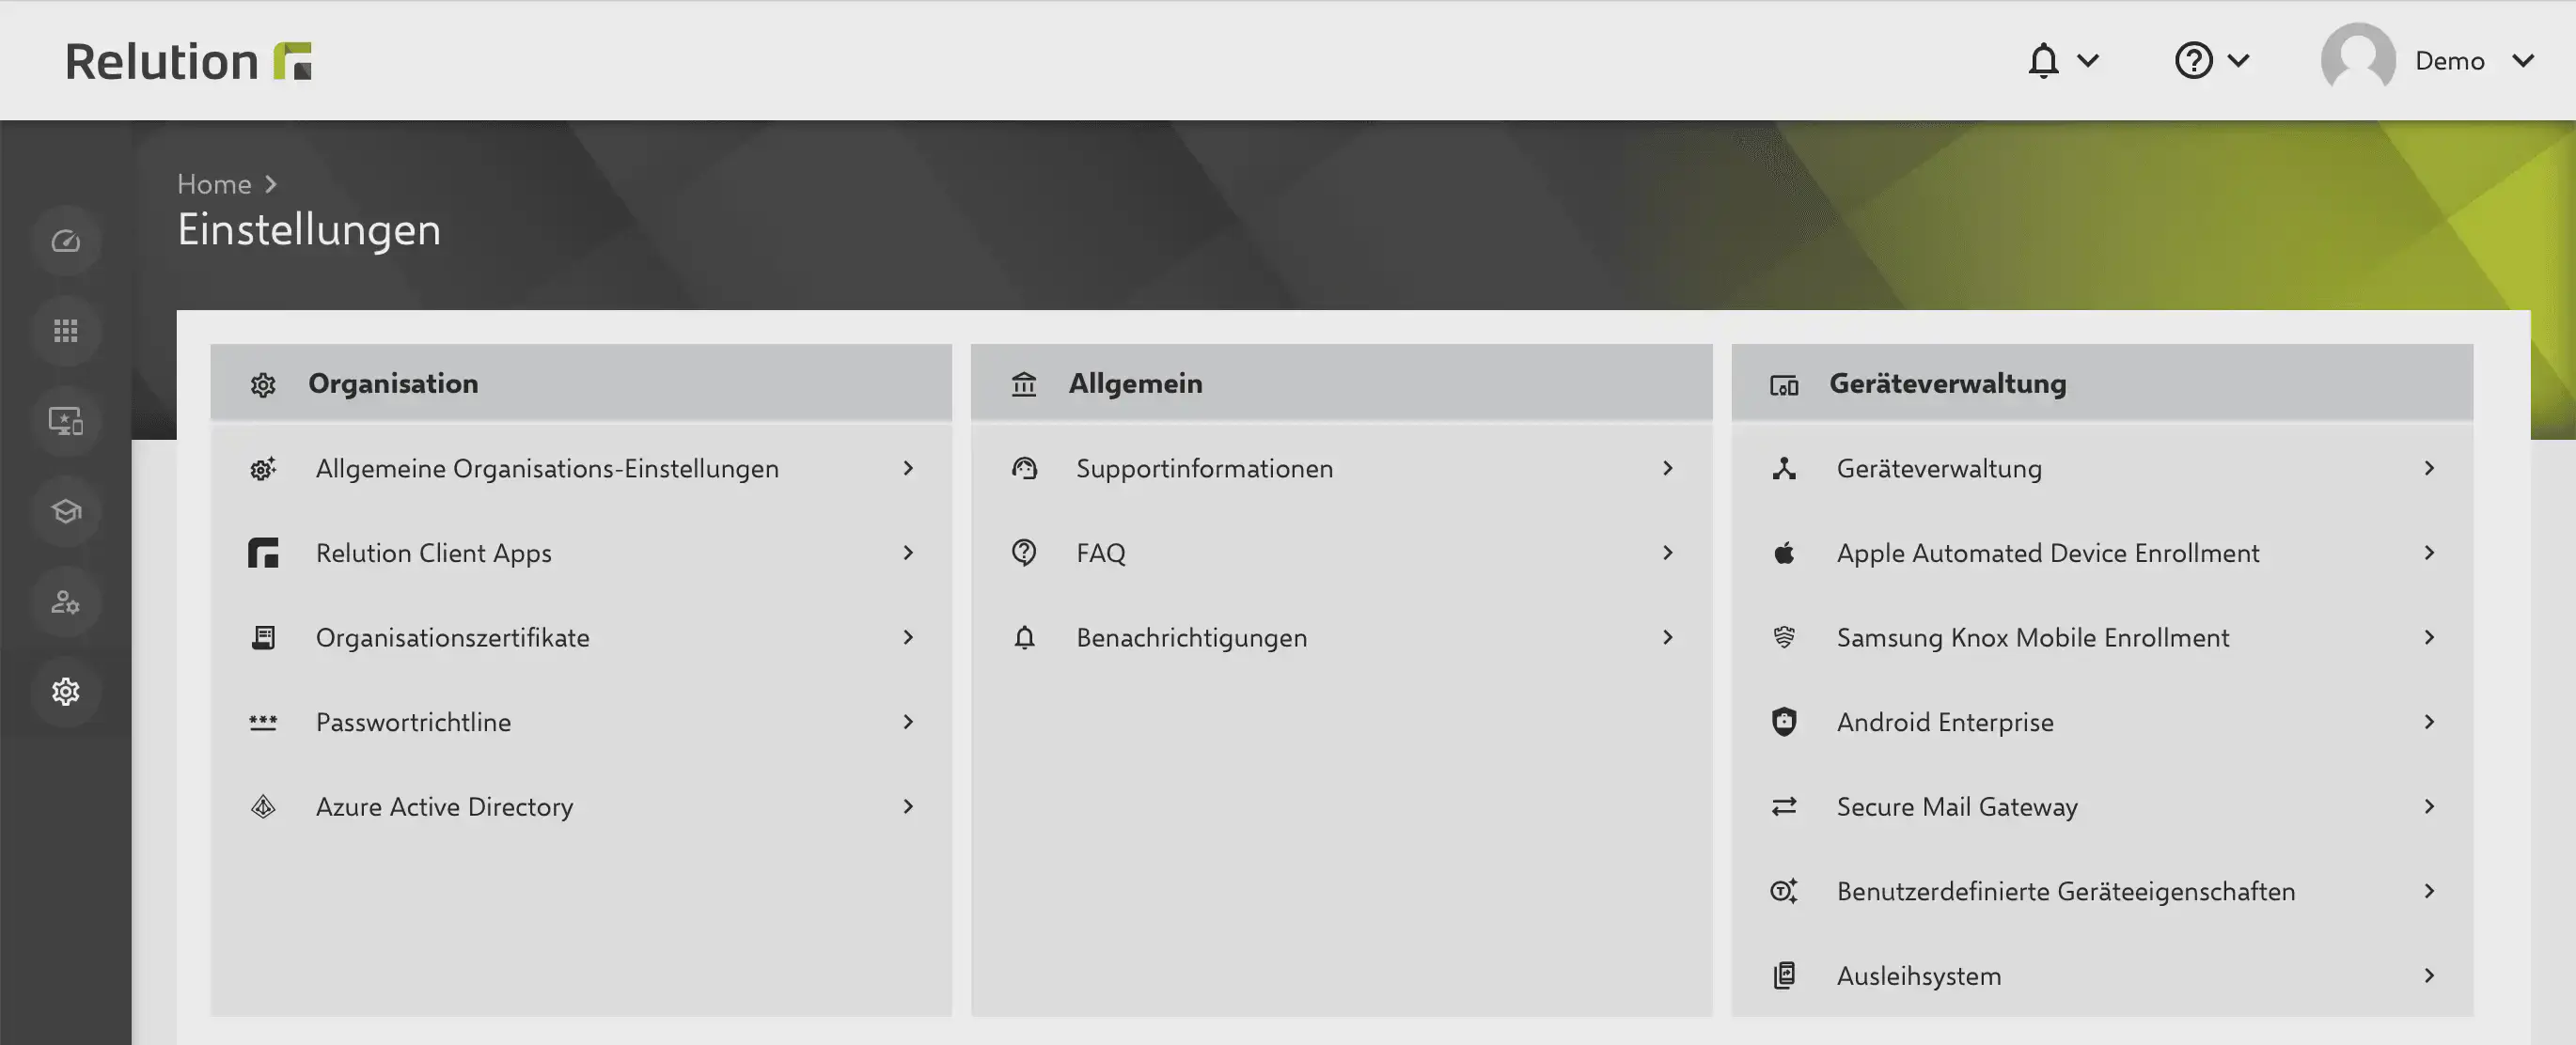
In the Relution portal, you can find the setup area under Settings > User management > Entra ID.
There, a guide supports you in configuring and linking Microsoft Entra.
If you only want to synchronize users and groups from Microsoft Entra with Relution, a standard app registration is sufficient. You can create it using the following link:
Create new app registration in Entra →
Configure the MDM application settings
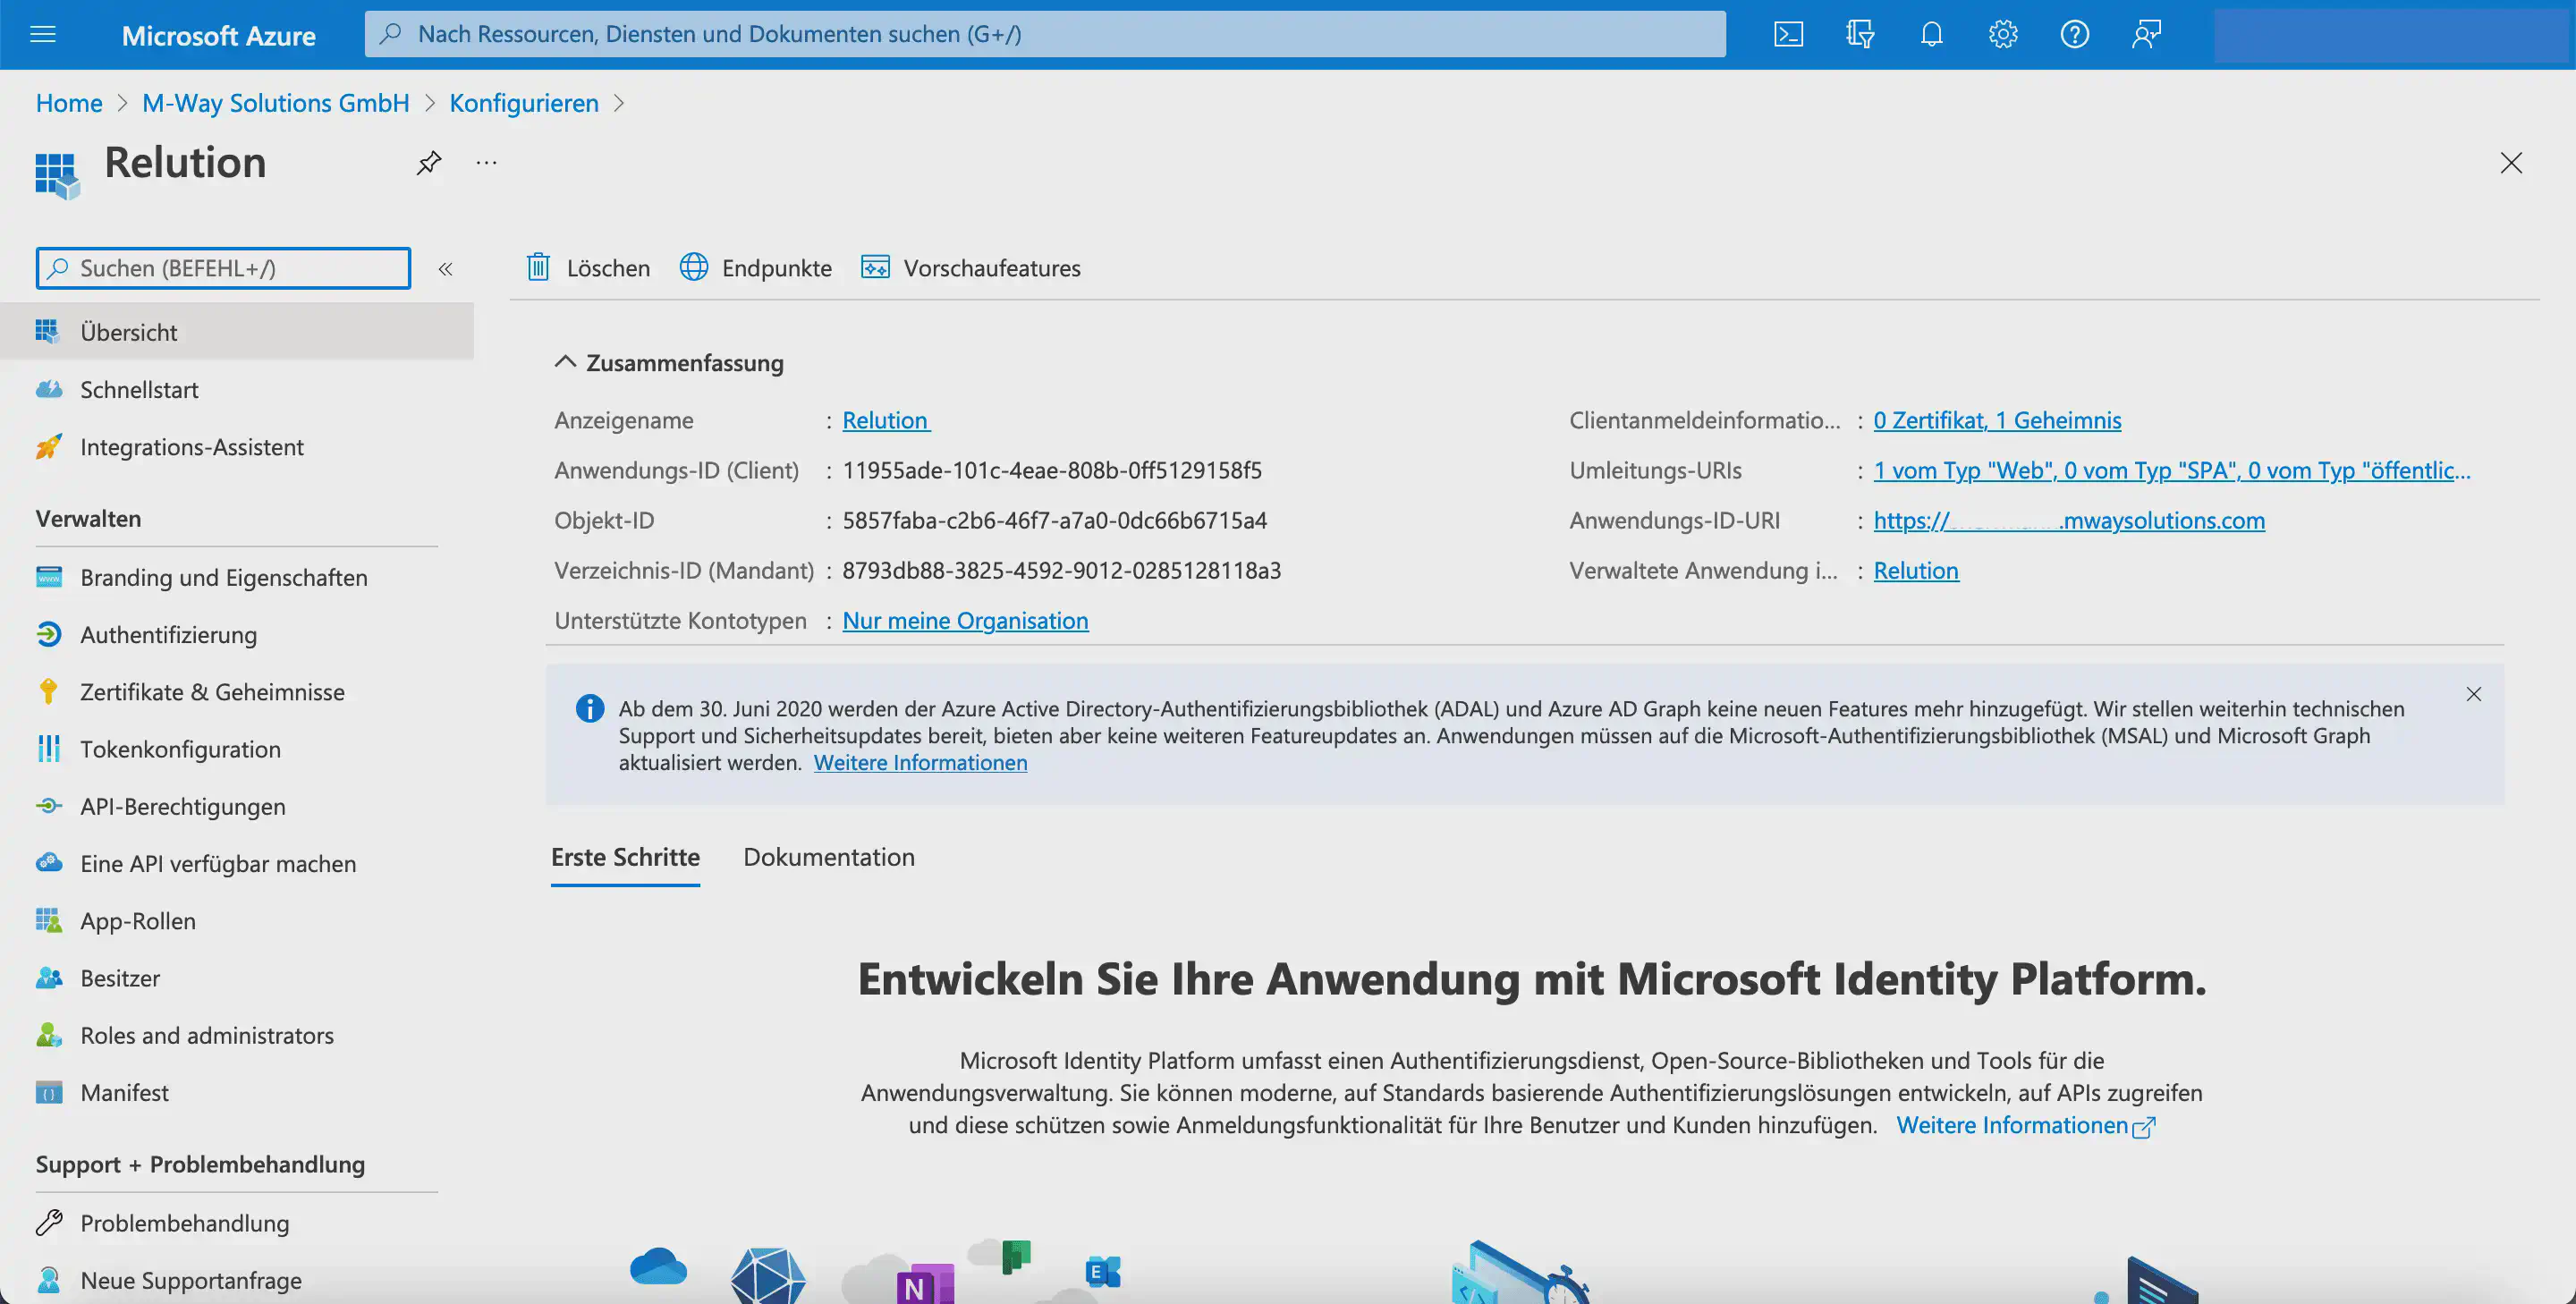
After the new MDM application has been created, the local MDM application settings can be configured in Microsoft Entra. The following information from Microsoft Entra must be transferred to the Relution guide:
Application (client) IDDirectory (tenant) ID- the value of the
Client secret
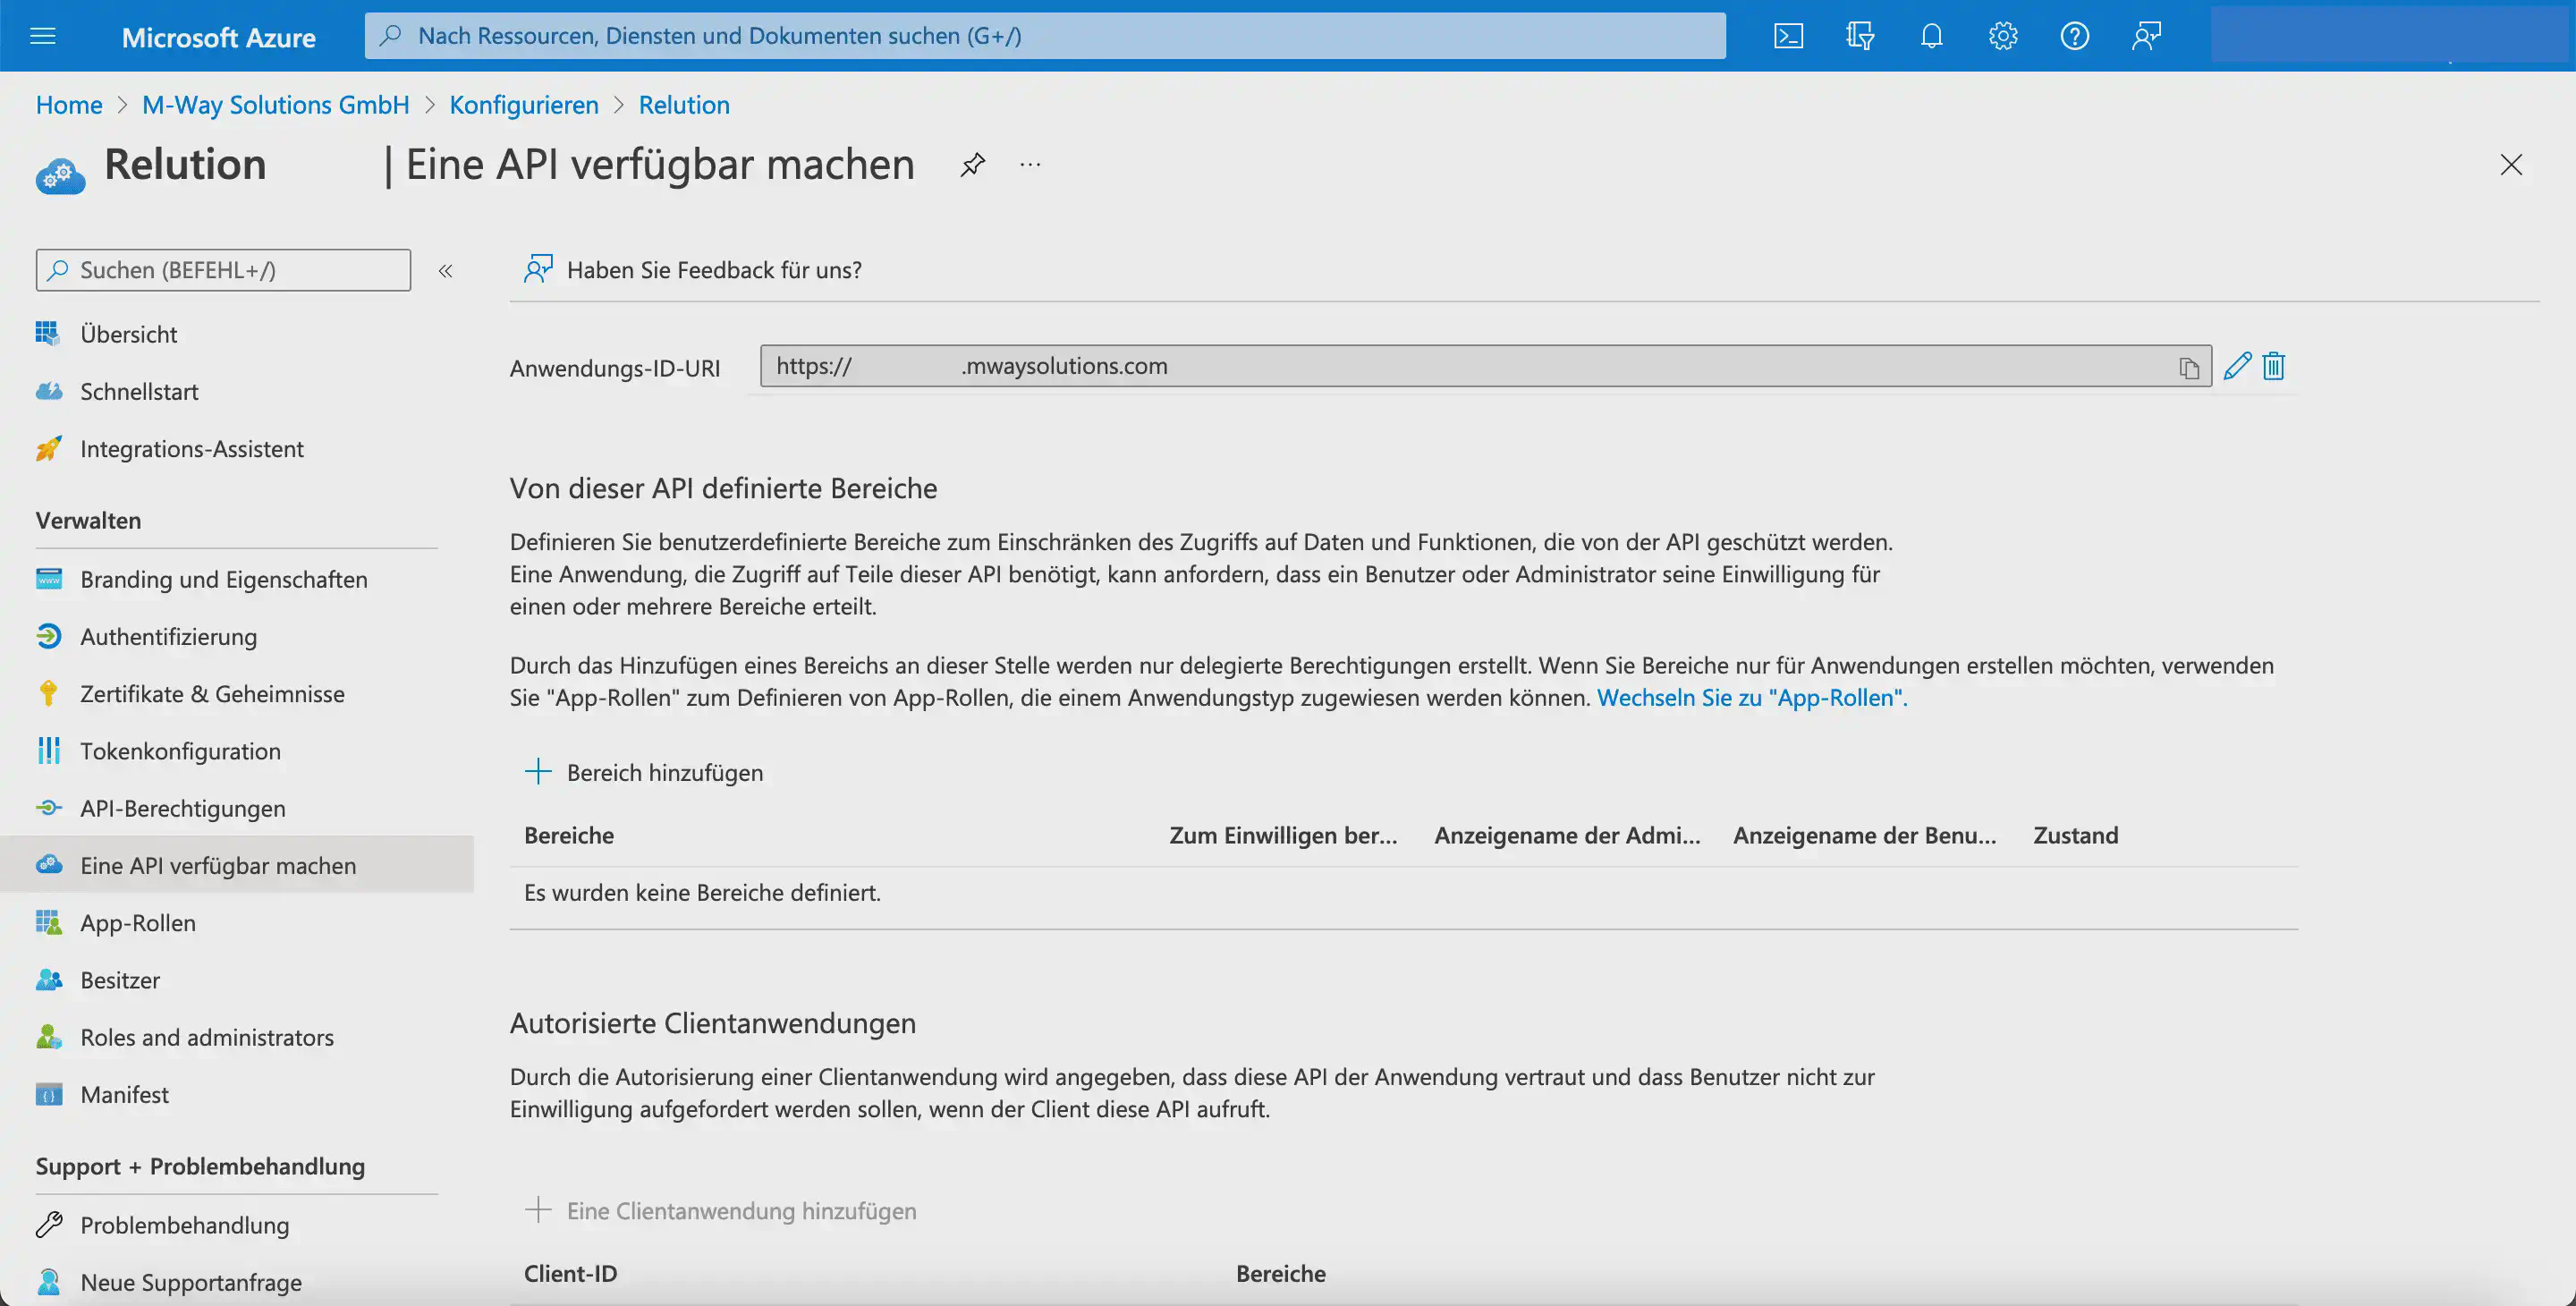
Then click Application ID URI in the local MDM application settings to edit it.
In the following view, enter the corresponding server URL as the Application ID URI.
Next, add a Client secret under Certificates & secrets:
- In the
Client secretstab, clickNew client secret. - In the
Add a client secretdialog, enter a description and the validity period. - Click
Add.
If the validity period expires, the connection is no longer available and Relution can no longer communicate with Microsoft Entra. In this case, a new
Client secretmust be created for the application in Microsoft Entra and stored again in Relution.
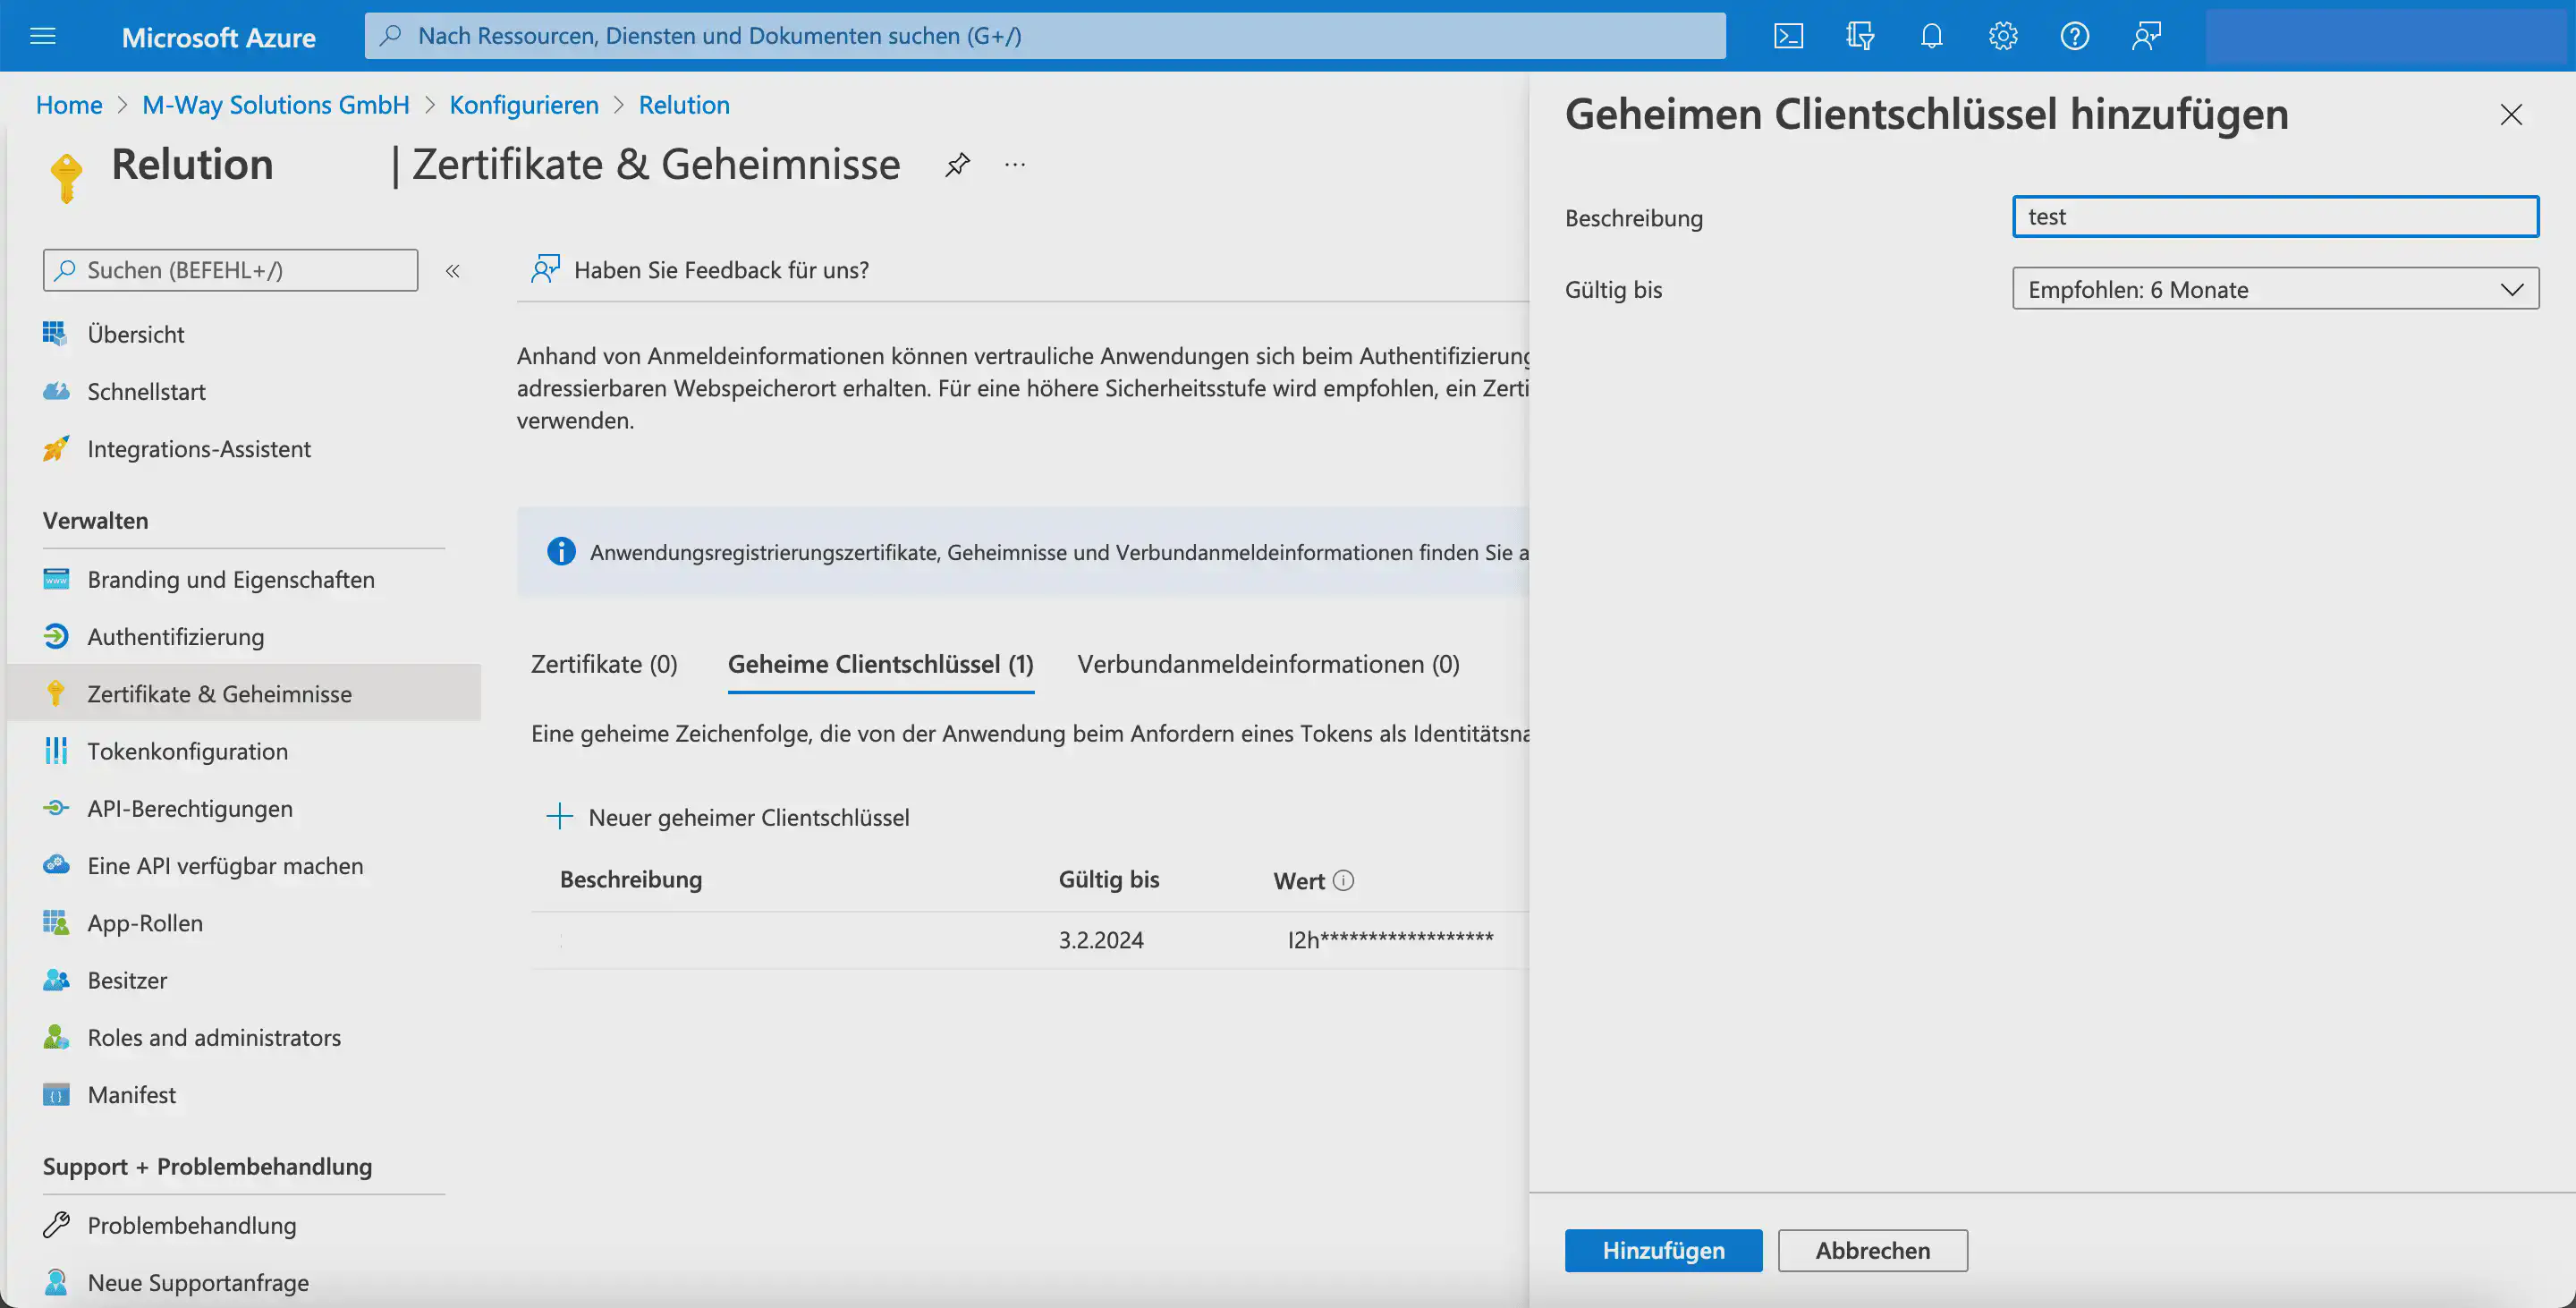
The new entry is then displayed in the overview under the Client secrets tab.
The corresponding
Valueis shown only once and must therefore be copied immediately and transferred to Relution.
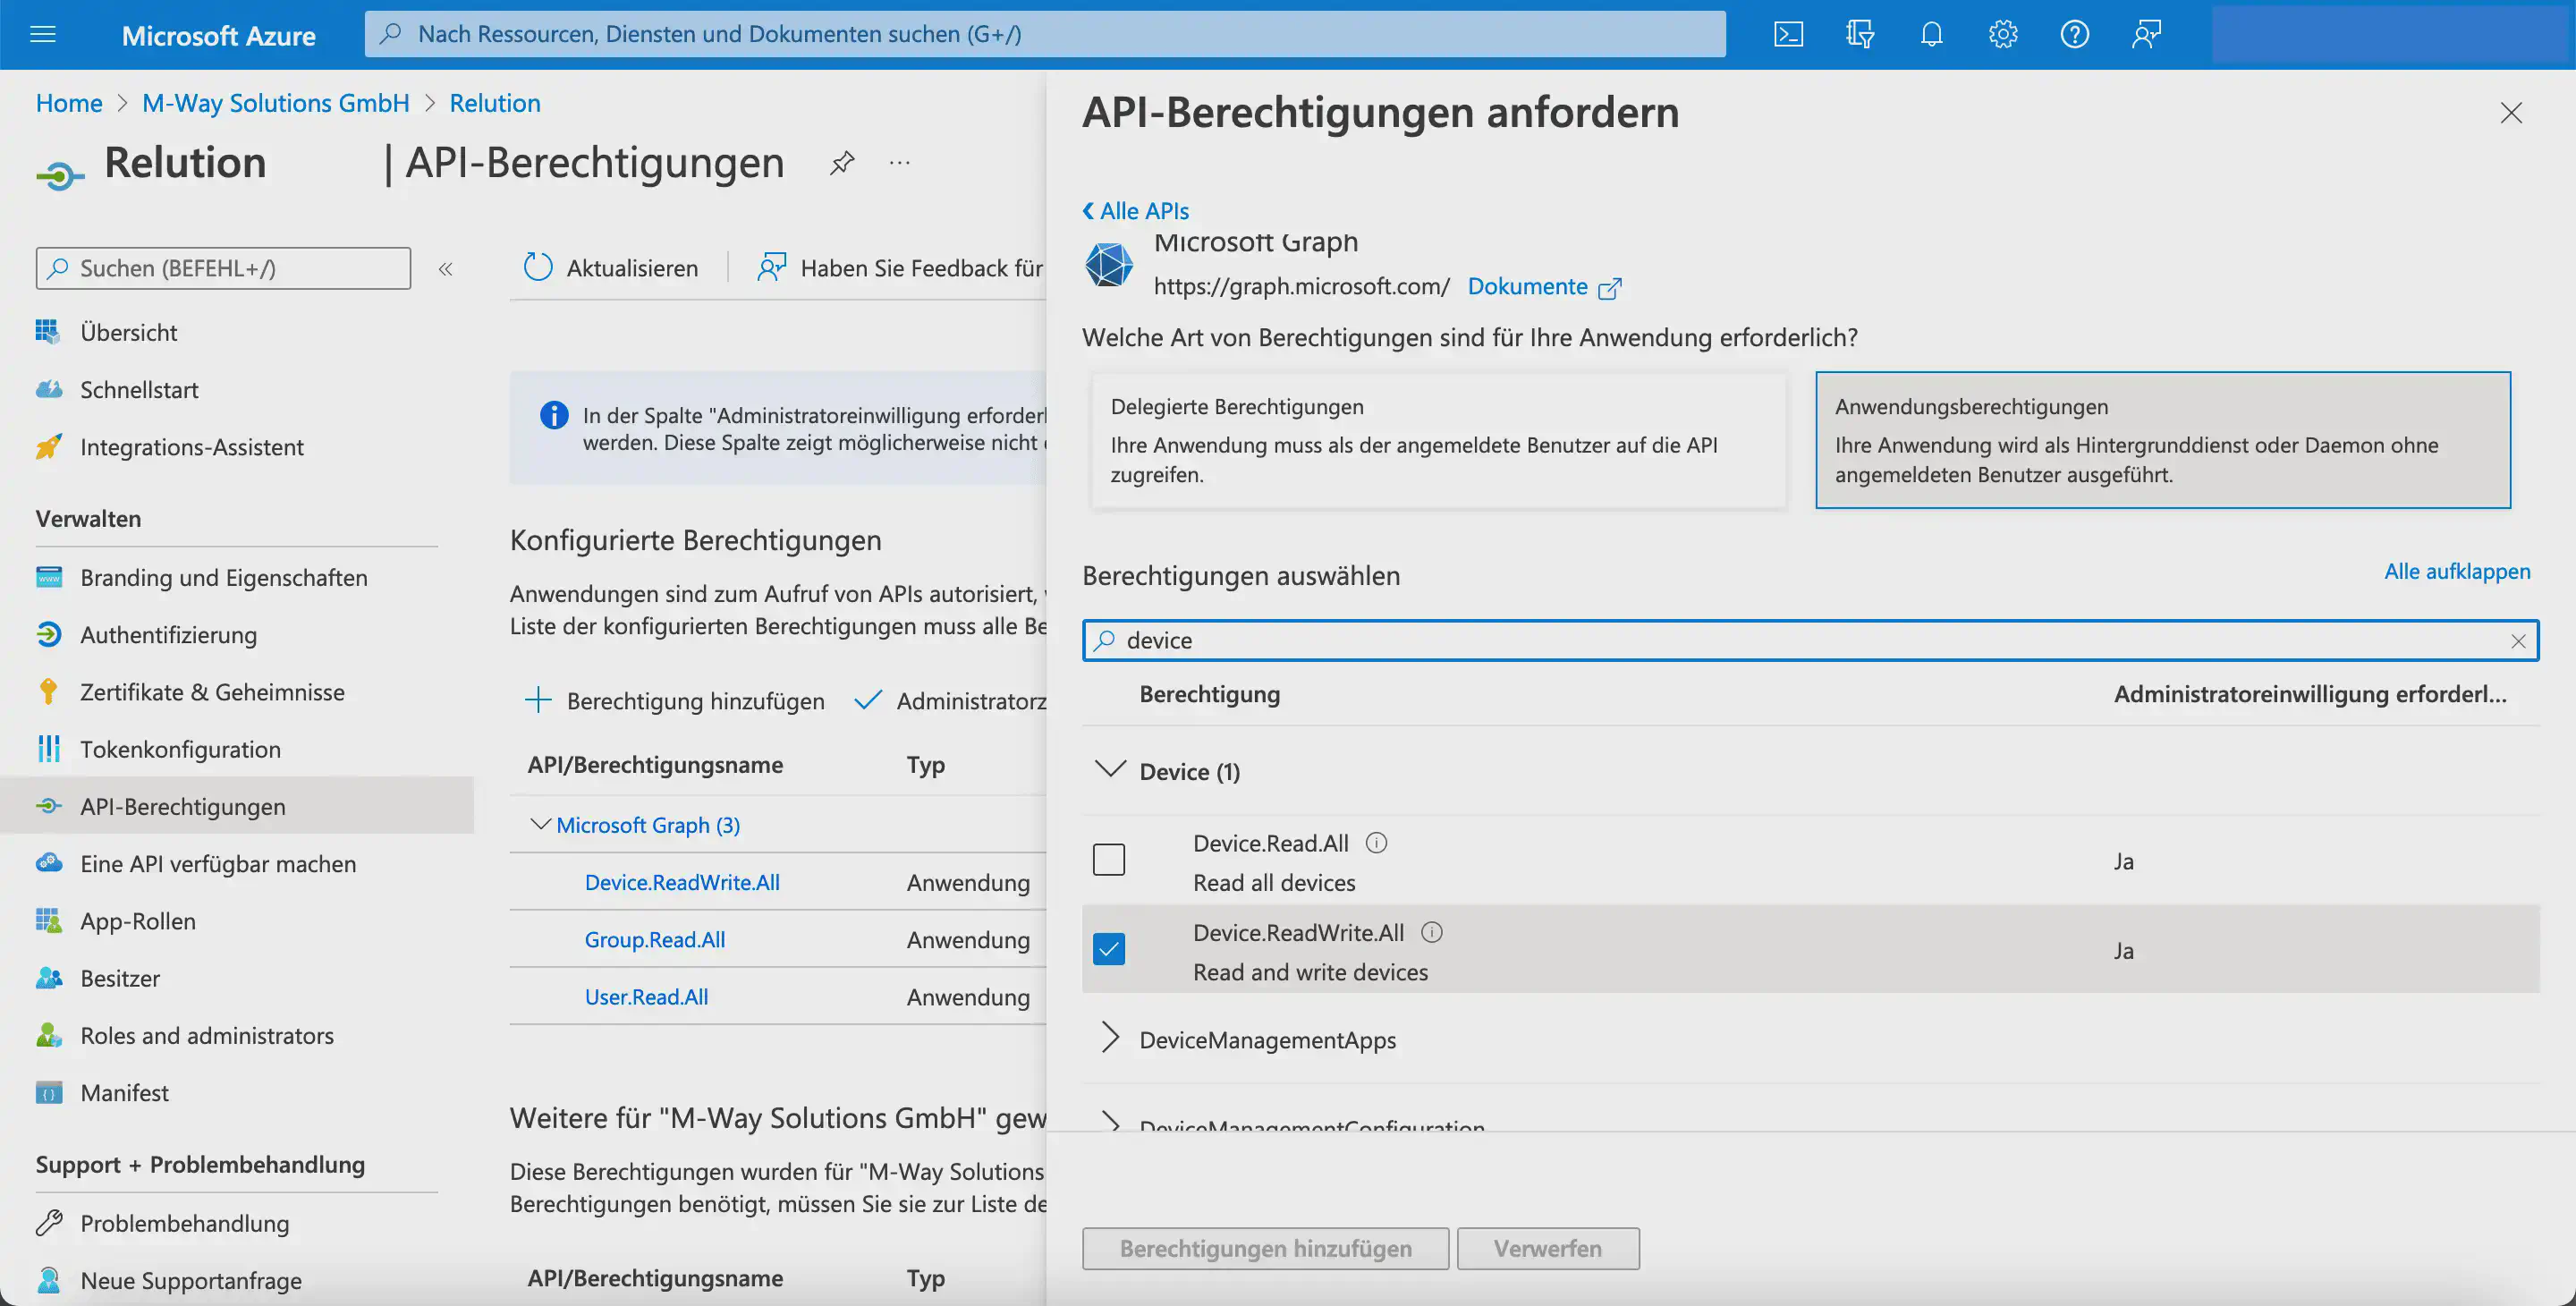
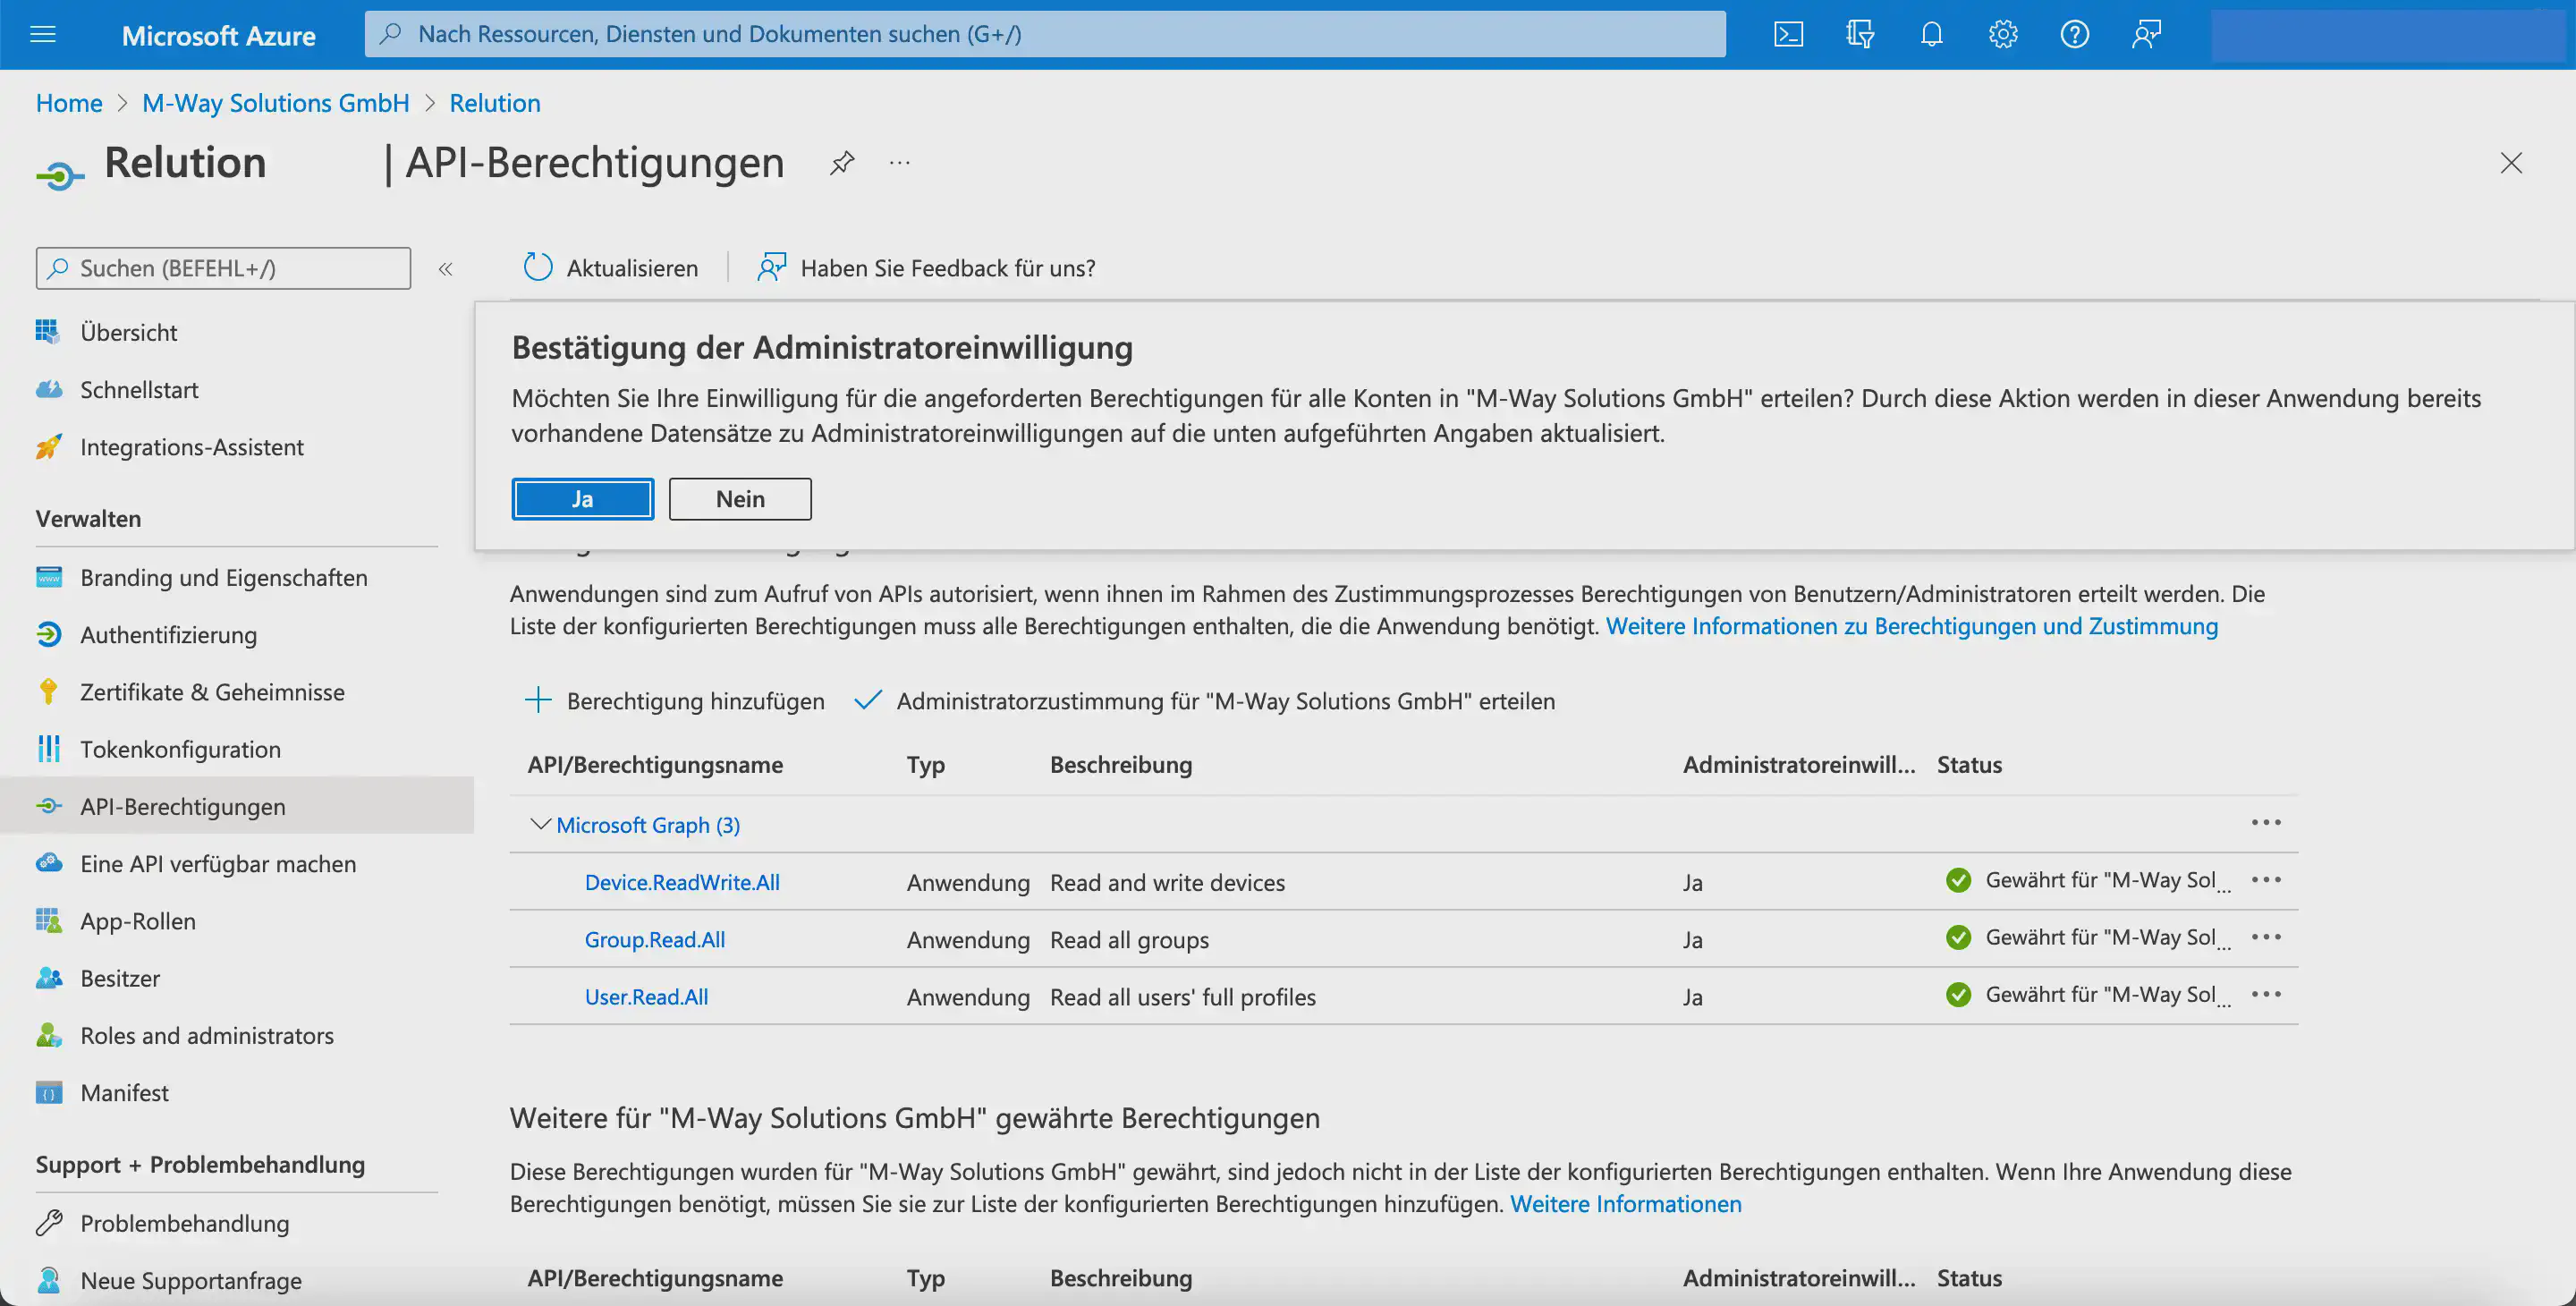
Configure the API permissions
In the next step, the API permissions are configured:

Depending on which Microsoft features are used in the future, additional permissions may need to be added later.
The following settings must be configured in Microsoft Entra:
Under
API permissions > Configured permissions, clickAdd a permission.In the
Request API permissionsdialog, selectMicrosoft GraphunderMicrosoft APIs.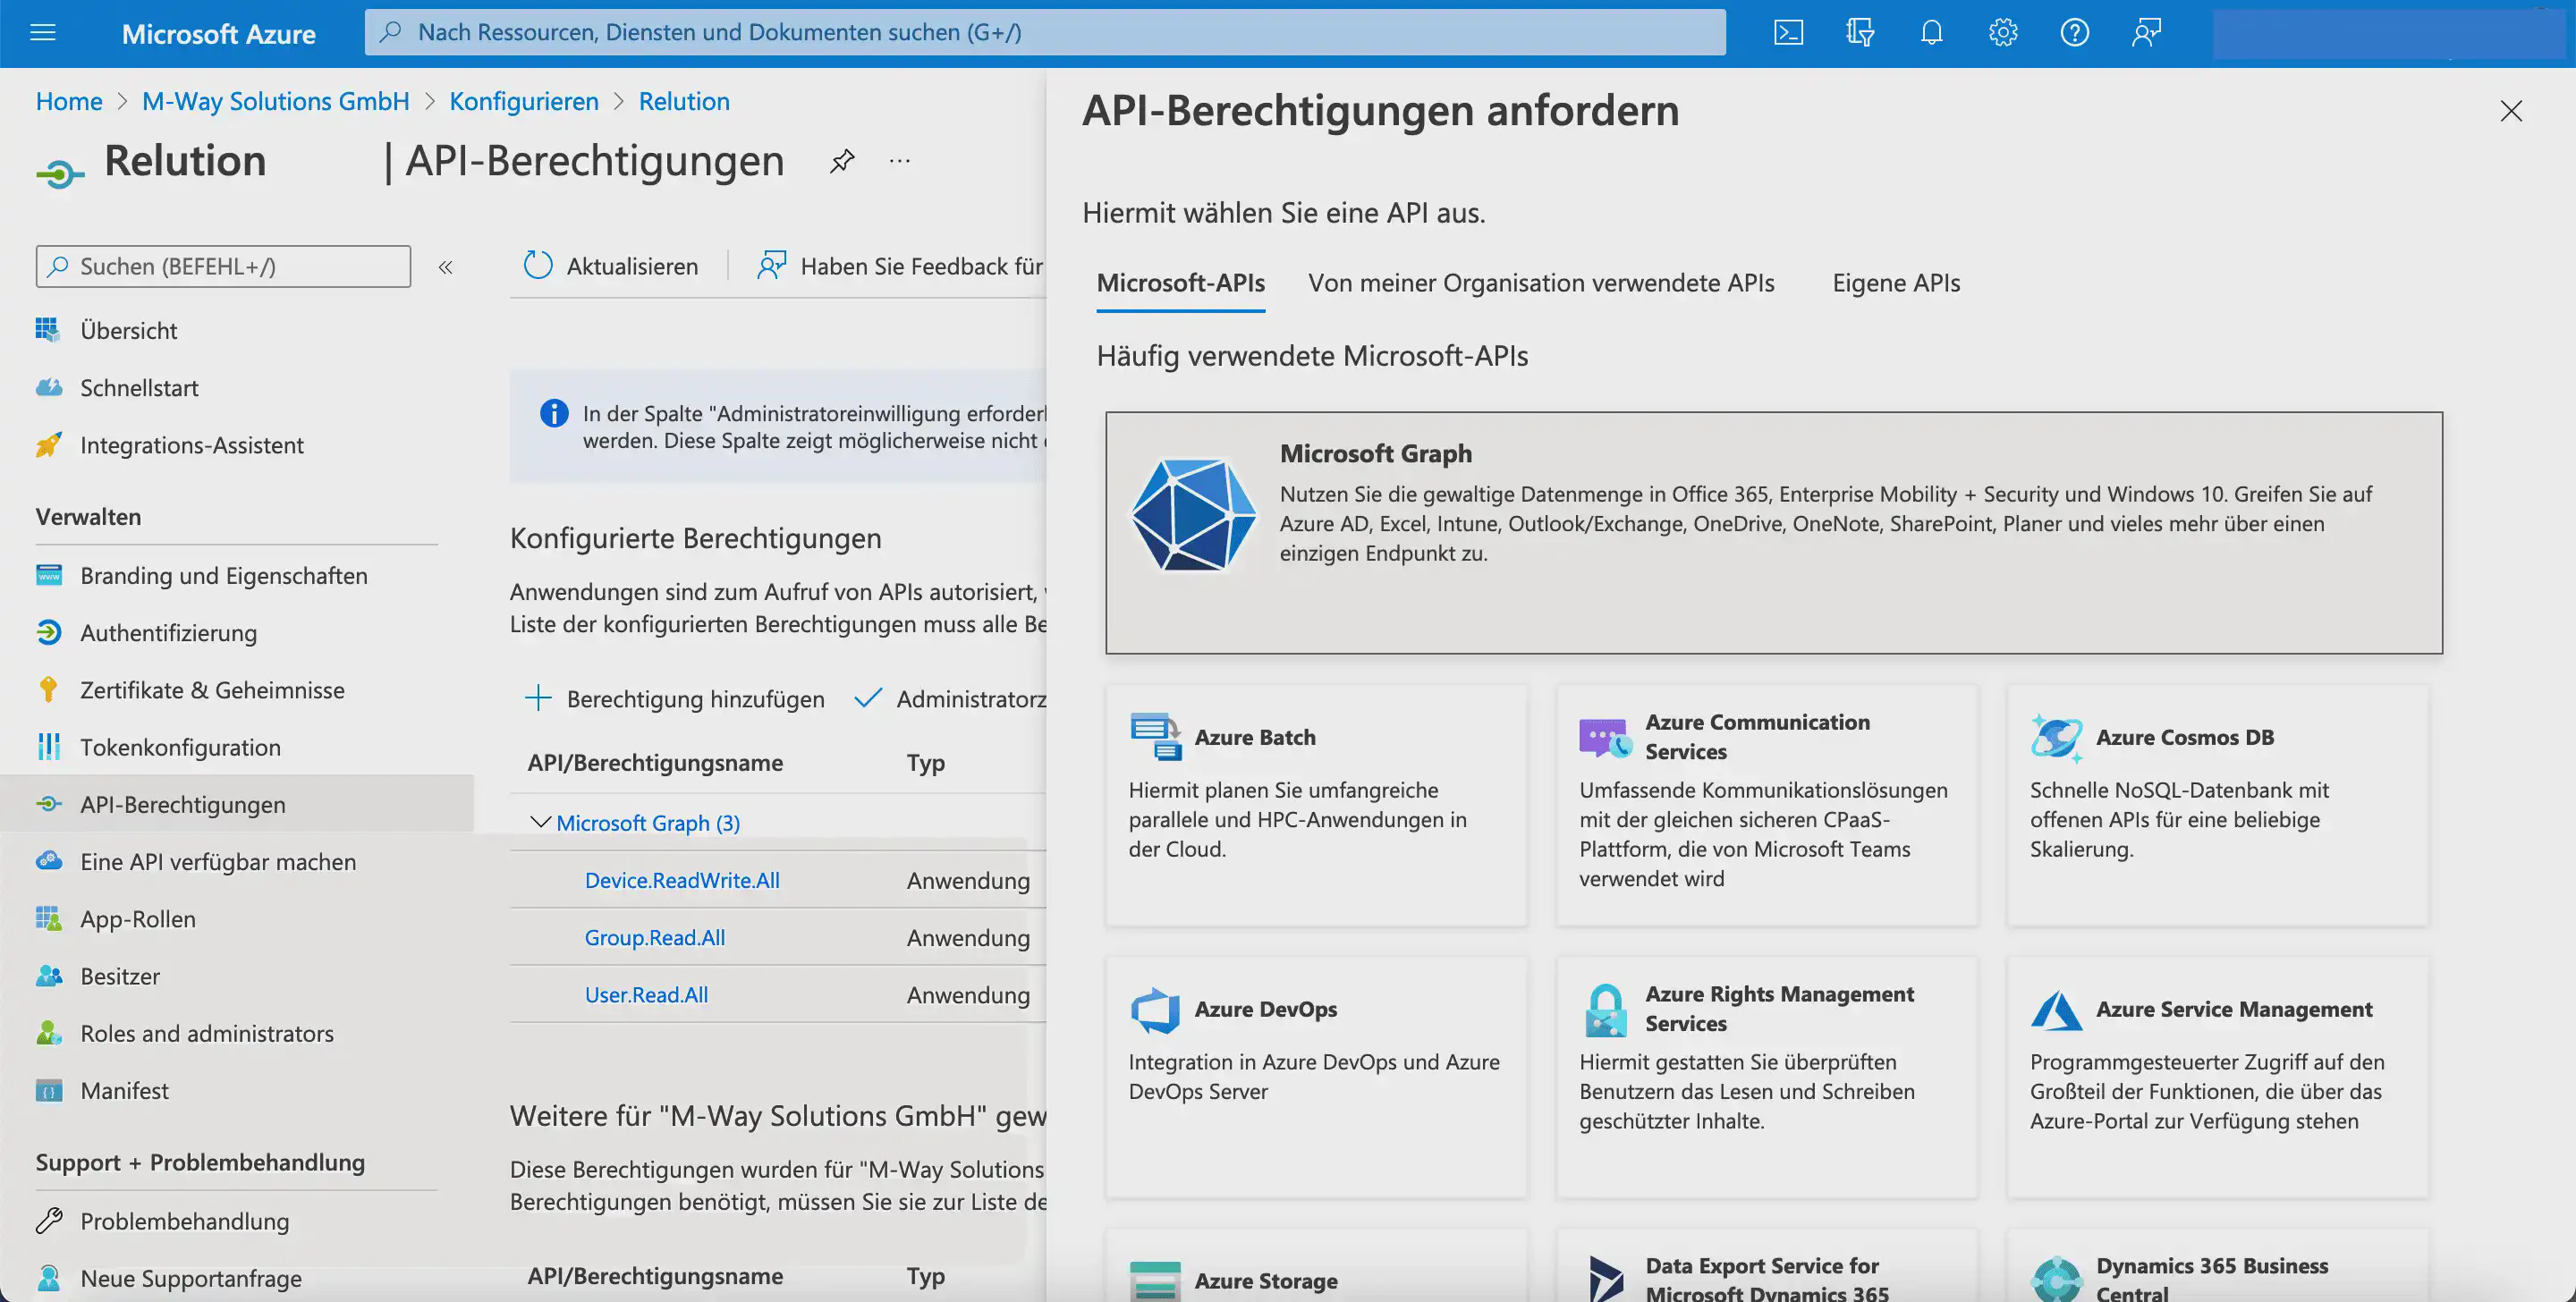
In the next step, select the
Application permissionstile.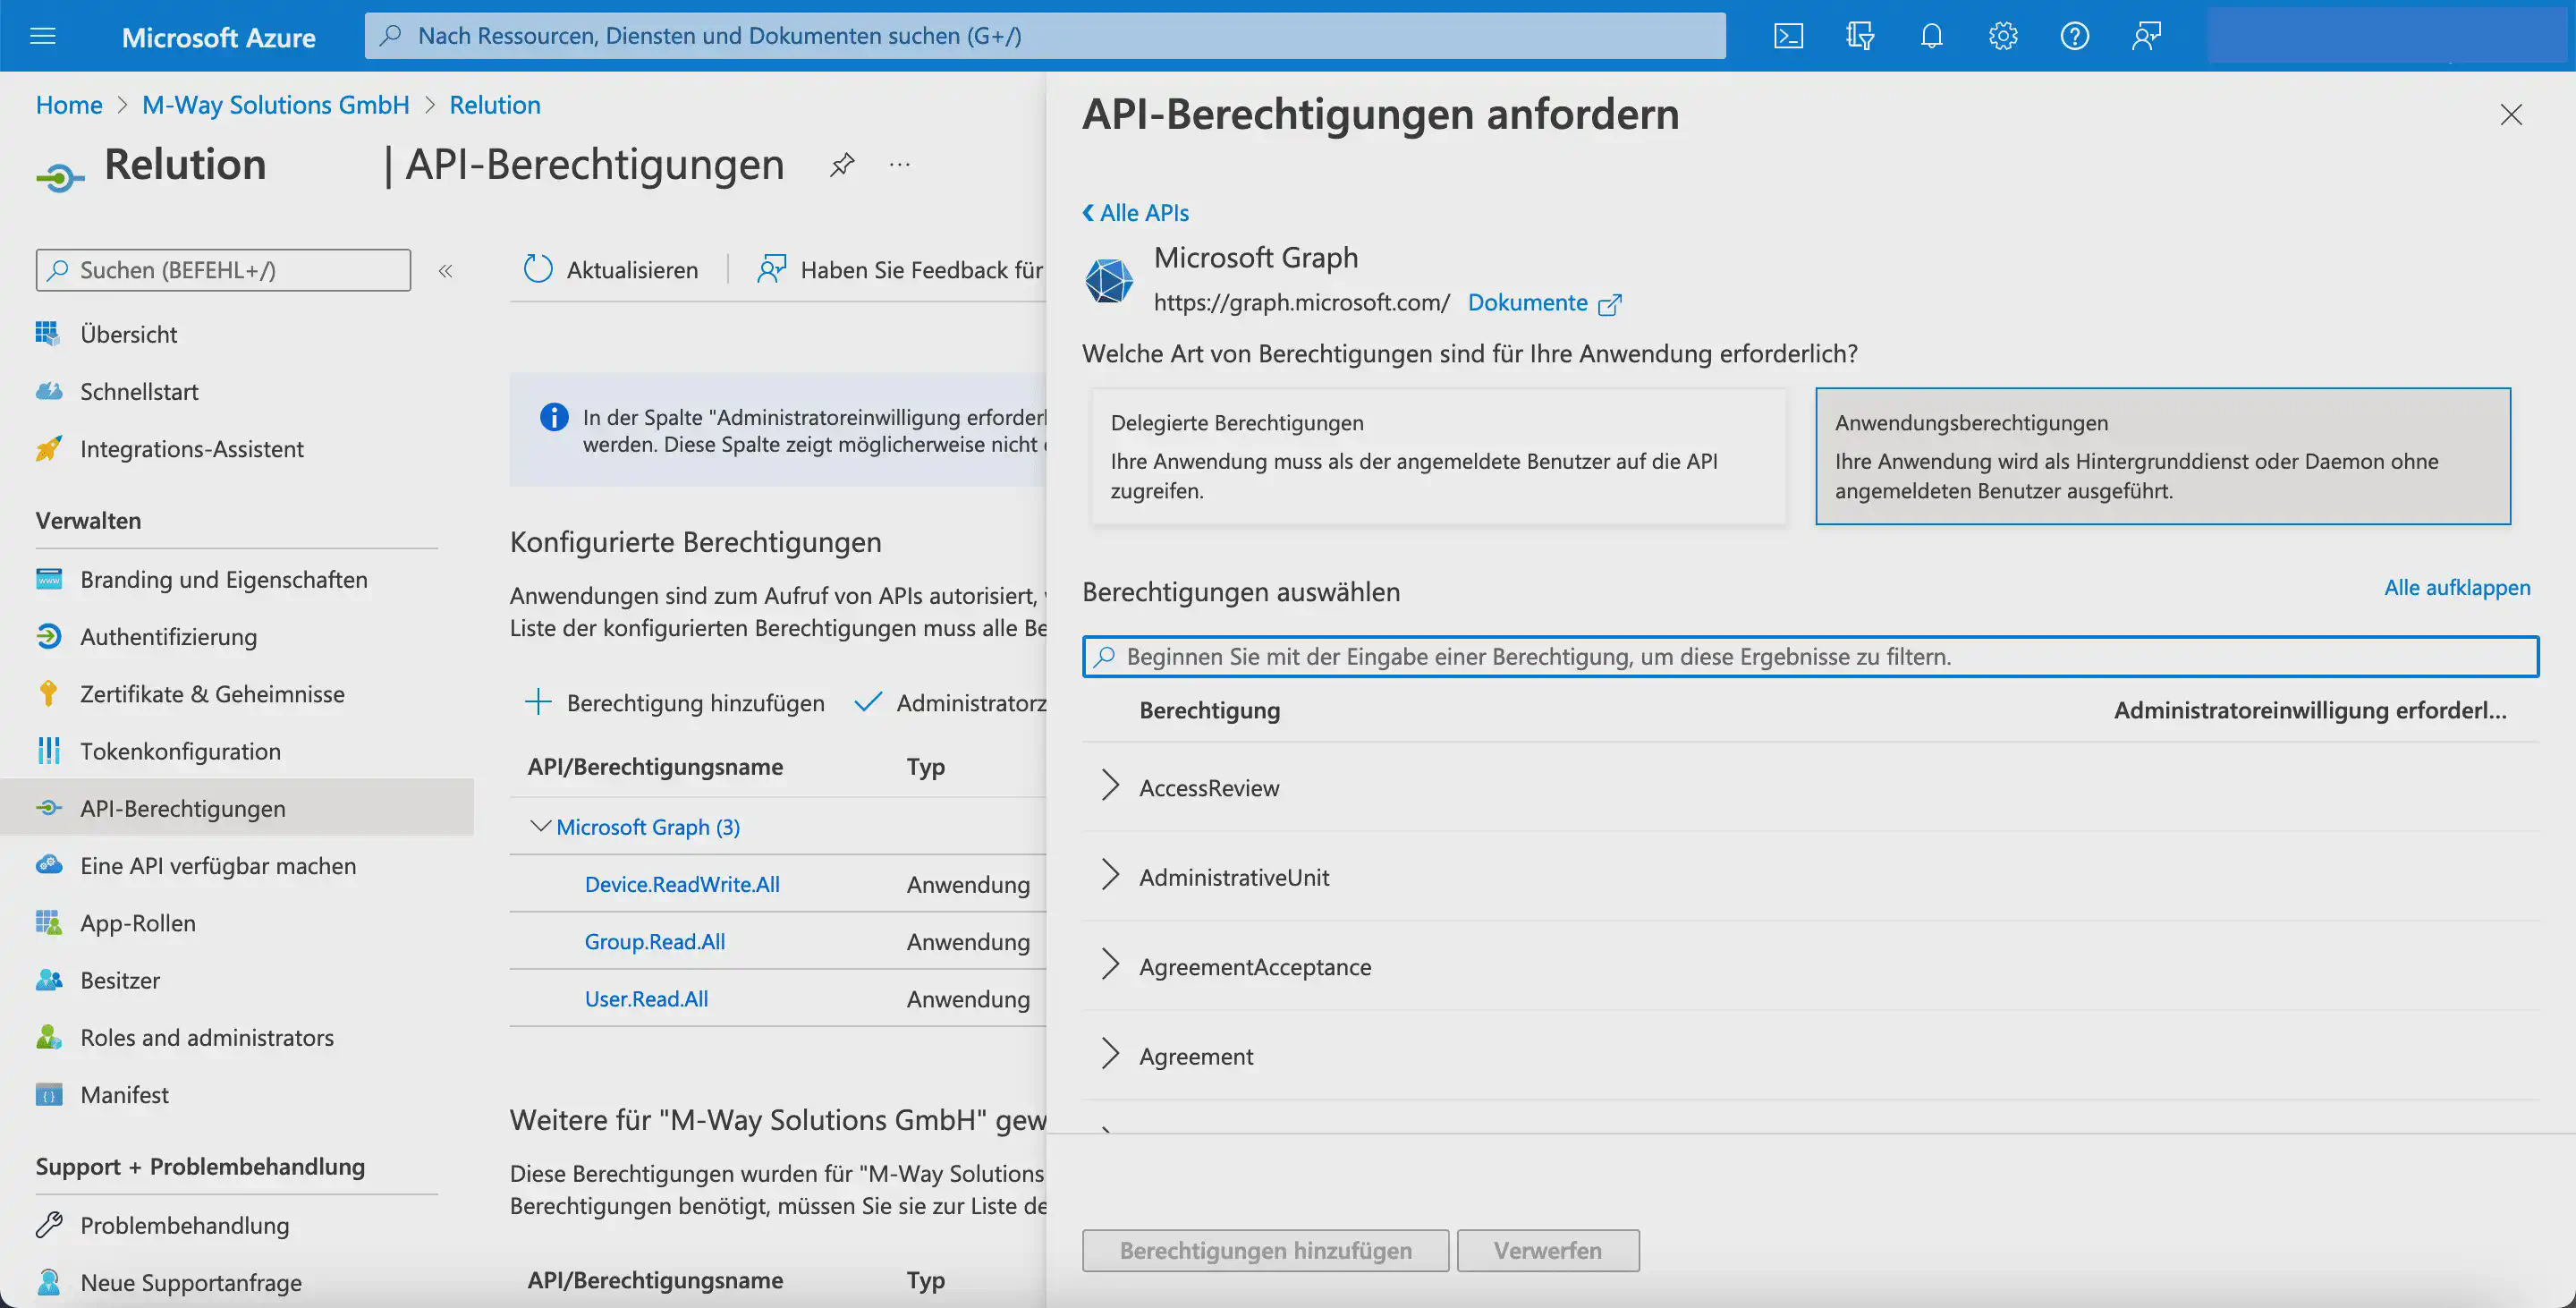
Select the
User.Read.Allpermission forUser.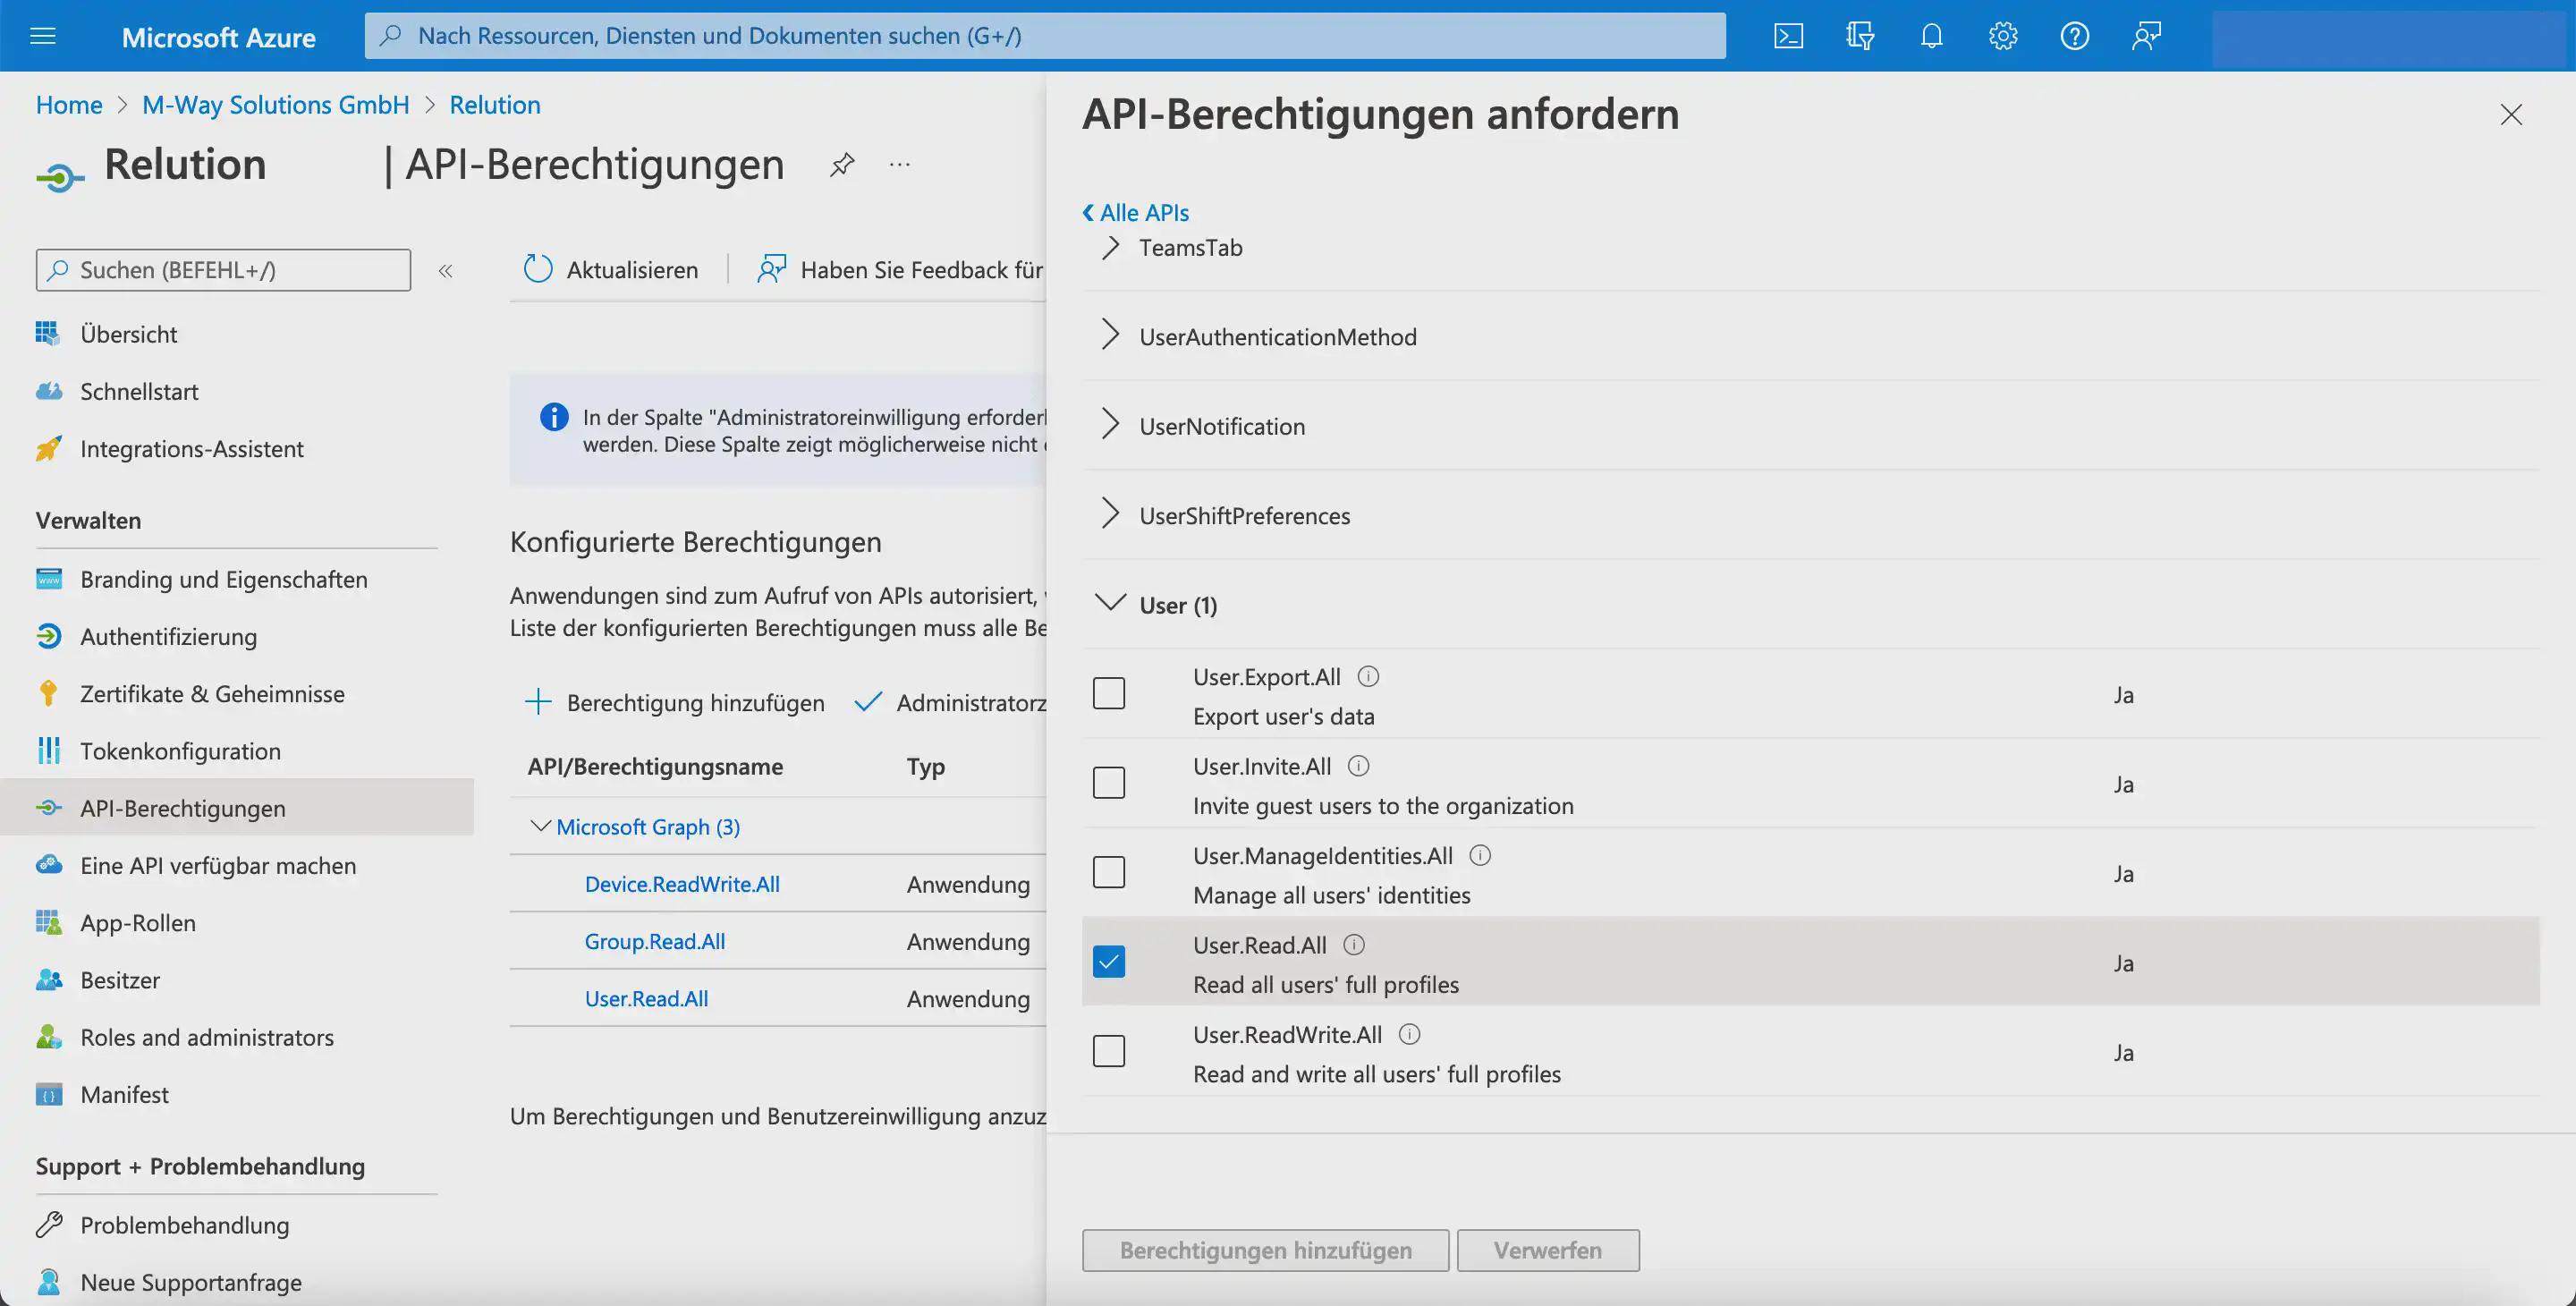
Select the
Group.Read.Allpermission forGroup.
Select the
Device.ReadWrite.Allpermission forDeviceand confirm the selection withAdd permissions.
For newly added API permissions, an exclamation mark is initially displayed as the status. Administrators must grant consent once so that Microsoft Graph actually receives these permissions. The status is then shown as Granted with a green check mark.
Define the redirect URI
In the Relution guide, the Redirect URI is then configured in Microsoft Entra:
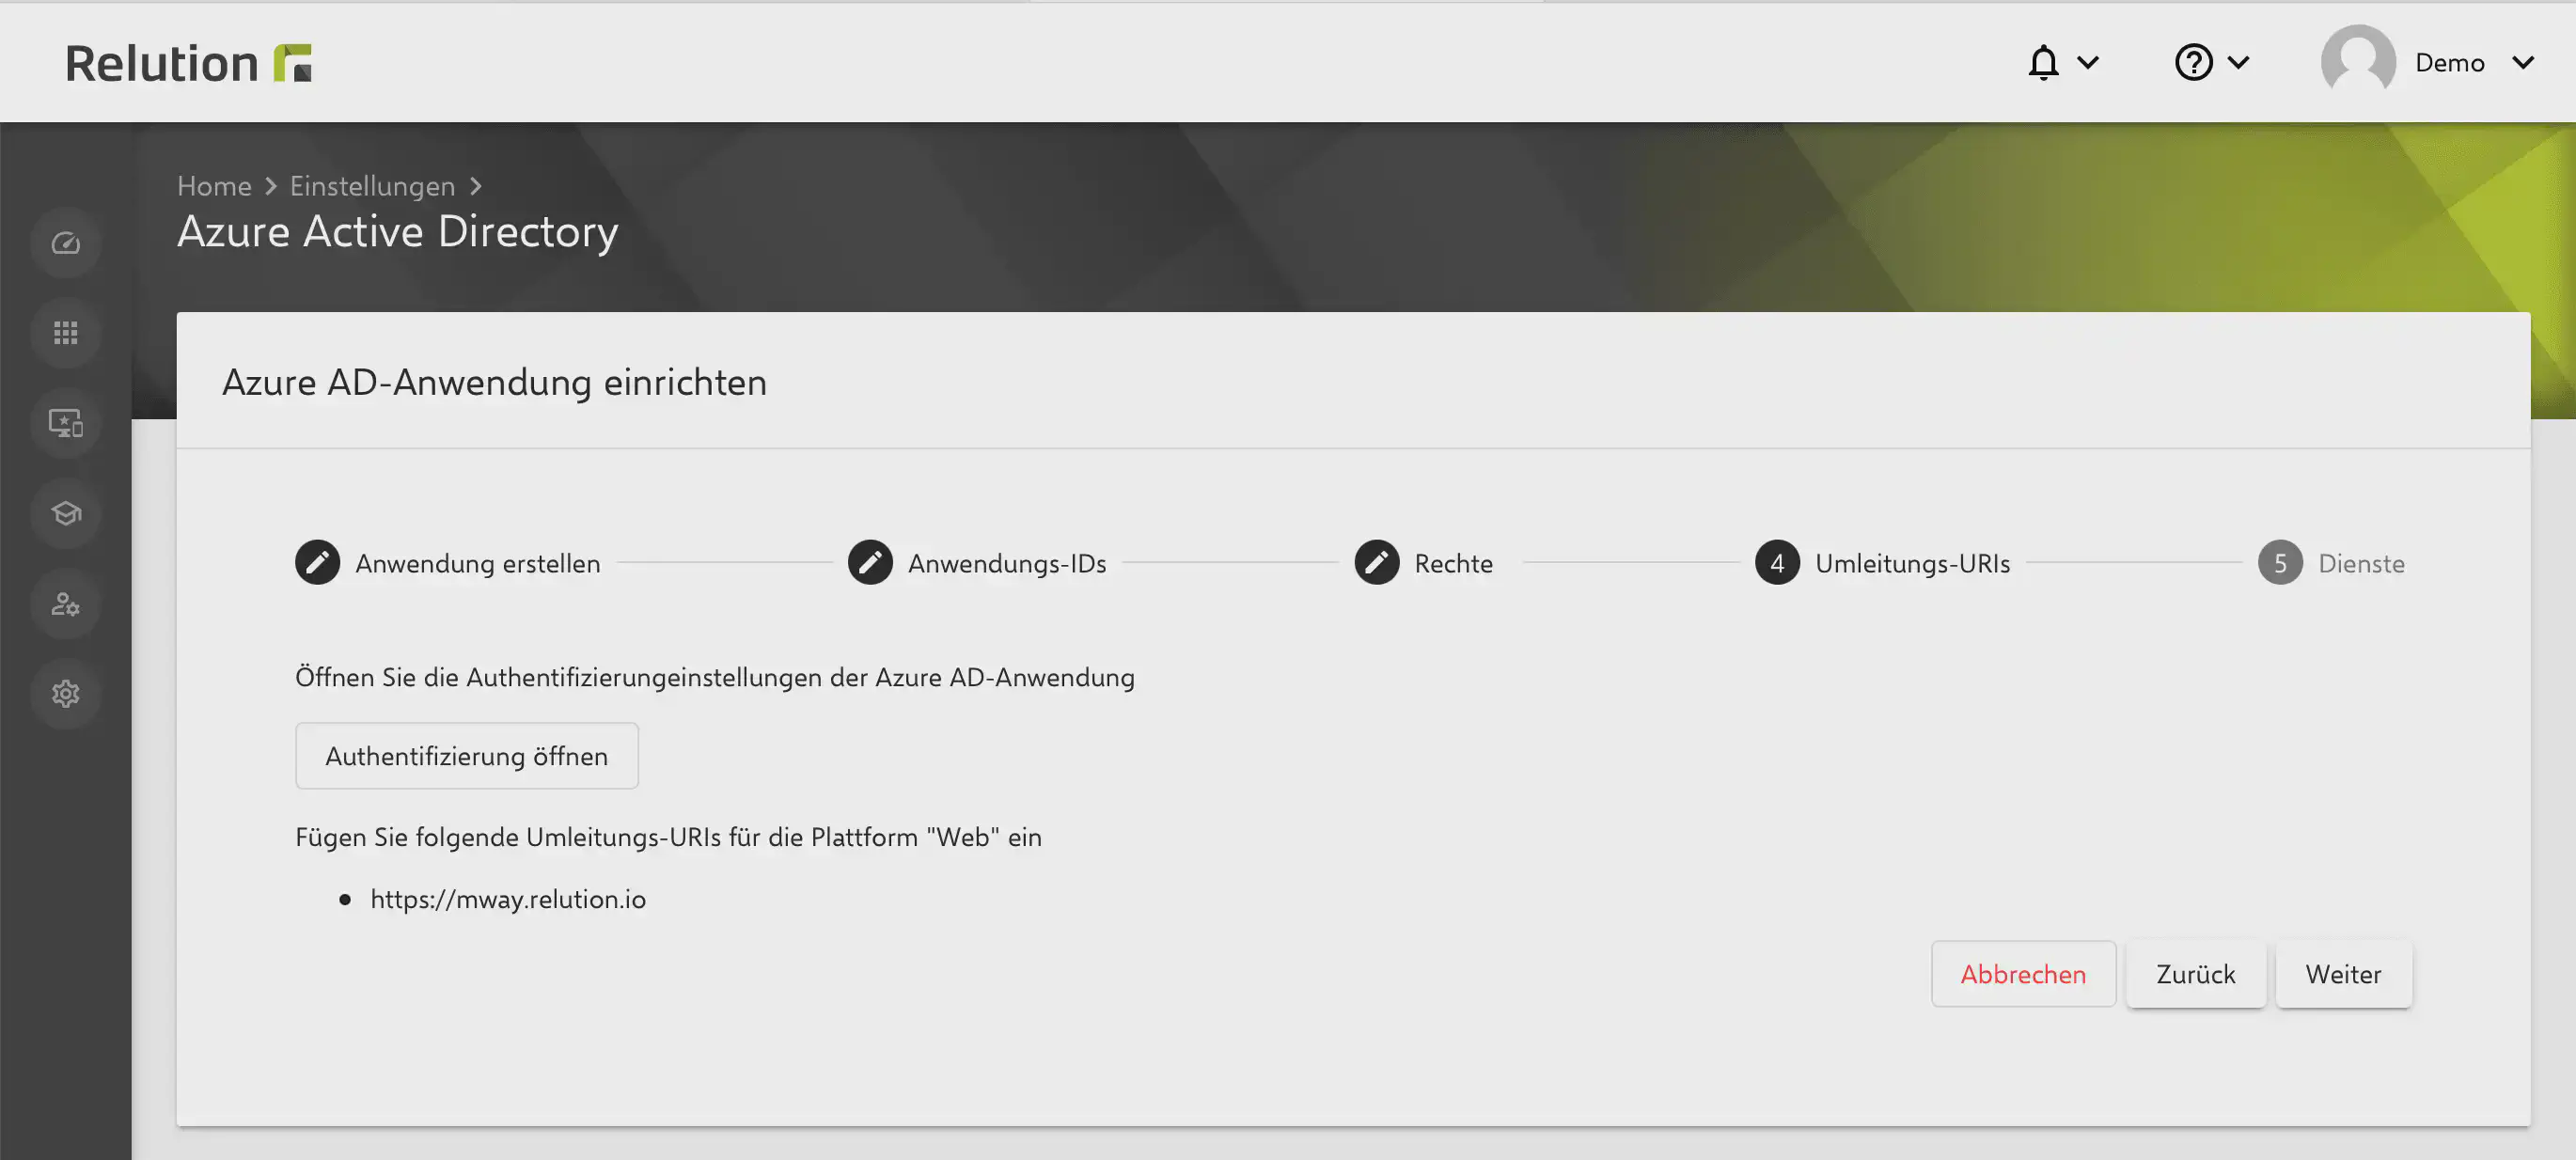
Under
Authentication, clickAdd a platform.In the
Configure platformsdialog, select theWebtile.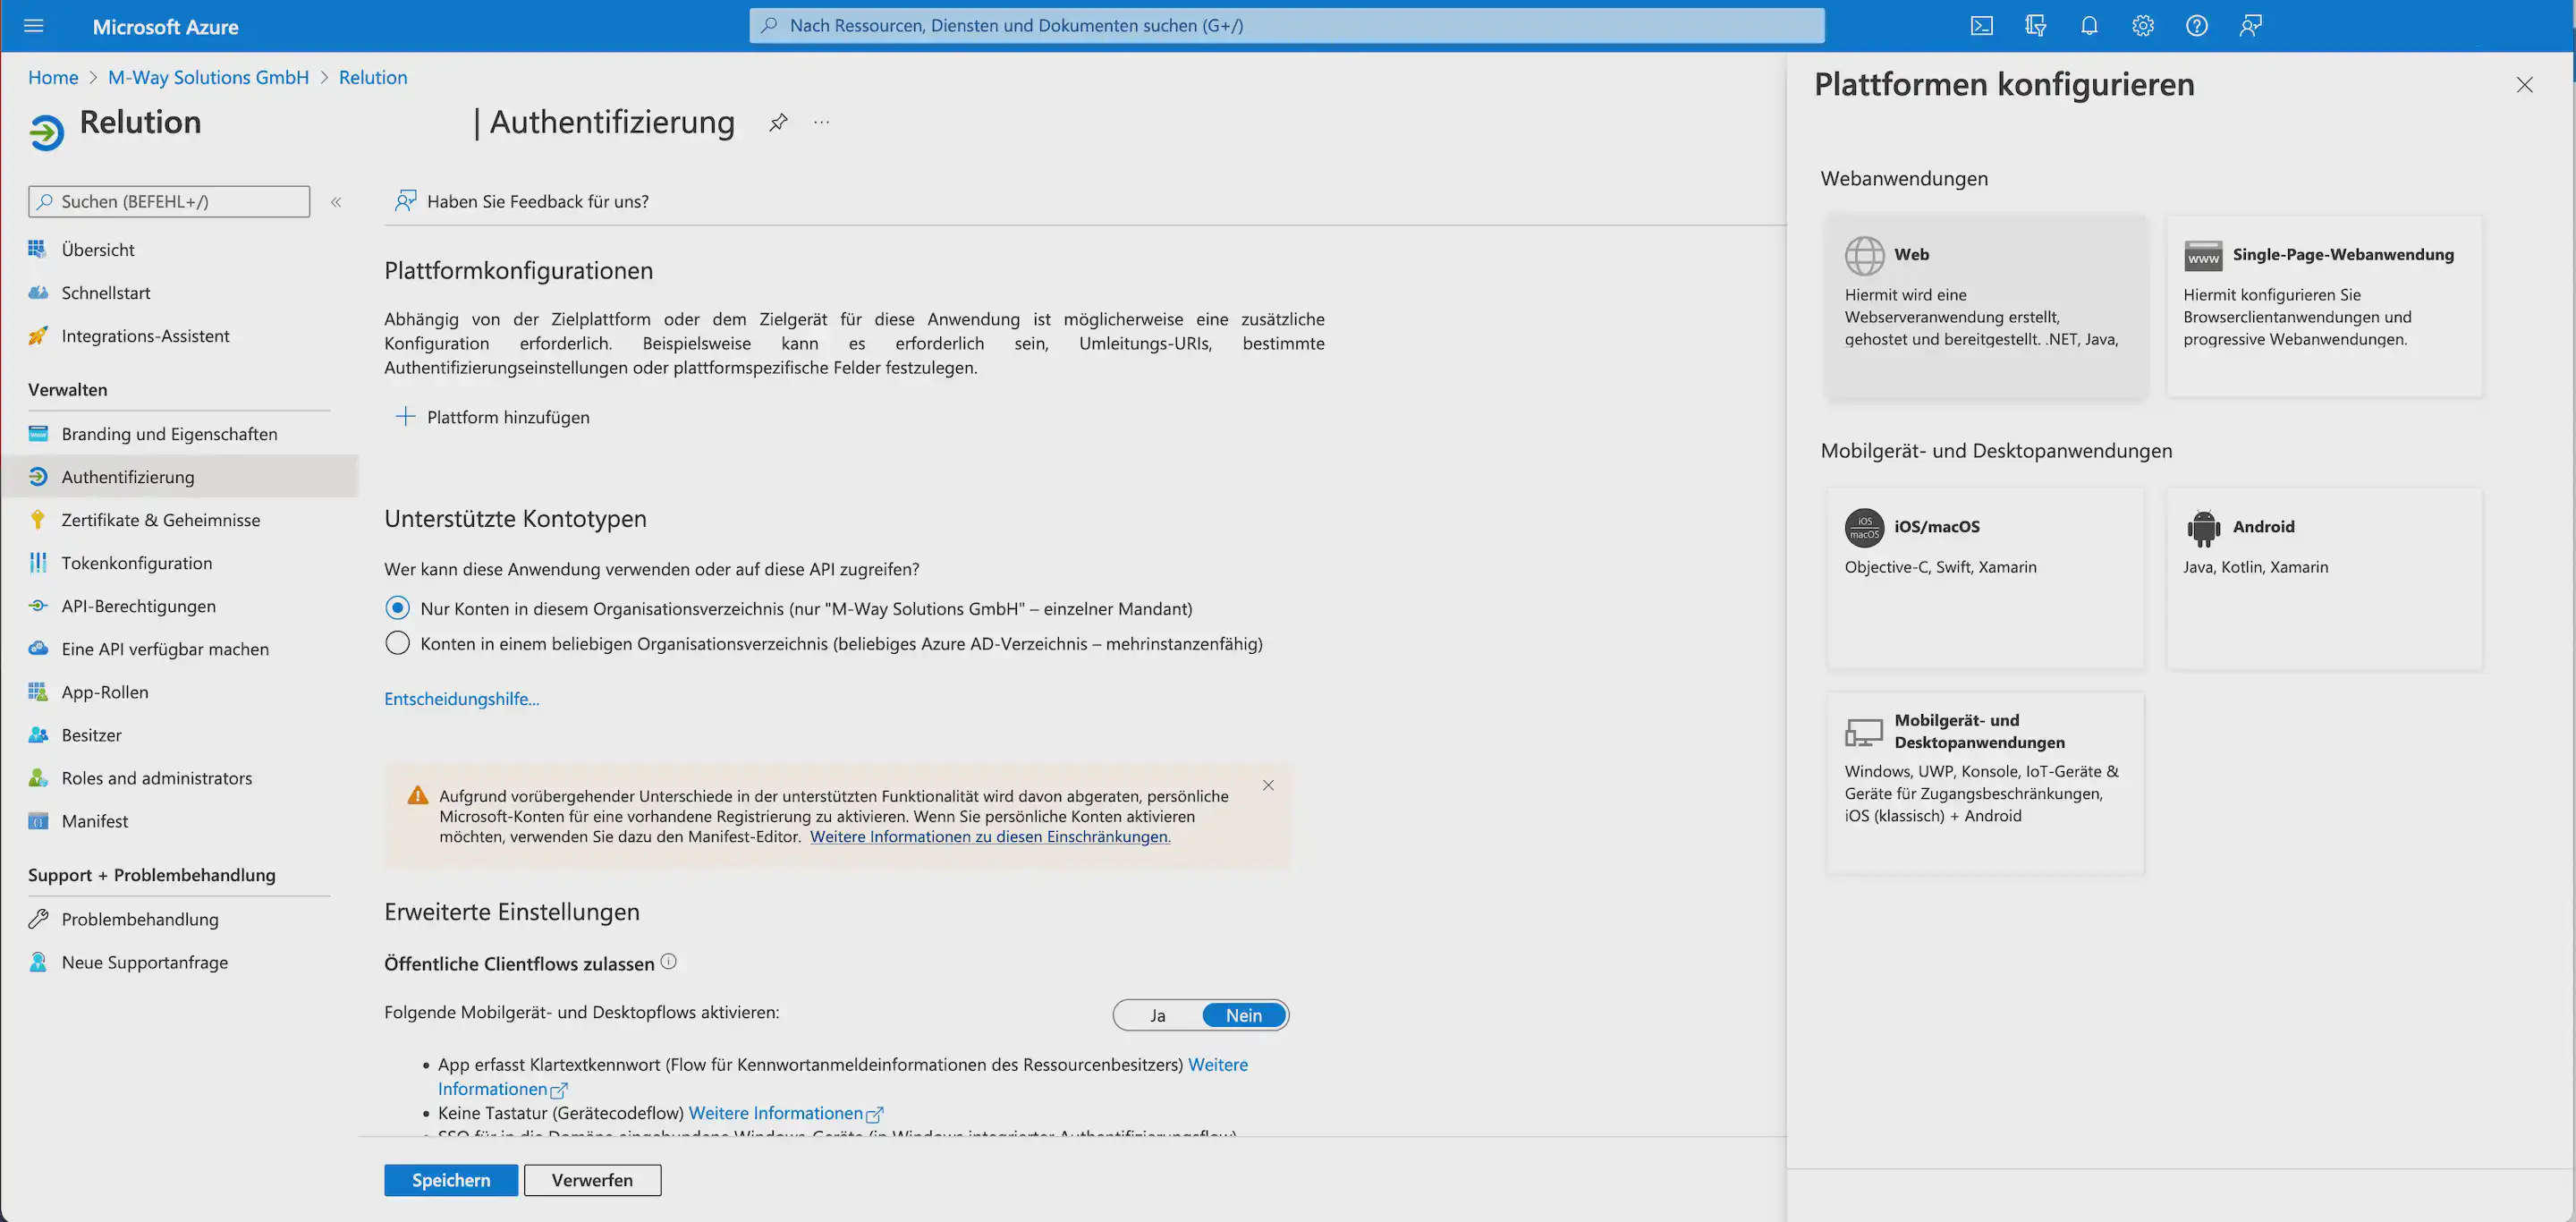
In the
Websection, enter the server URL underAdd a Redirect URI.Disable the
ID tokenscheckbox.Click
Save.
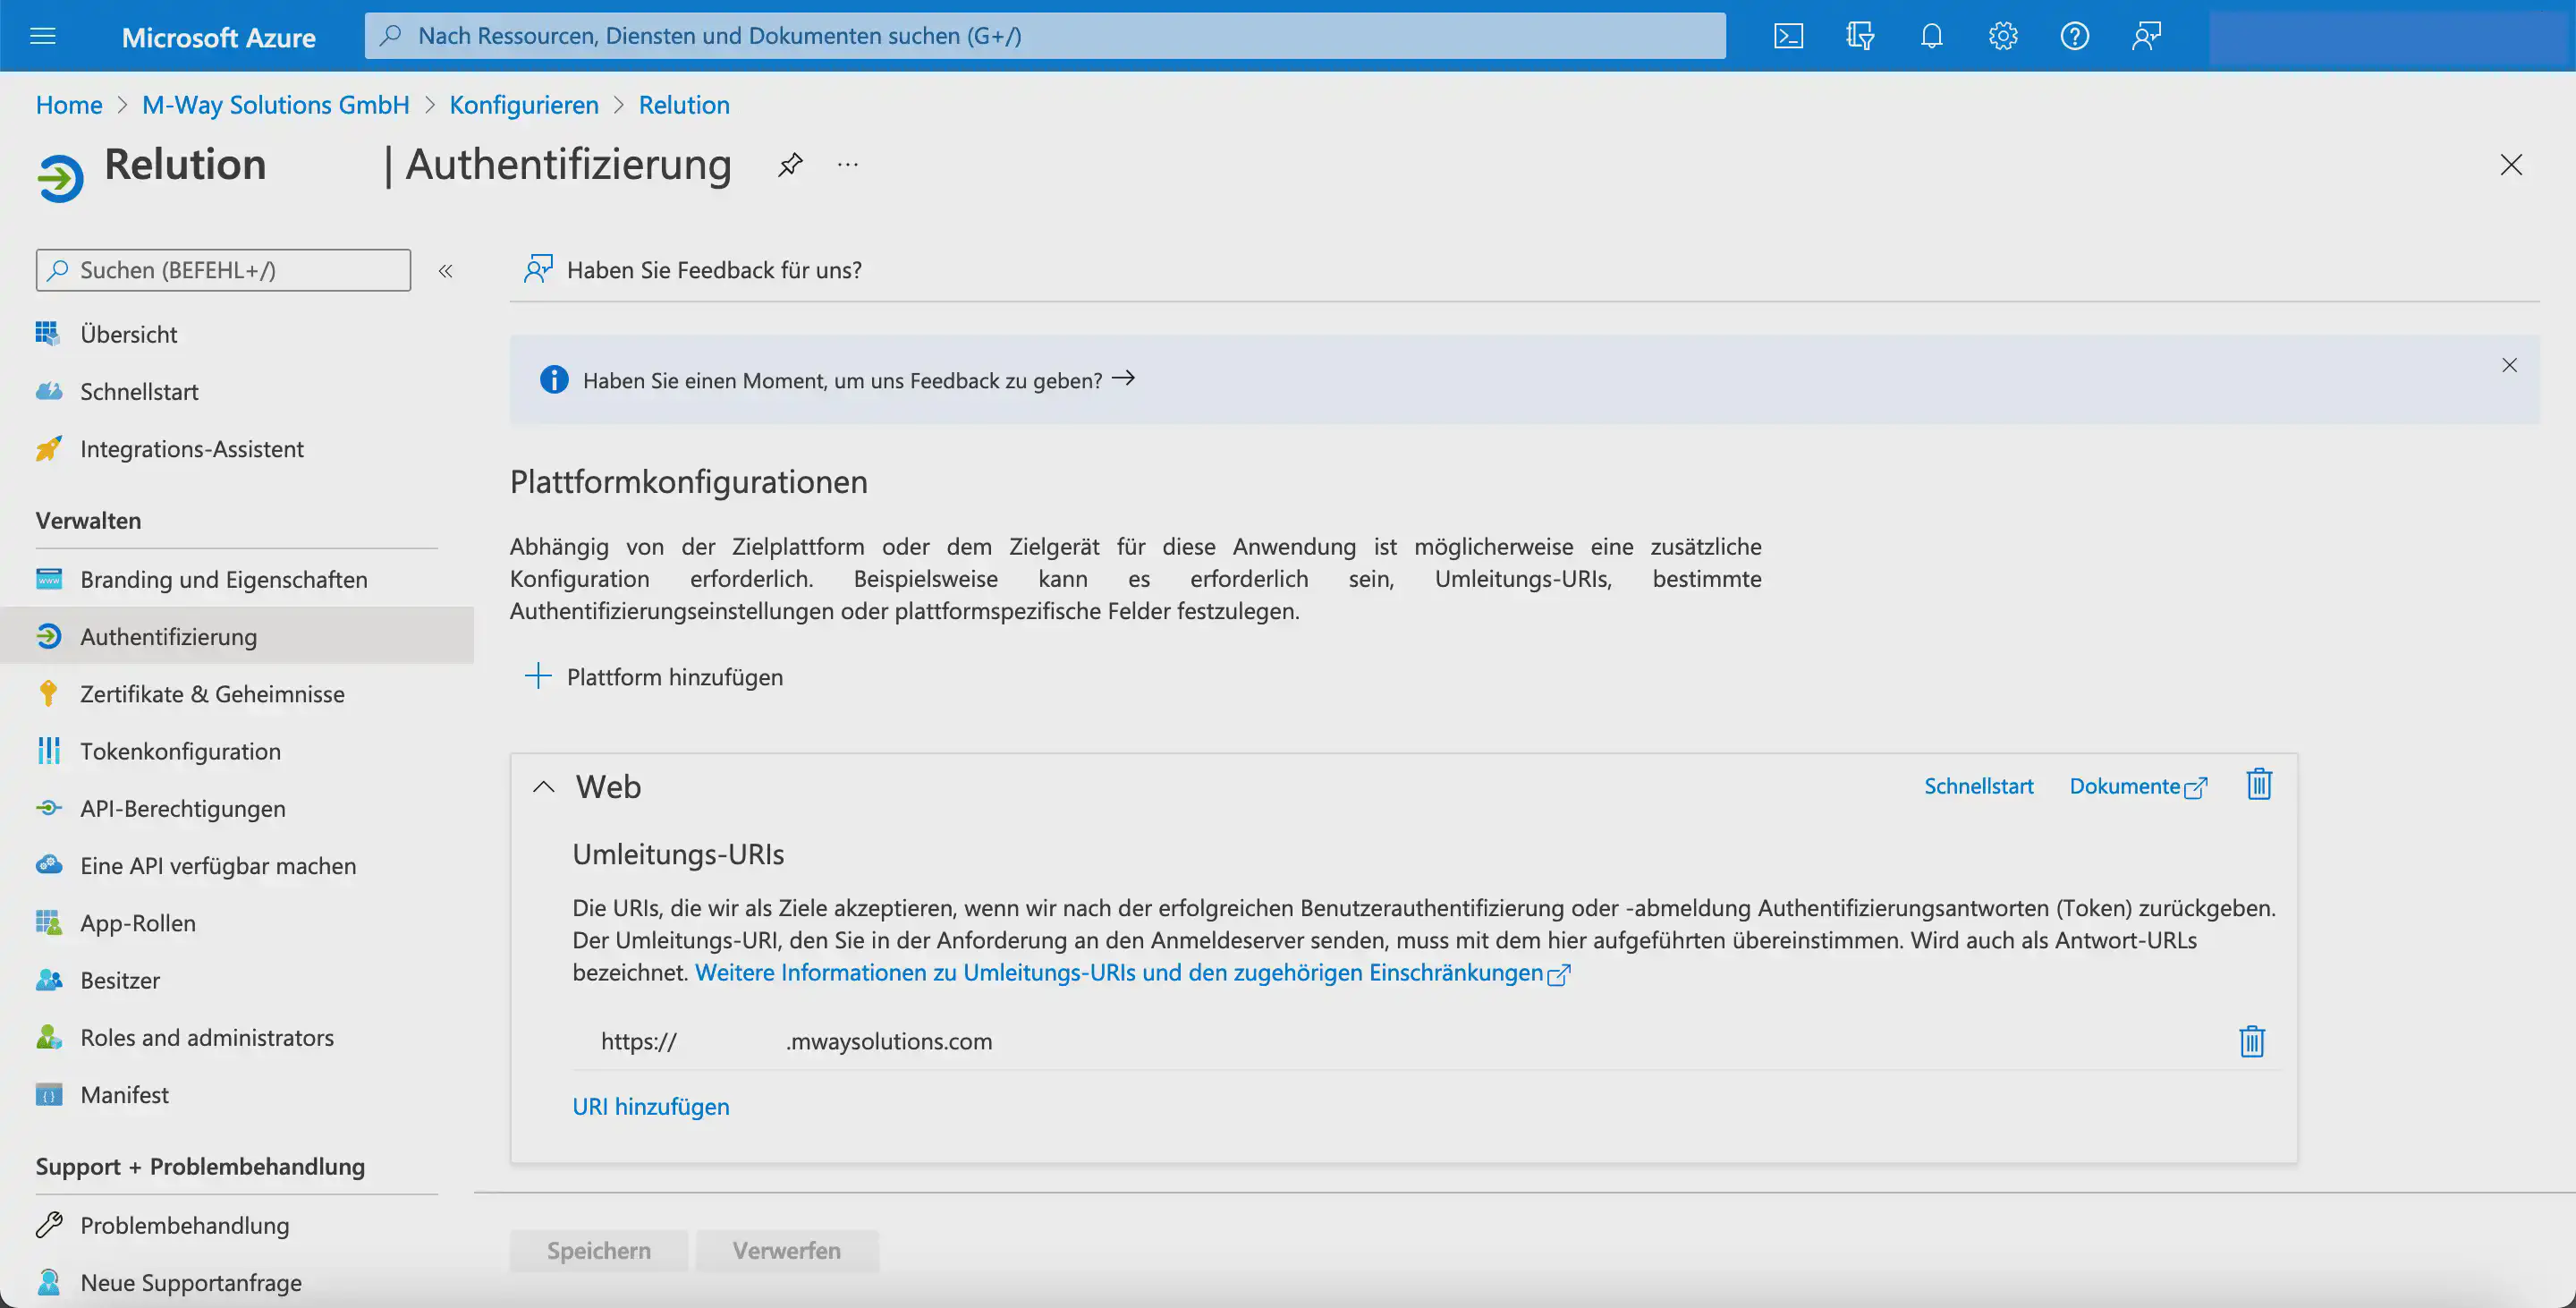
This completes the configuration in Microsoft Entra.
Select the Relution service options and complete the setup
In the Relution guide, you can optionally define whether Microsoft Entra ID users and Microsoft Entra ID groups should be synchronized with Relution.
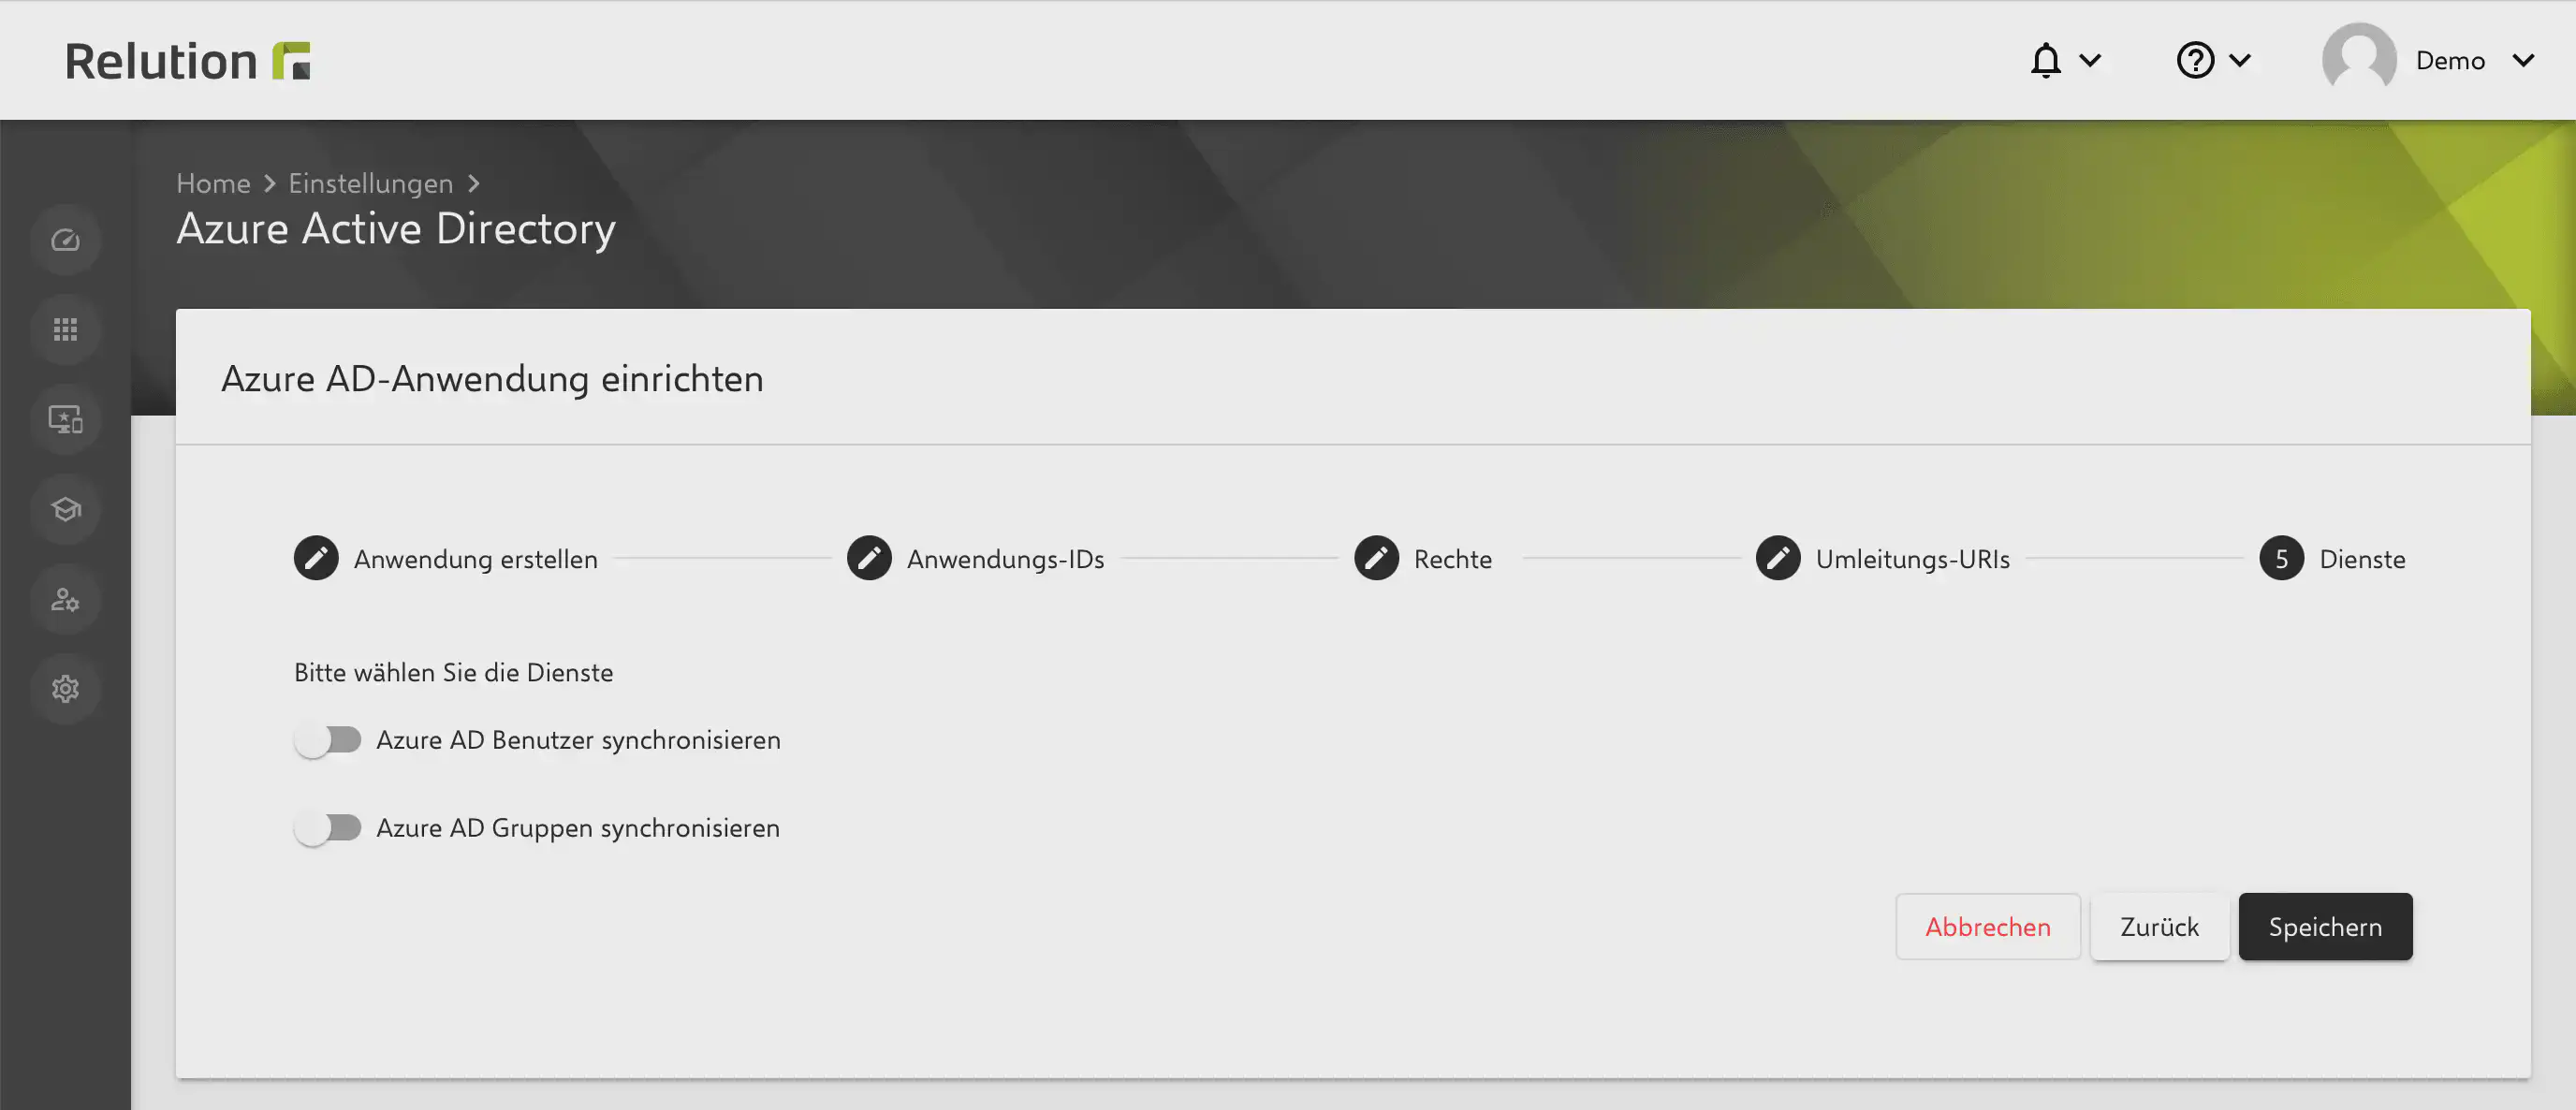
Click Save to complete the setup and linking of Microsoft Entra ID in Relution.
Summary
After completing these steps, Microsoft Entra ID is linked with Relution. This allows users and groups from Microsoft Entra ID to be synchronized with Relution and enables the use of additional Microsoft-related features.
To allow synchronized users to sign in to Relution, OIDC authentication → must also be configured. This also applies when using Conditional Access.