macOS
Introduction
This article describes how to deploy and configure the TeamViewer Host on macOS devices using Relution.
Deployment and configuration of the TeamViewer client
Downloading the TeamViewer client
Log in to the TeamViewer portal and navigate to Admin Settings > Rollout Configuration to download the macOS installer. The package includes both the TeamViewer Full Client and the TeamViewer Host. For integration with Relution, only the TeamViewer Host is required.
Distributing the TeamViewer client
Log in to the Relution portal and go to the Relution App Store page. Create a new native app using the previously downloaded PKG file. Define a detection rule by specifying the bundle identifier of the TeamViewer Host (com.teamviewer.TeamViewerHost).
The app can be distributed to your macOS devices either through an App Compliance configuration or by using the action Deploy Relution Store App.
Performing assignment via script
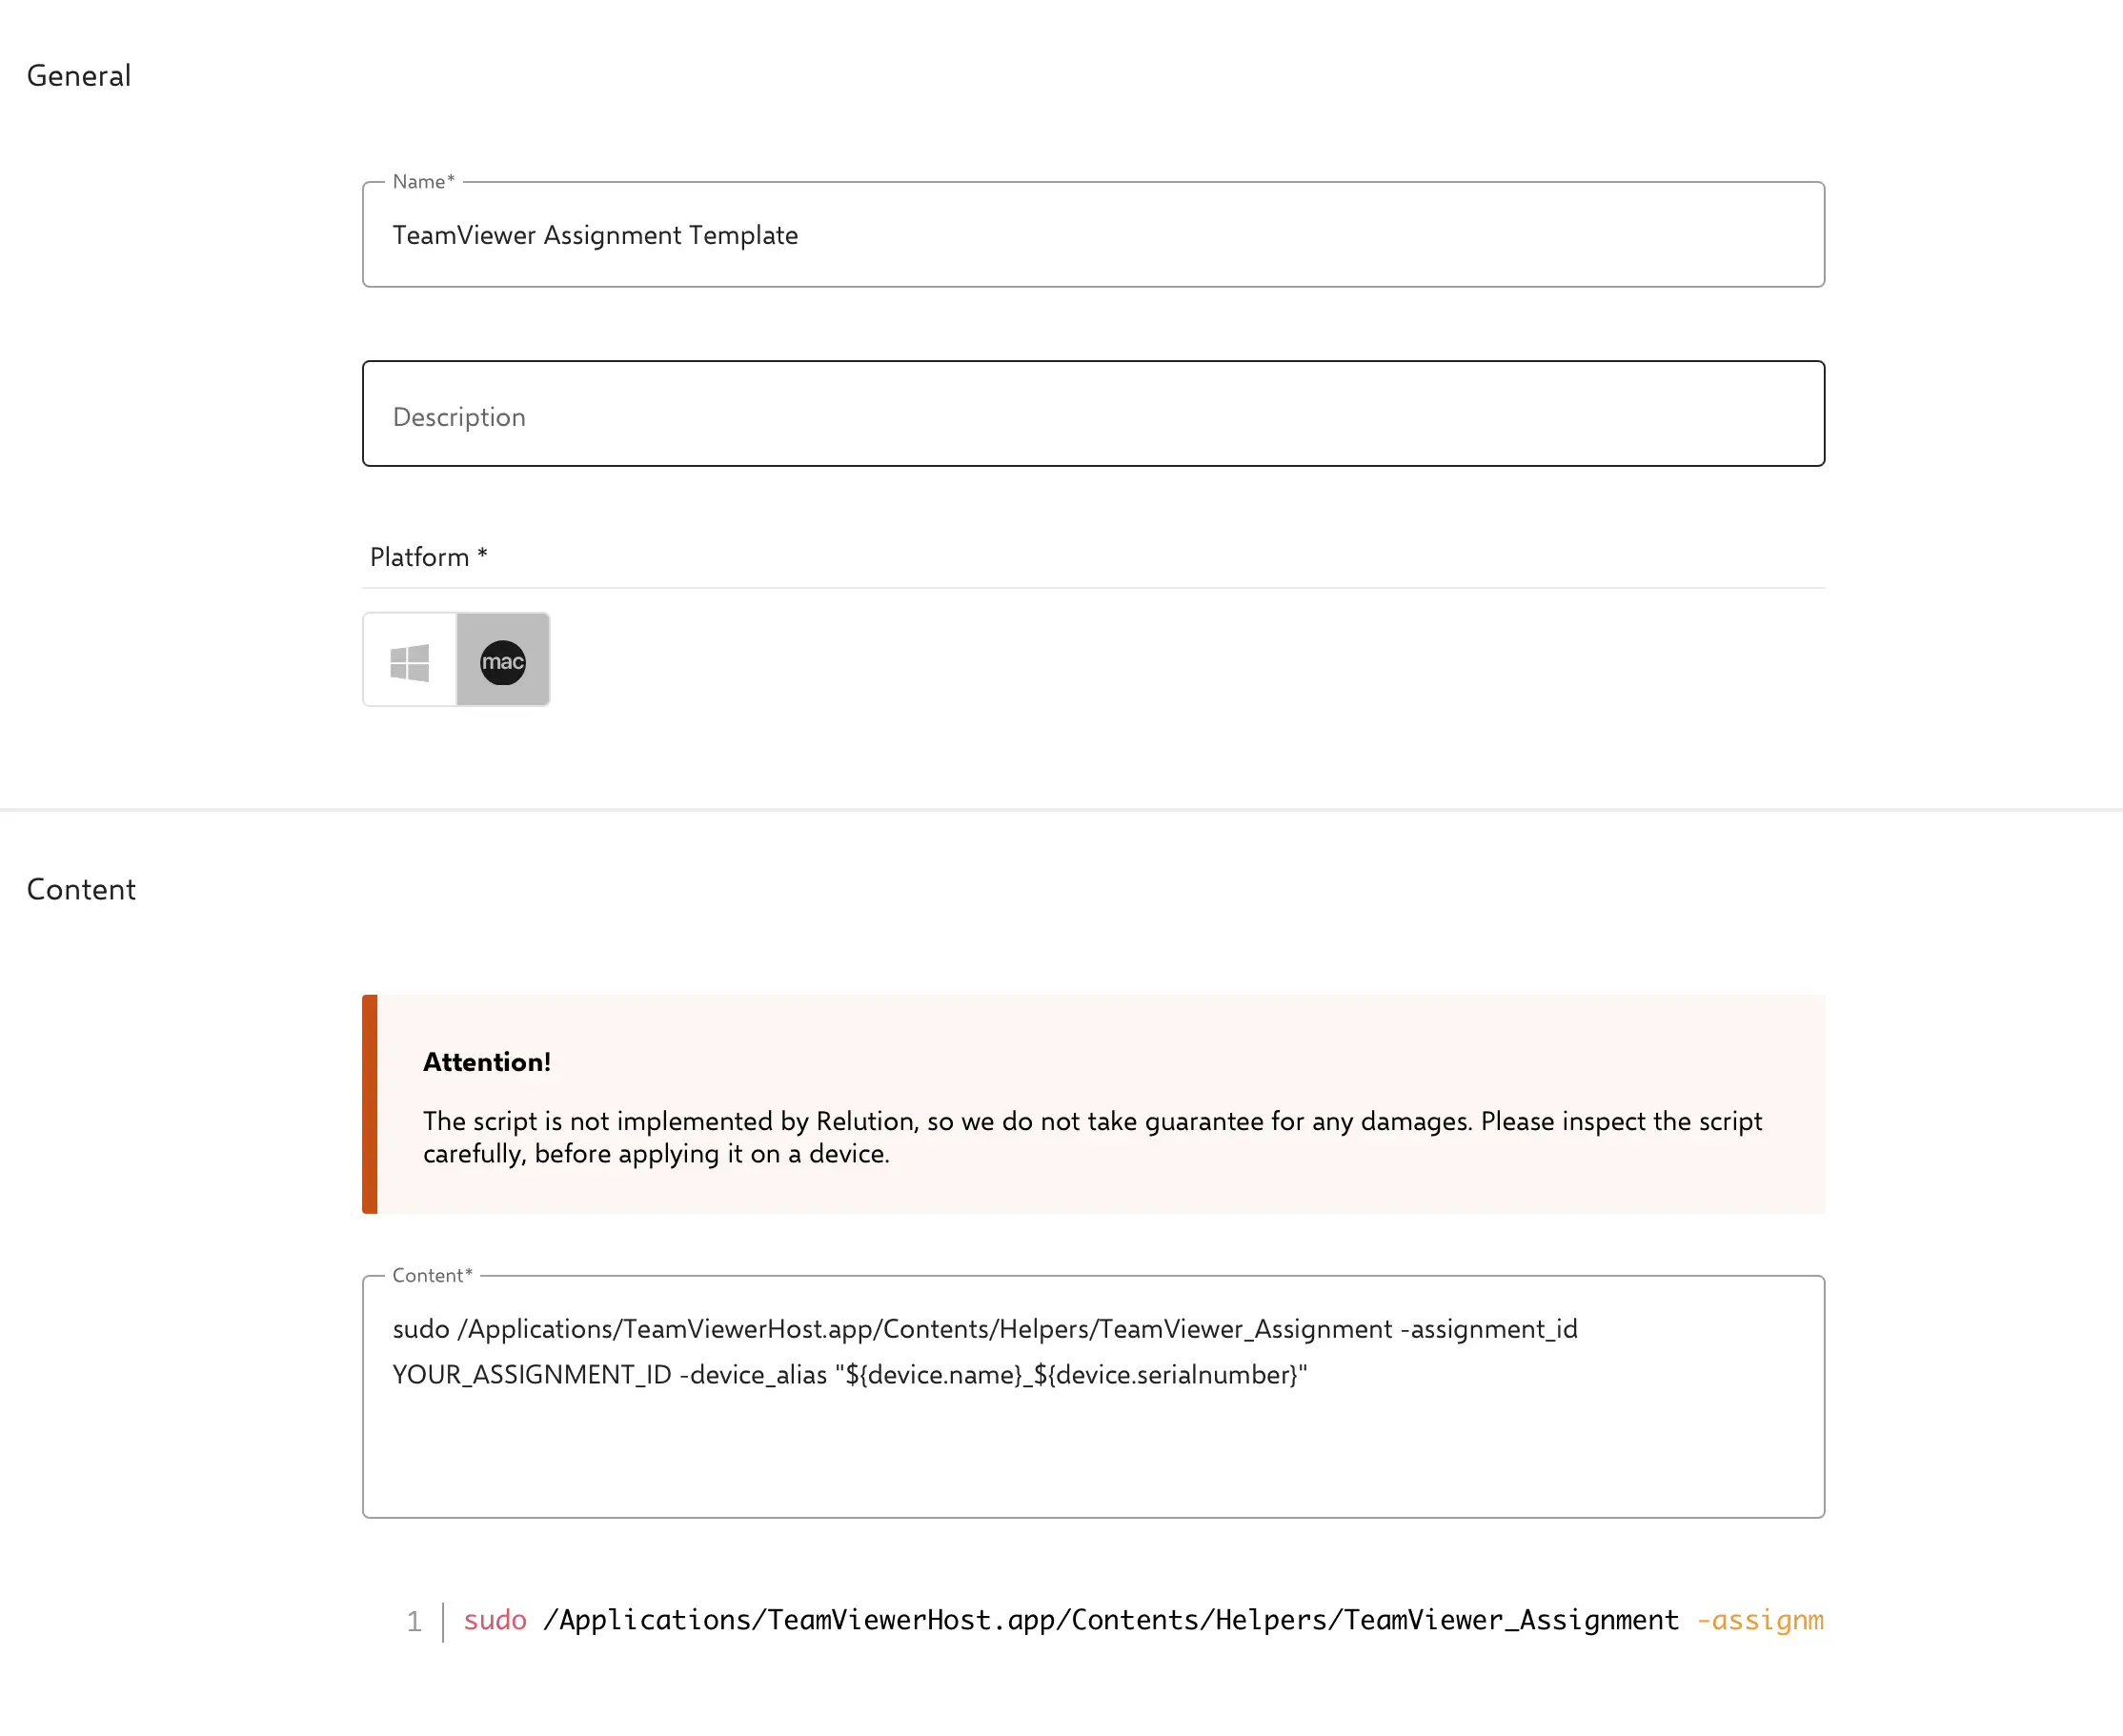
Create a script in the Relution portal for the macOS platform and insert the following command:
Script for TeamViewer Host:
sudo /Applications/TeamViewerHost.app/Contents/Helpers/TeamViewer_Assignment -assignment_id 'YOUR_ASSIGNMENT_ID' -device_alias "${device.name}_${device.serialnumber}"
Replace YOUR_ASSIGNMENT_ID with your Assignment ID from the TeamViewer portal, which you received during the setup step →.
To establish a link between devices in Relution and TeamViewer, the serial number must be included in the device name. This is ensured by using the placeholder ${device.serialnumber} in the script. The combined name will be displayed in the TeamViewer portal after successful registration.
Run the script on your macOS devices. Once the configuration is complete, the devices should appear in the TeamViewer portal.