Bulk Enrollment
When registering and setting up a large number of Windows 10/11 devices, a manual enrollment process creates a not inconsiderable amount of work. The Windows Bulk Enrollment, also called mass enrollment, provides an efficient way to enroll many Windows 10/11 devices quickly without having to complete the enrollment through the system settings on each individual device. Mass enrollment of Windows 10/11 devices is available for Professional, Enterprise and Education versions.
Windows Configuration Designer (WCD)
To perform Windows Bulk Enrollment, you need the Windows Configuration Designer (WCD) tool, which can be downloaded from the Microsoft Store →. Alternatively, the WCD tool can be downloaded via the Windows Assessment and Deployment Kit (ADK) → and is then also available in other languages.
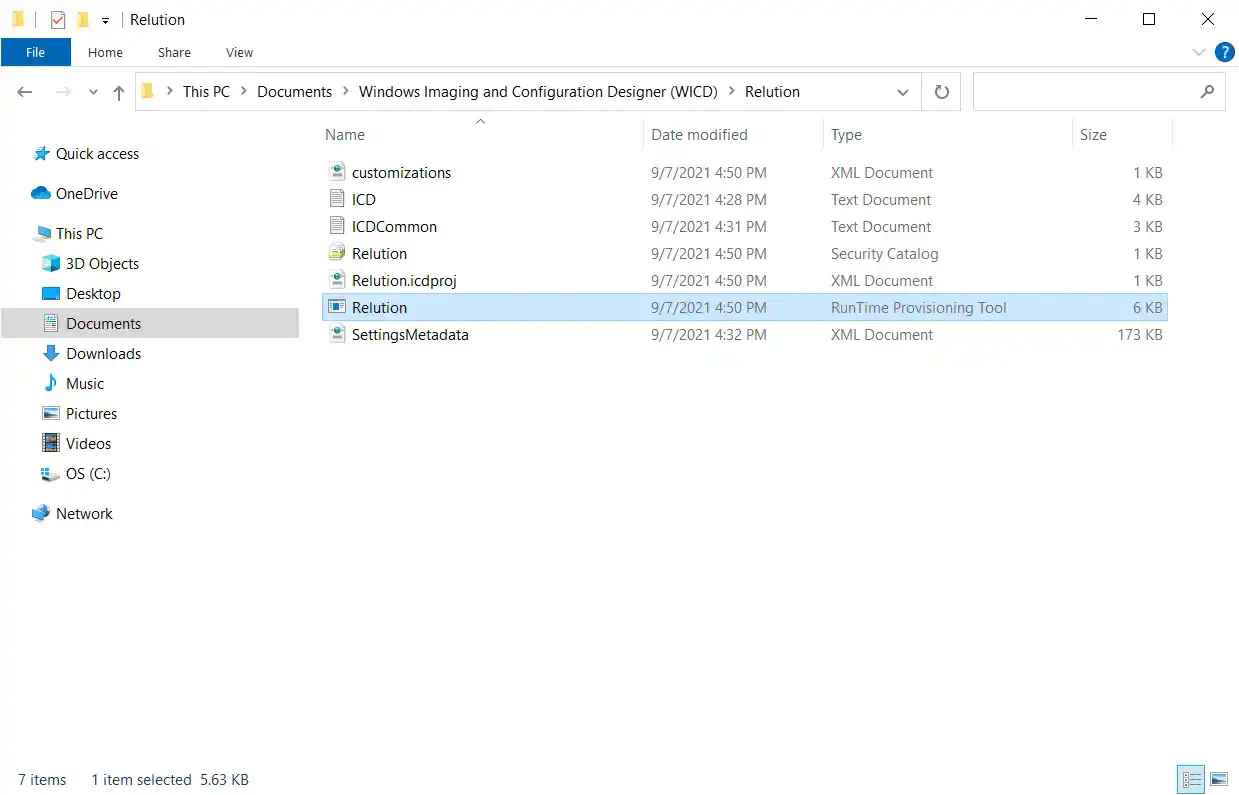
The WCD tool can be used to generate provisioning packages that are required to execute mass enrollments. The file format of provisioning packages is a ppkg file. This is a container for a collection of configuration settings.
Bulk enrollment is not done with an Azure AD account or Windows Autopilot.
Registration is done via a ppkg file, which can be executed with an administrator account after the device has been put into operation.
Alternatively, the ‘ppkg’ can be incorporated into a Windows image; please follow the instructions below.
Window Bulk ppkg Image →
The ppkg must not be used like an auto/unattend.xml on a USB stick when installing the OS. When installing the OS, a temp admin is used, and this and the enrollment would be discarded after some time.
Preparing for enrollment in Relution
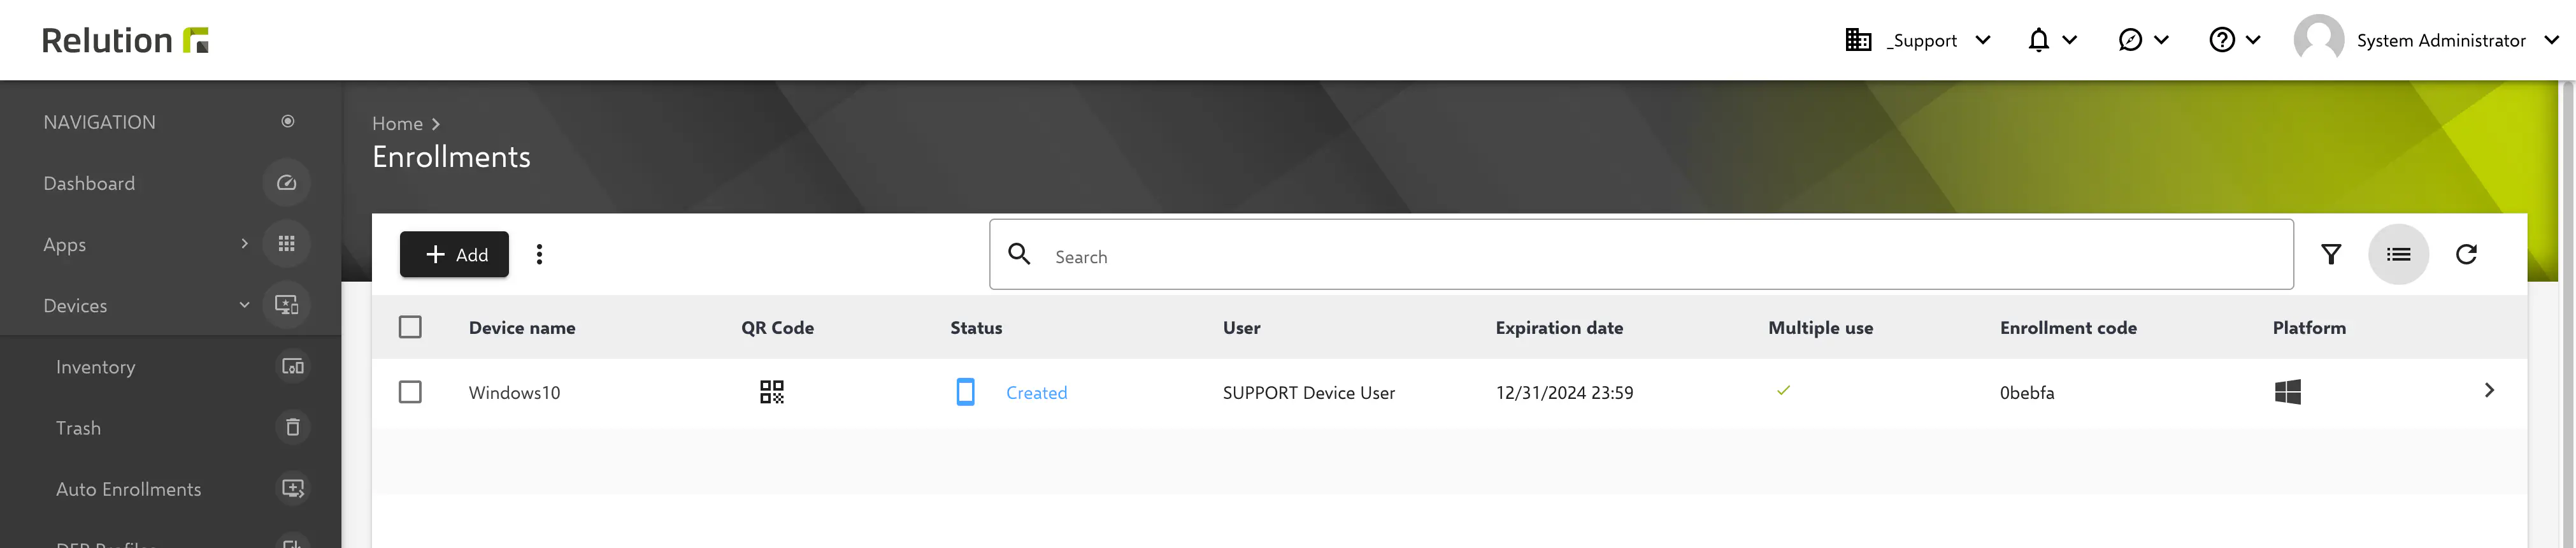
For bulk enrollment of Windows 10/11 devices, a manual enrollment must be created in Relution.
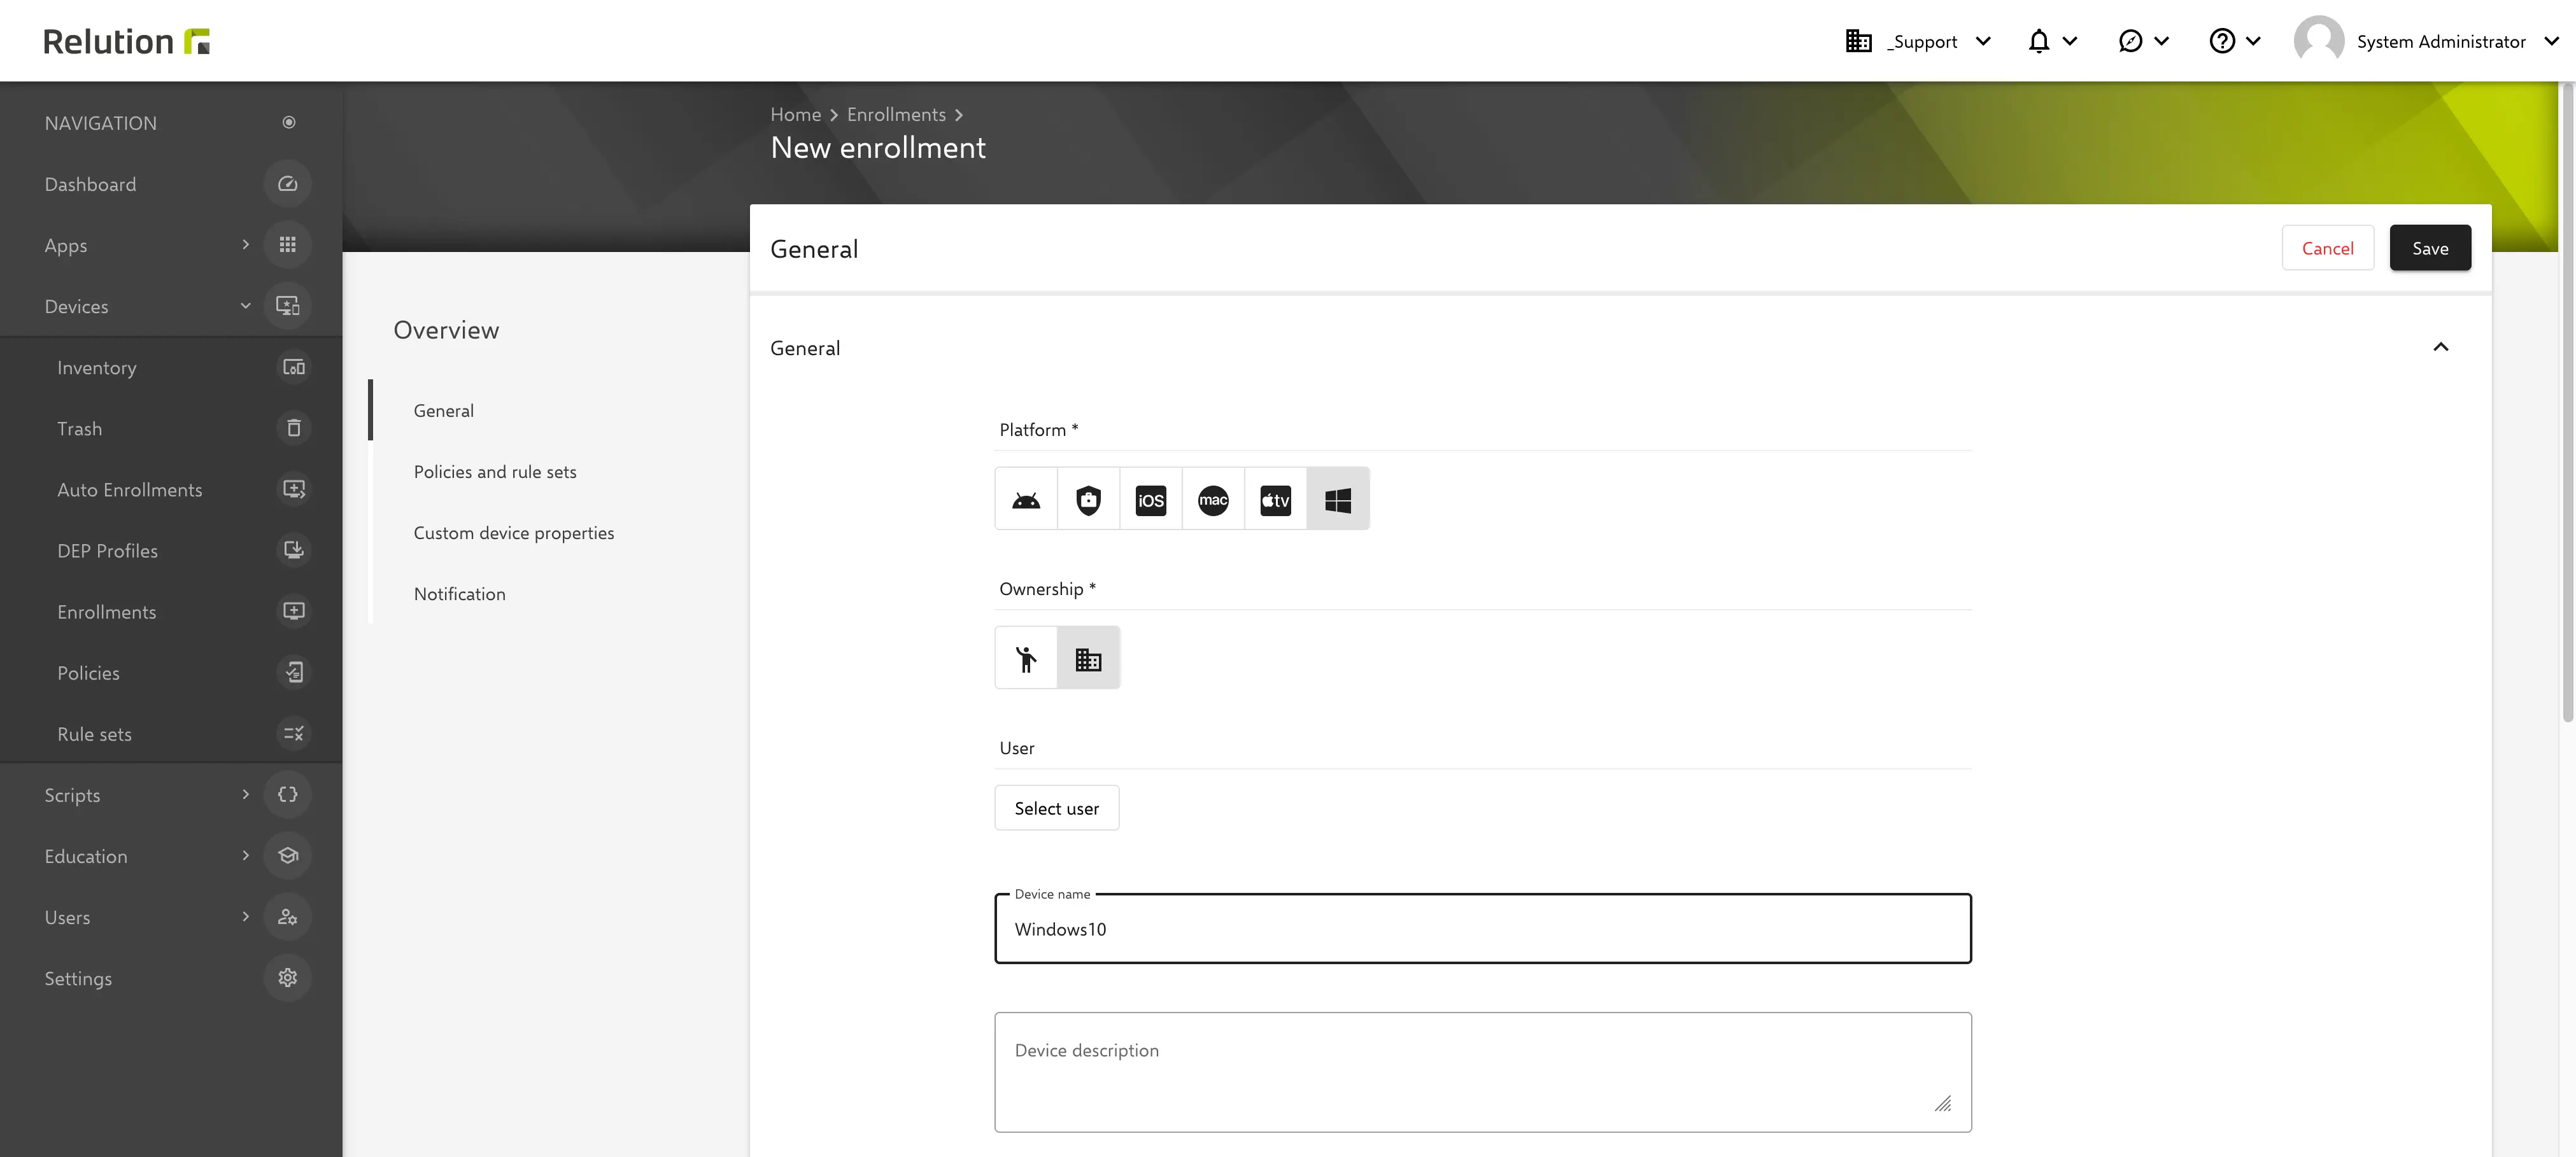
The validity of this enrollment can be freely chosen. It is important to activate Multiple enrollment in this step to be able to use the created enrollment for multiple Windows 10/11 devices.
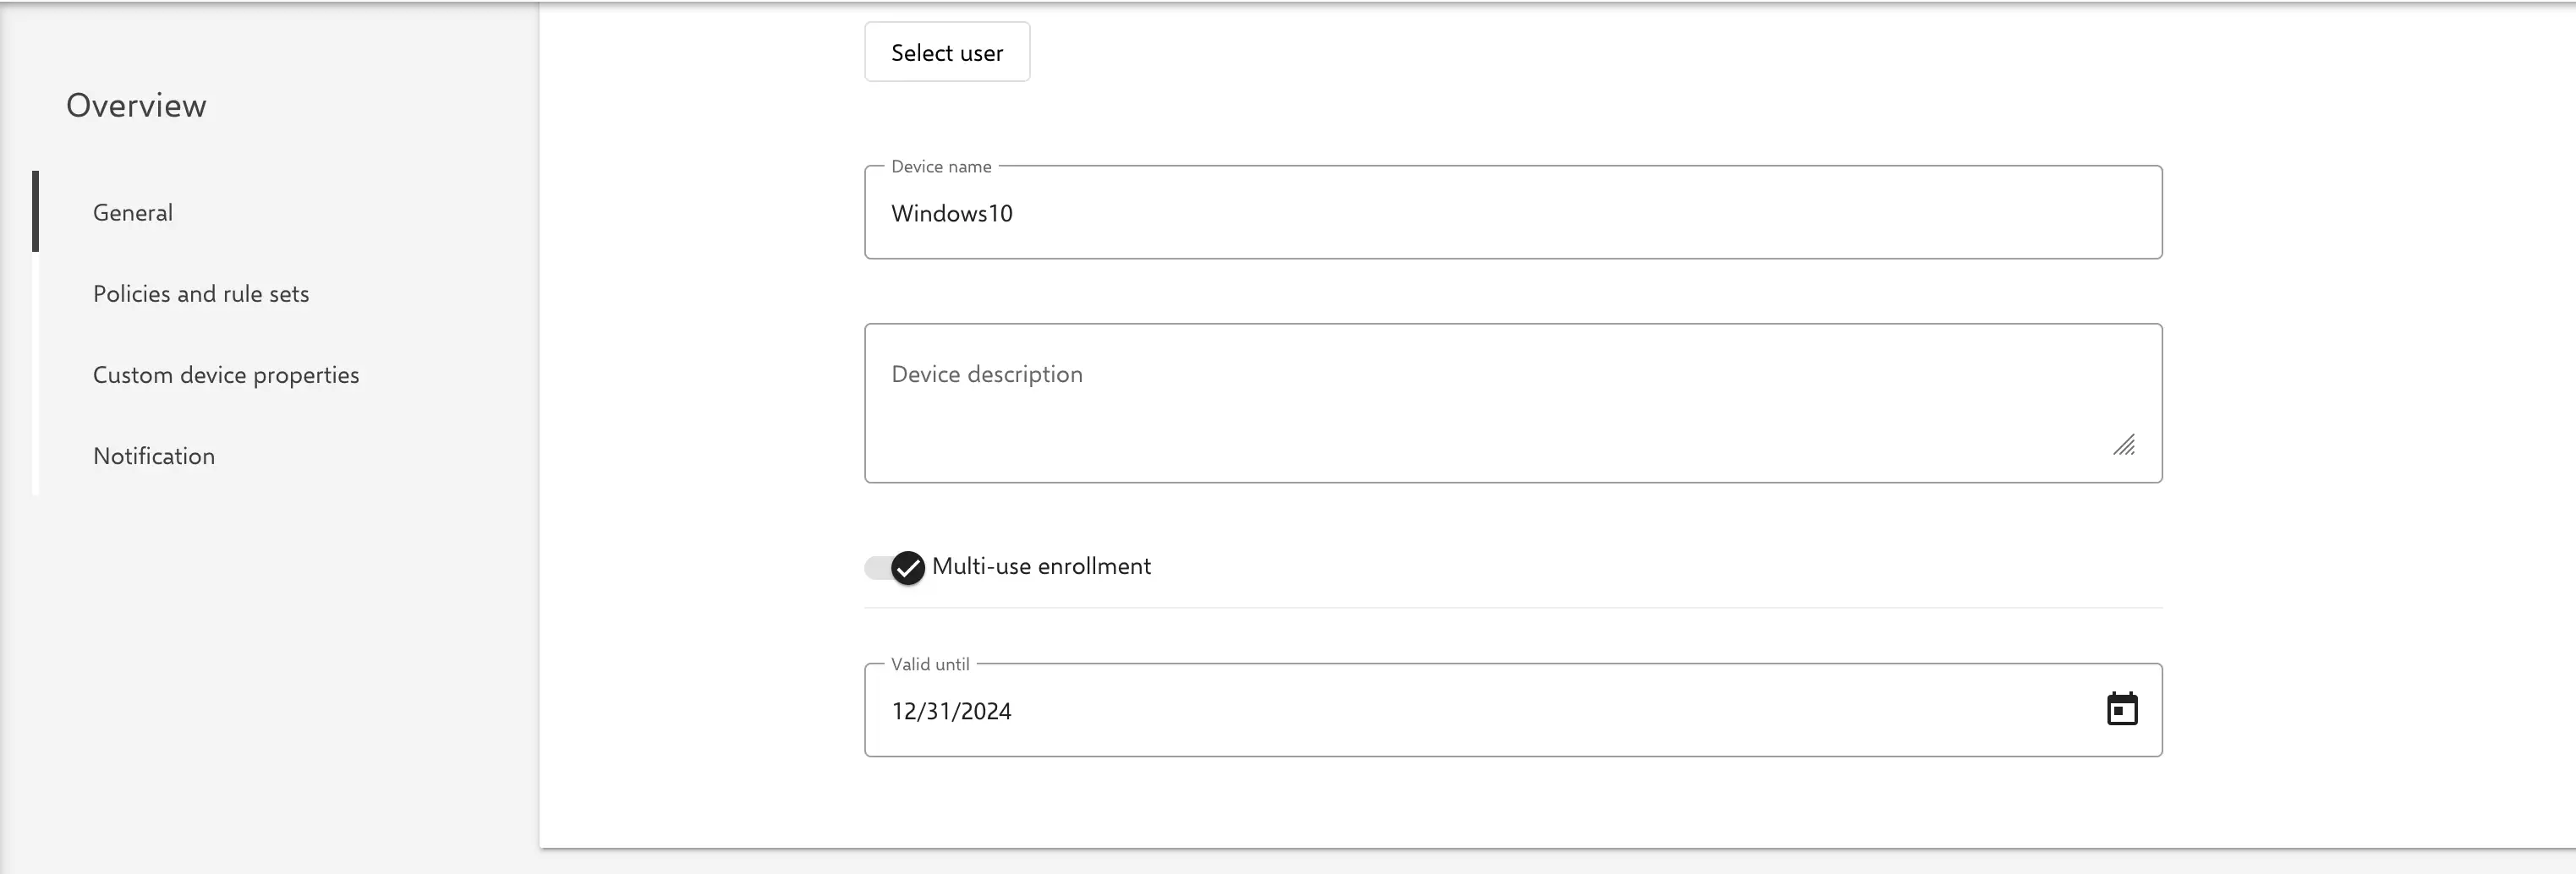
The subsequently generated enrollment code is needed in the further process when creating the deployment package via the WCD tool.
Creating deployment packages with Windows Configuration Designer (WDC)
The following steps are performed after downloading and installing the WCD tool to create a deployment package:
In the home screen, select the
Use Advanced Deploymenttile.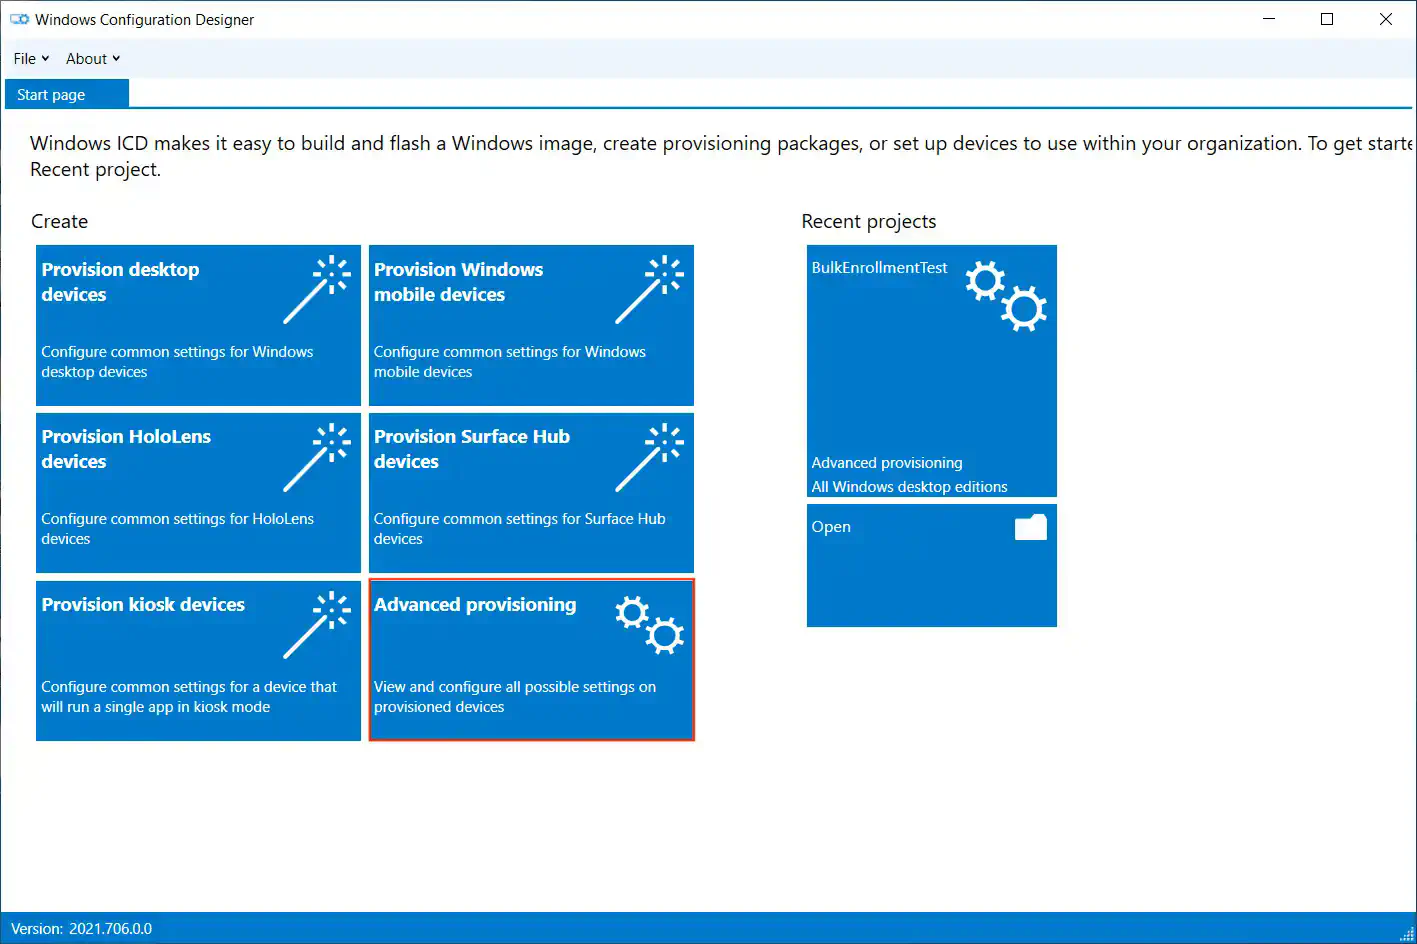
Specify a project name and click
Next.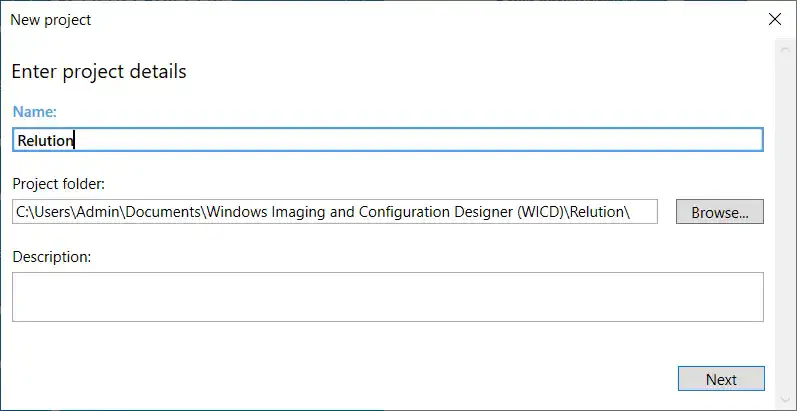
Select
All Windows Desktop Editionsand clickNext.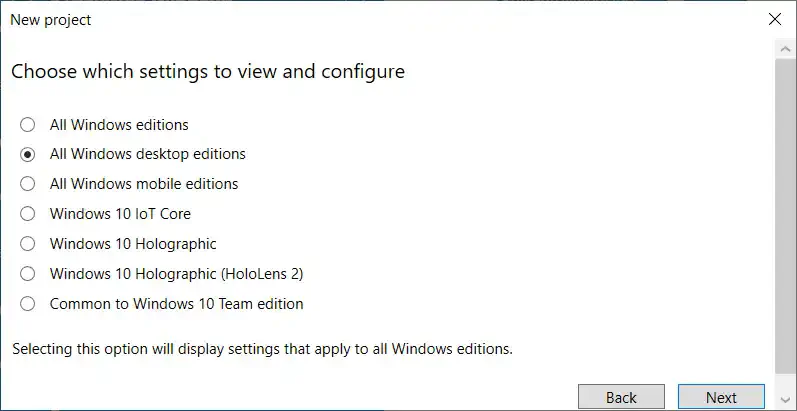
Skip
Import a deployment package (optional)and confirm withComplete.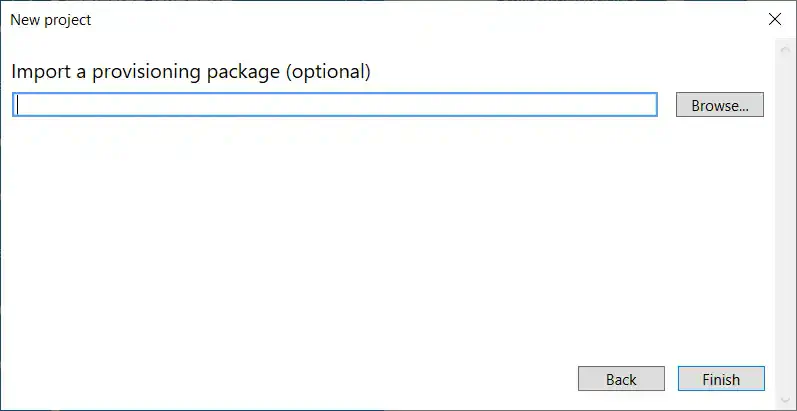
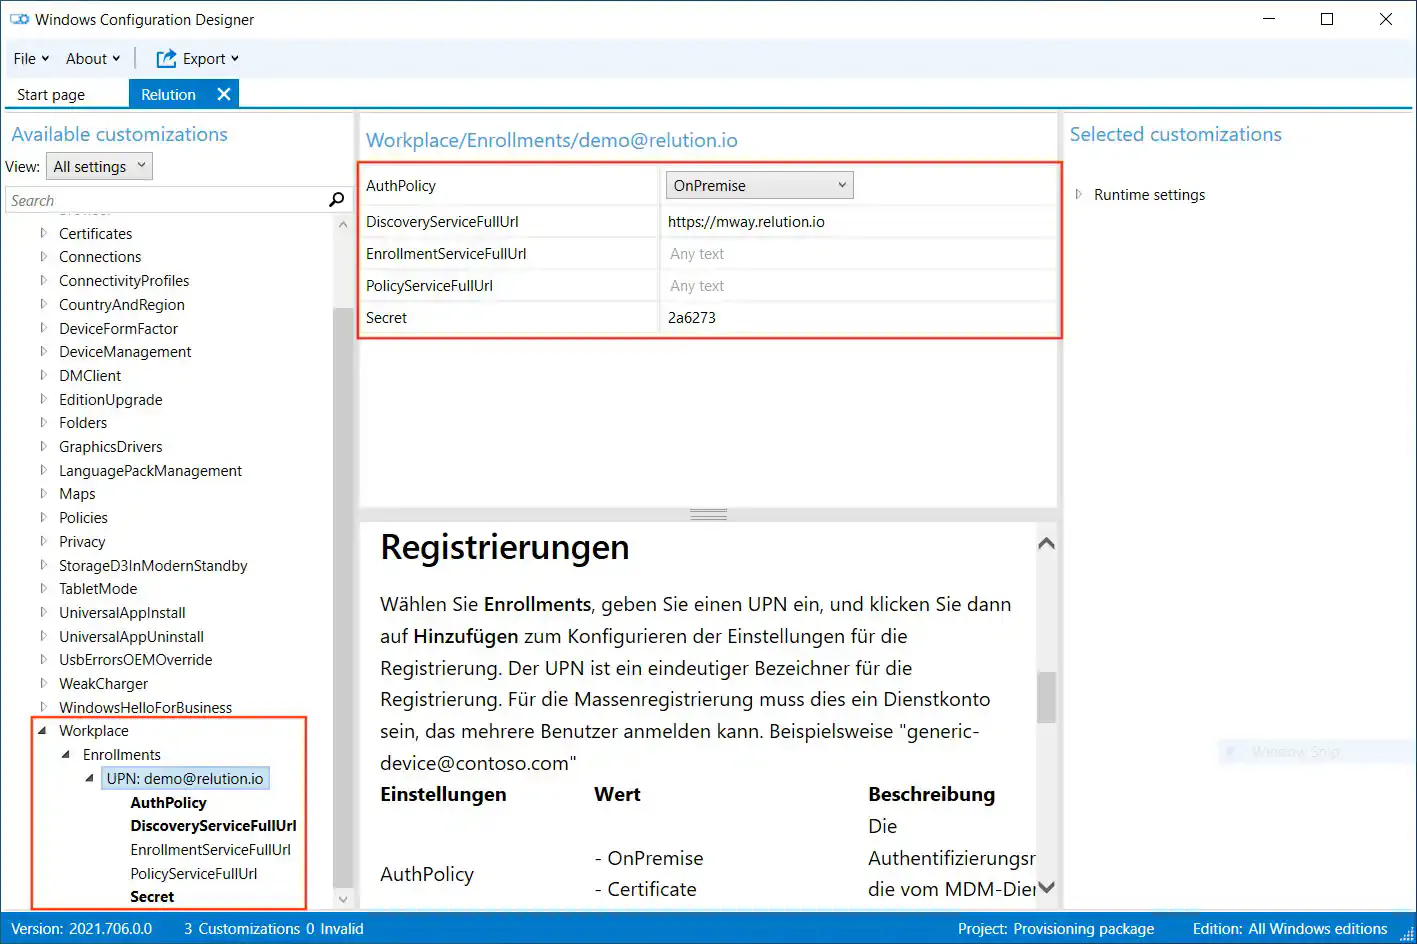
Expand the menu item
Runtime Settingsand thenWorkplacein the left navigation area and clickEnrollments.Add the email address of a user from the corresponding Relution organization who has the role
Device Manager.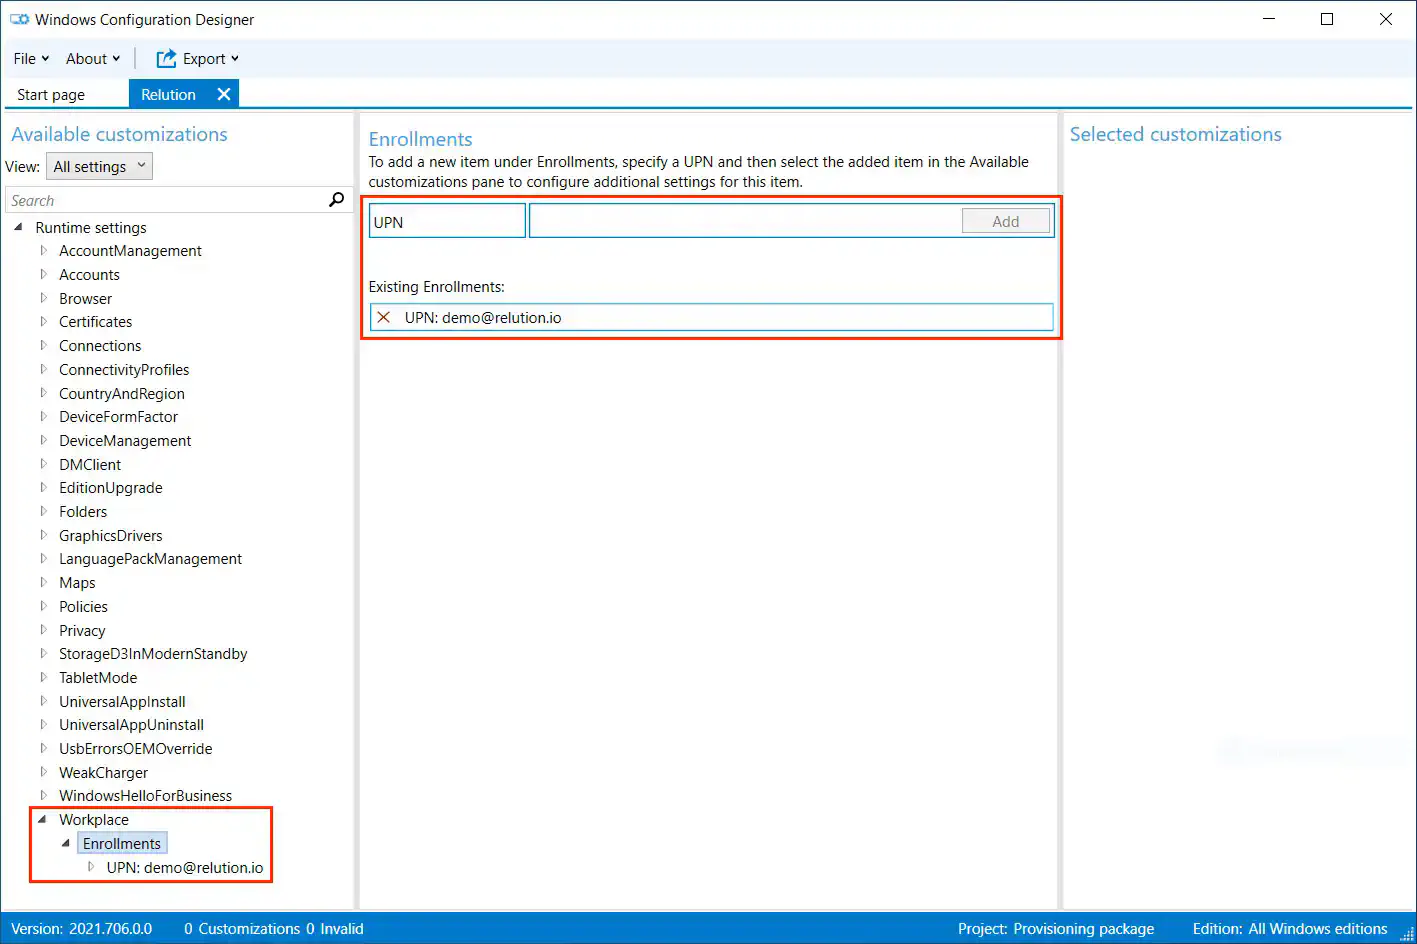
Expand the
UPNmenu item in the left navigation pane and enter the following information for the remaining settings:
AuthPolicy- SelectOnPremise.DiscoveryServiceFullUrl- specify the corresponding domain of the used Relution Server.EnrollmentServiceFullUrl- an optional choice.PolicyServiceFullUrl- an optional choice.Secret- Enter the enrollment code from Relution.
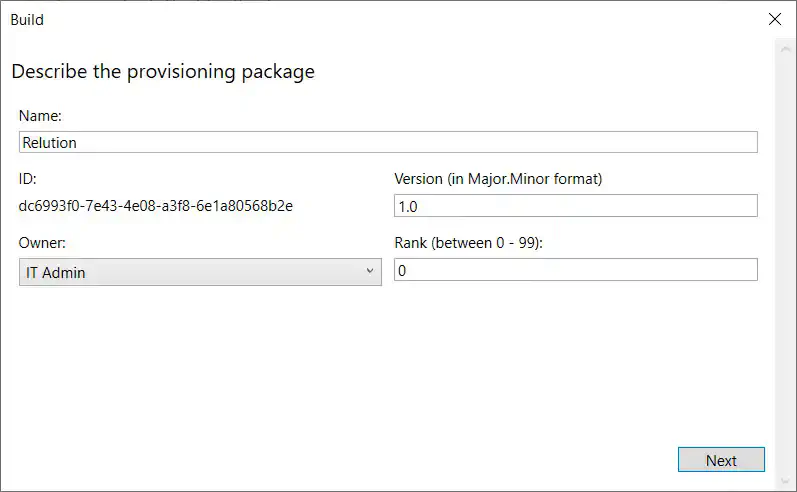
After entering all settings, click on
Savein the main menu underFile.After that, in the main menu under
Export, click onDeployment package.
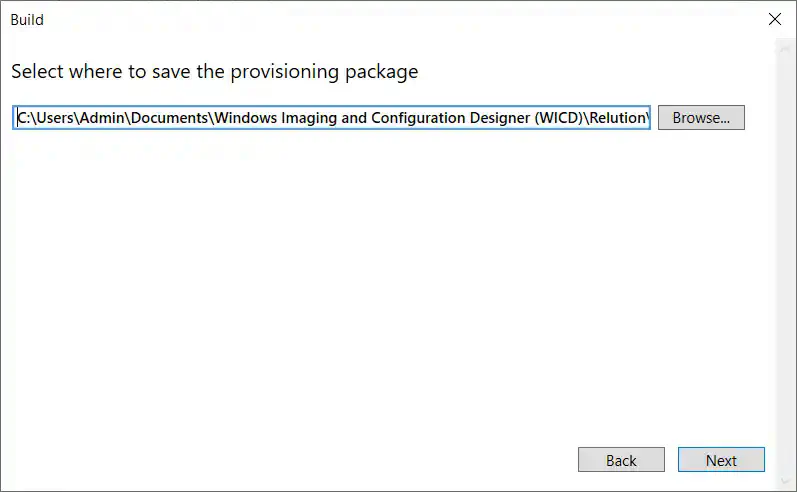
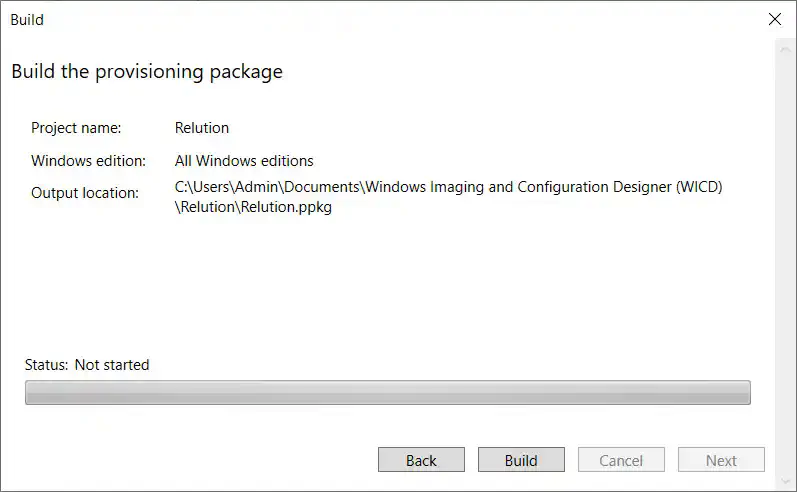
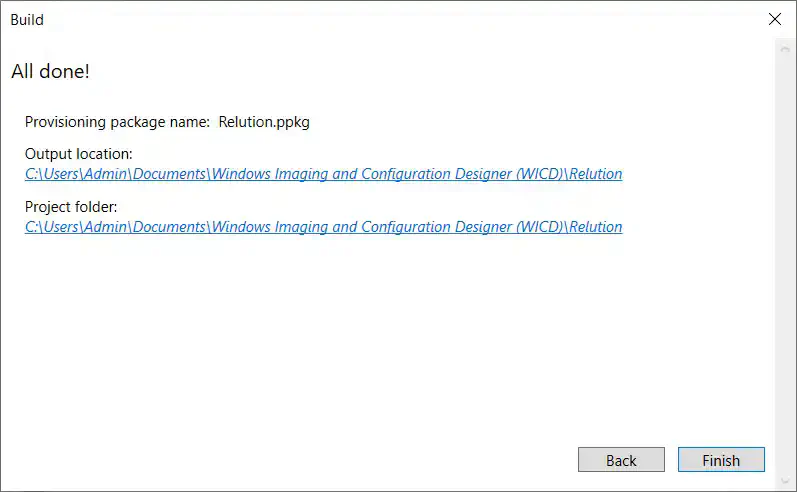
In the following dialogue, the values for the package must be specified and the location for the package output must be chosen. Then
Createmust be clicked.

The provisioning profile should be protected (encrypted and/or signed). This provides an extra layer of protection in case, a USB stick or SD card is lost. Encryption protects against unauthorized access to the
ppkgfile.
Applying Deployment Packages to Windows 10/11 Devices
Connect the appropriate Windows 10/11 devices to the USB drive containing the deployment package and double click on the .ppkg file. Accept the two requests.
If an error occurs while enrolling the deployment package, this will be indicated below the respective deployment package and corresponding details can be viewed, for example, if an incorrect or expired enrollment code was used by Relution.
Subsequently, all steps that need to be performed manually during a manual enrollment will be performed automatically using the information from the provisioning package. No further information needs to be provided. After successful enrollment, the Windows 10/11 devices are connected to the Relution server, show up in the inventory list of the corresponding Relution organization, and can be managed.

Checking the deployment package on enrolled Windows 10/11 devices
Under System Settings under Access Business or School Account, you will see the connection to the Relution MDM server.
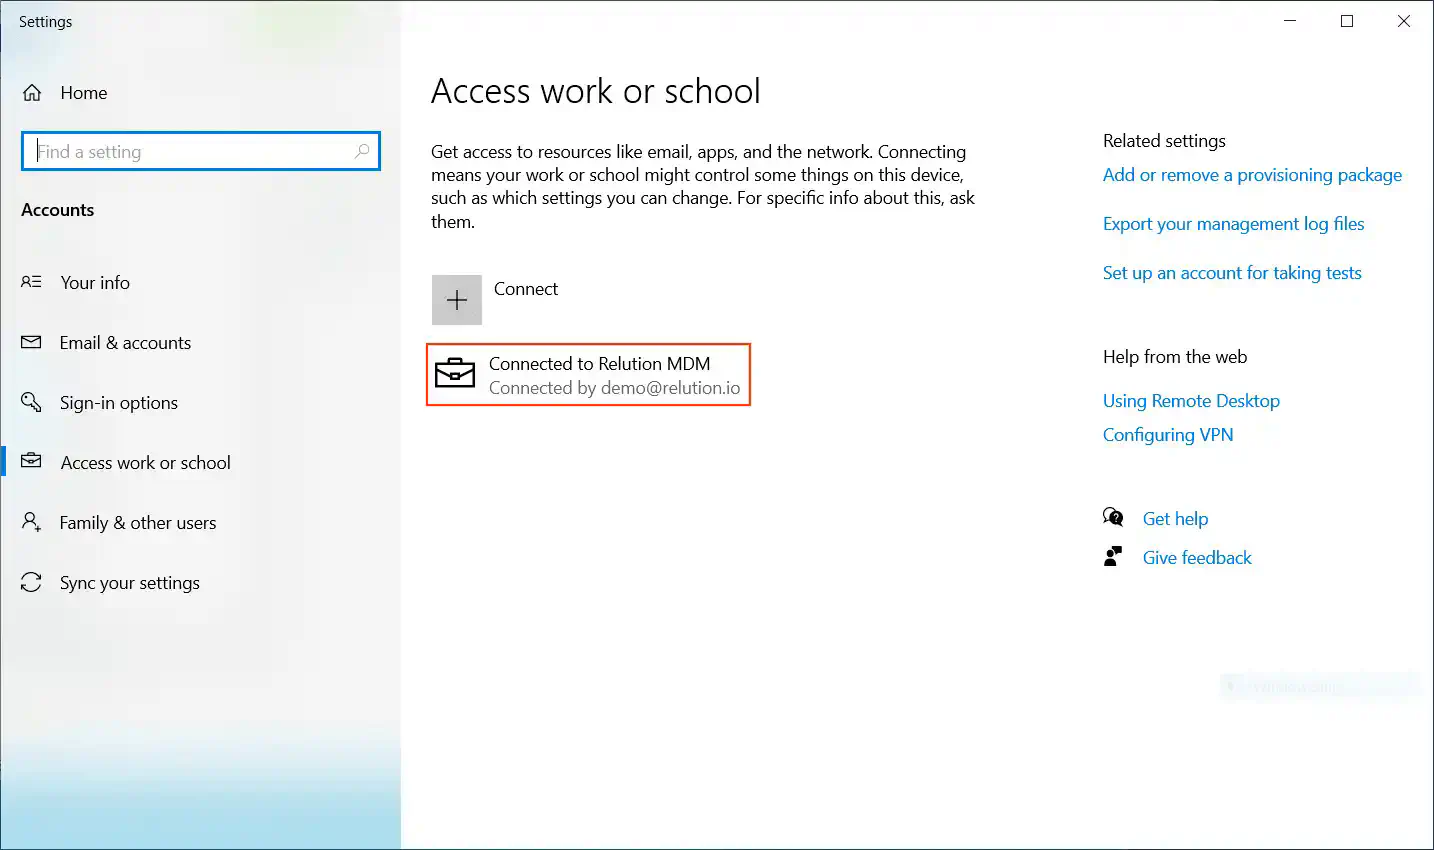
Please do not delete the account on the device with which the device was registered.